
If you're looking for an easy pancake recipe that creates soft and fluffy, deliciously buttery pancakes, look no further! These mini silver dollar pancakes are perfect for everything from kid-friendly weekend breakfast to an elegant brunch affair.

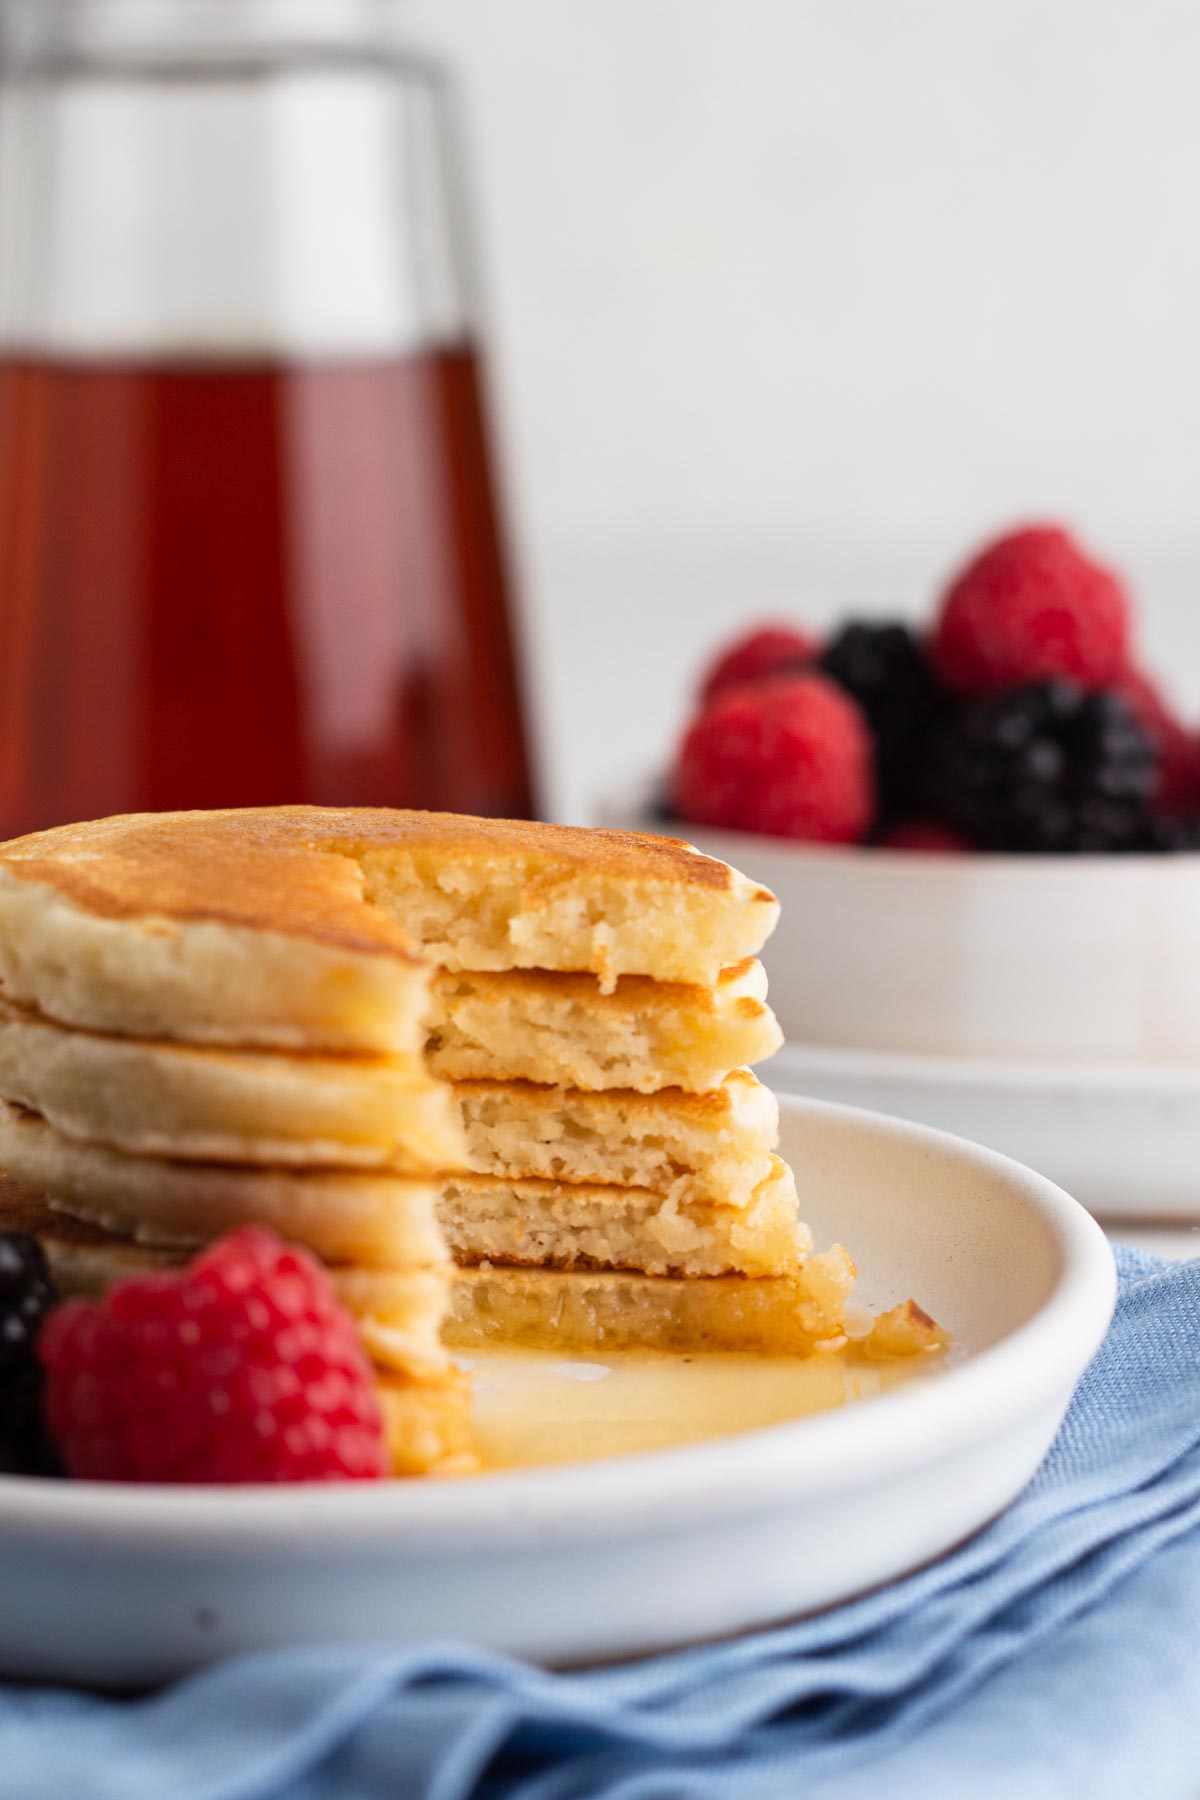
It's not easy to find a recipe that will please everyone, but this classic recipe for mini pancakes manages to knock it out of the park! The simple batter is unfussy and easy to whip up from scratch, yet it creates delightfully classic pancakes with golden, fluffy centers and buttery crisp edges.
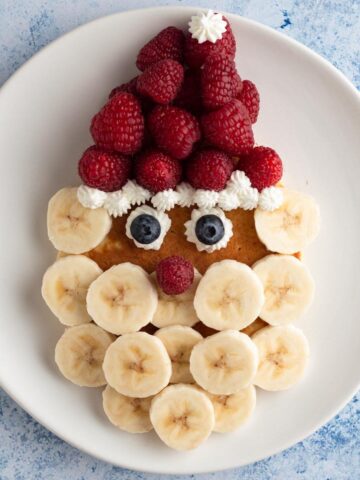
These adorable silver dollar pancakes are perfect for little hands to hold, but they're also ideal for a sophisticated brunch or even special events like a bridal or baby shower!
Whatever you call them - mini pancakes, silver dollars, hotcakes, griddlecakes, or flapjacks - they're sure to please.
Reasons to Love This Recipe
There are lots of reasons to love this easy mini pancake recipe!
- Easy - This recipe is so easy! The pancake batter comes together in minutes using ingredients you probably already have on hand and basic kitchen equipment.
- Delicious - This recipe may be simple, but it's also delicious. Soft and fluffy pancakes, with buttery flavor and lightly crisp edges? Yes please!
- Versatile - This recipe is incredibly versatile. Want to add your favorite pancake mix-ins (like blueberries or chocolate chips)? No problem! Want to make full-sized pancakes? Go for it (you should end up with 8 pancakes)! Want to make super tiny pancake cereal? Knock yourself out!
- Make Ahead and Freeze - What's almost as wonderful as a stack of homemade pancakes on a Saturday morning? Pancakes that can be made ahead and frozen so that you can have on-demand homemade pancakes whenever you want with no hassle! These pancakes freeze perfectly and reheat beautifully. Find my tips for freezing and reheating under Storage Instructions.
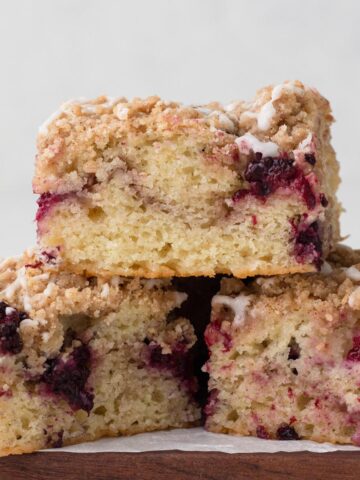
And if classic breakfast favorites are your thing, be sure to also check out my Whole Wheat Buttermilk Waffles (freezer-friendly!), Sourdough French Toast, and Easy Buttermilk Biscuits.
Jump to:
Ingredient Notes & Substitutions
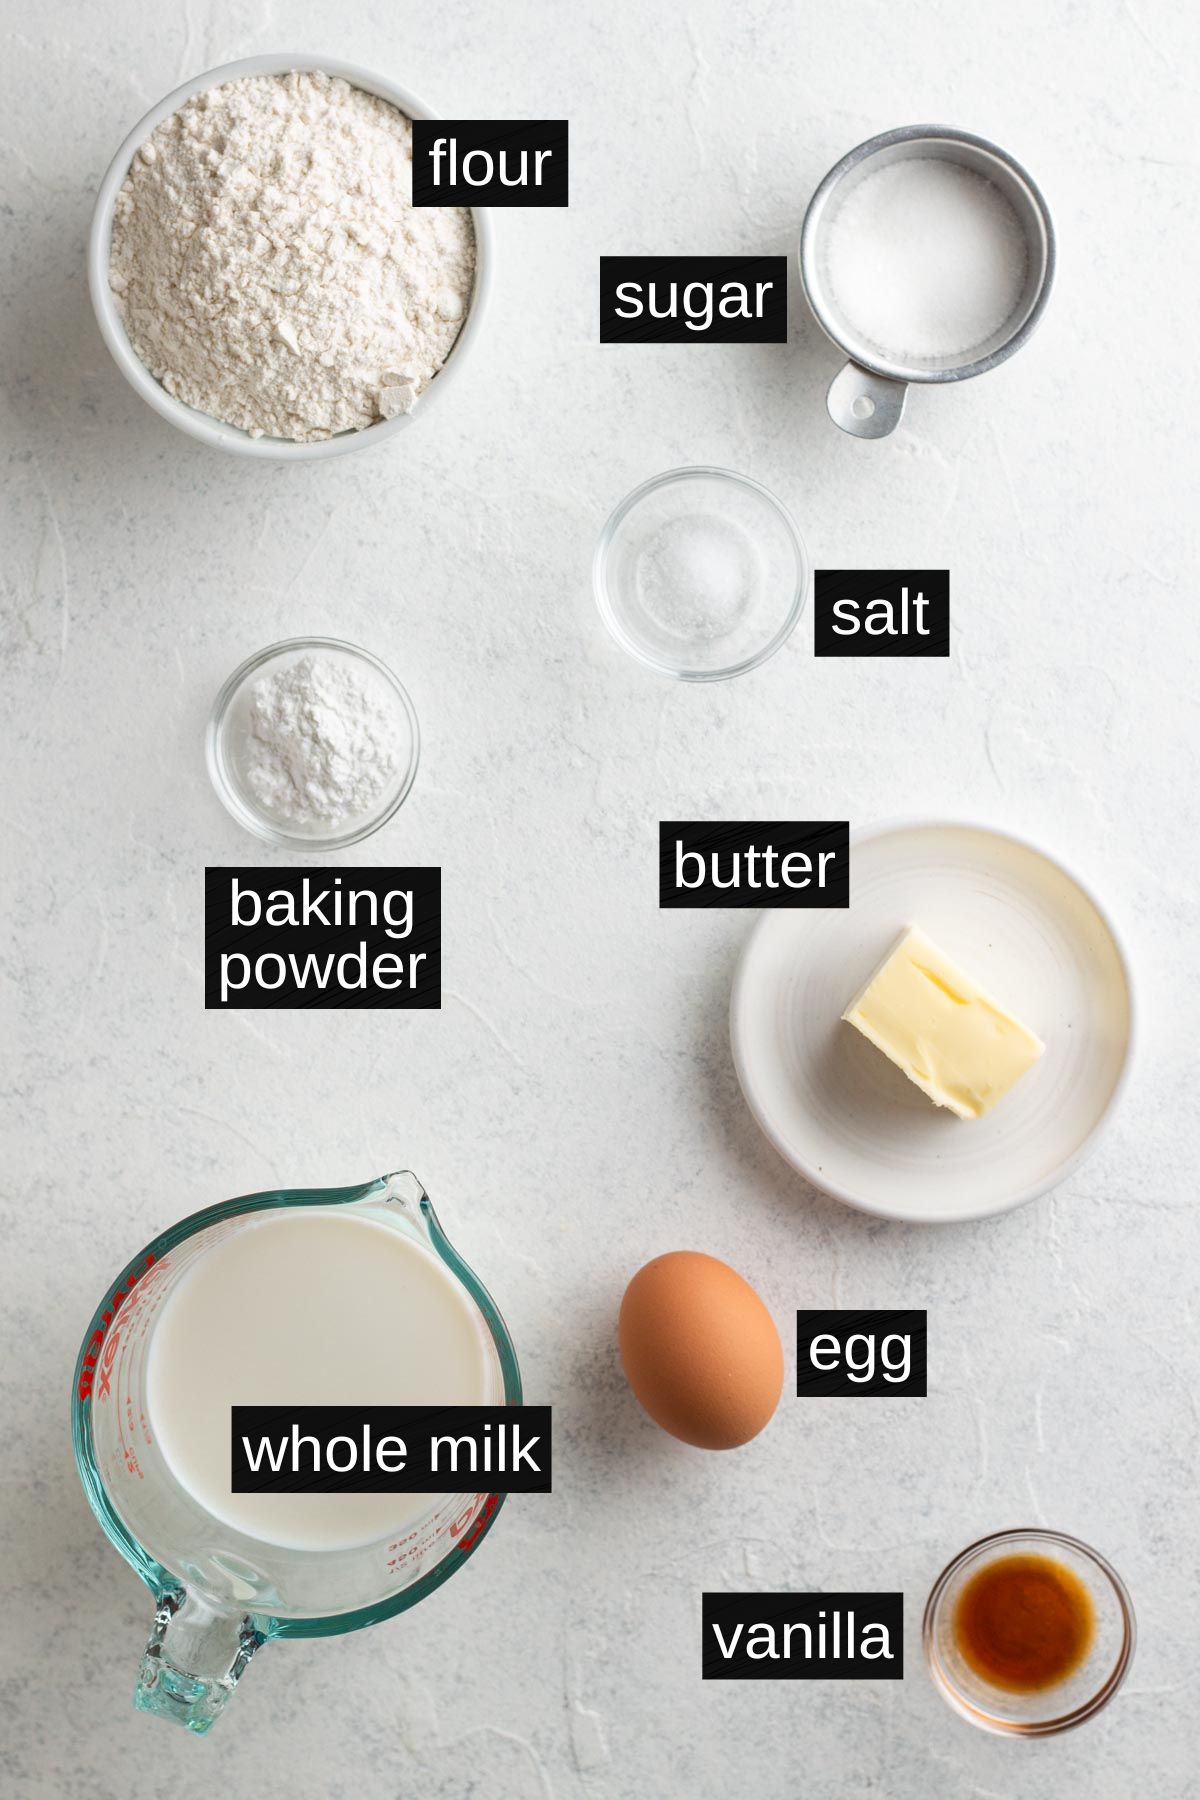
Baking Powder - Baking powder allows these pancakes to rise, helping to create the ideal light and fluffy texture. Since there's no acidic ingredient (like buttermilk) in this recipe, we're using baking powder instead of baking soda.
Whole Milk - Milk adds necessary moisture to the batter, and the fat content of whole milk helps to create a softer pancake. You can substitute a lower fat milk, if you prefer, but the pancakes won't be quite as fluffy. It's best to let the milk come to room temperature before cooking, since it will blend more easily with the other ingredients.
Optional Add-Ins - Just like with regular pancakes, you can include a multitude of add-ins. Fresh blueberries, banana slices, or chocolate chips are some of our favorite add-ins!
See recipe card at the bottom of this post for full ingredient list and measurements.
Special Equipment
In addition to essential baking equipment (like a mixing bowl and whisk), I recommend some special tools for making this recipe.
- A skillet for cooking the pancakes. I like cast iron best, but a non-stick skillet works great, too.
- A small, 1 Tablespoon cookie scoop for scooping the pancake batter. This tool is optional (a Tablespoon measuring spoon can also be used, with a small spatula to scrape the batter out of the spoon), but it comes in handy if you have one.
Best Pans and Cooking Fat for Pancakes
What's the best type of pan for cooking pancakes? And what's the best fat to cook them in? I'm so glad you asked! For fun (and research) I tested cooking pancakes several different ways to determine the best method. Ultimately the answer is subjective, but here's what I discovered.
Best Pans for Cooking Pancakes
Cast Iron Skillet: My personal favorite, cast iron conducts and retains heat beautifully, making it perfect for cooking sooo many things, including pancakes. Once seasoned, cast iron is naturally non-stick, and it gives pancakes perfectly golden edges.
Non-Stick Skillet: A close runner up (in my opinion) to a cast iron skillet, a non-stick skillet is a great option for cooking pancakes.
Electric Griddle: Electric griddles can be finicky, and it can be difficult to keep then at an even heat, so I don't love them for cooking pancakes. Plus it's an extra kitchen device to have to store. If you have one that you love then great - use it! But there's no need to go out and buy one for cooking pancakes.
Best Fat for Cooking Pancakes
None: Since you're cooking pancakes on a non-stick surface, you don't need any fat in your pan. And if you want pancakes with that classic, golden tops, no fat in the pan is the way to go. You may, however, choose to add some to add flavor or to increase browning.
Butter: Butter is obviously a great choice, because cooking pancakes in butter adds an extra bit of delicious flavor and can enhance the crispiness of the edges, if that's your thing. However, cooking pancakes in butter changes their appearance and increases the risk of them burning, so proceed with caution. Also remember you need just a tiny bit in the pan.
Oil: Vegetable oil and canola oil (both neutral oils) have higher smoke points than butter, so pancakes cooked in oil are less likely to burn than those cooked in butter. But these oils also lack the delicious flavor of butter, so I don't really see the point of adding fat without flavor to pancakes.
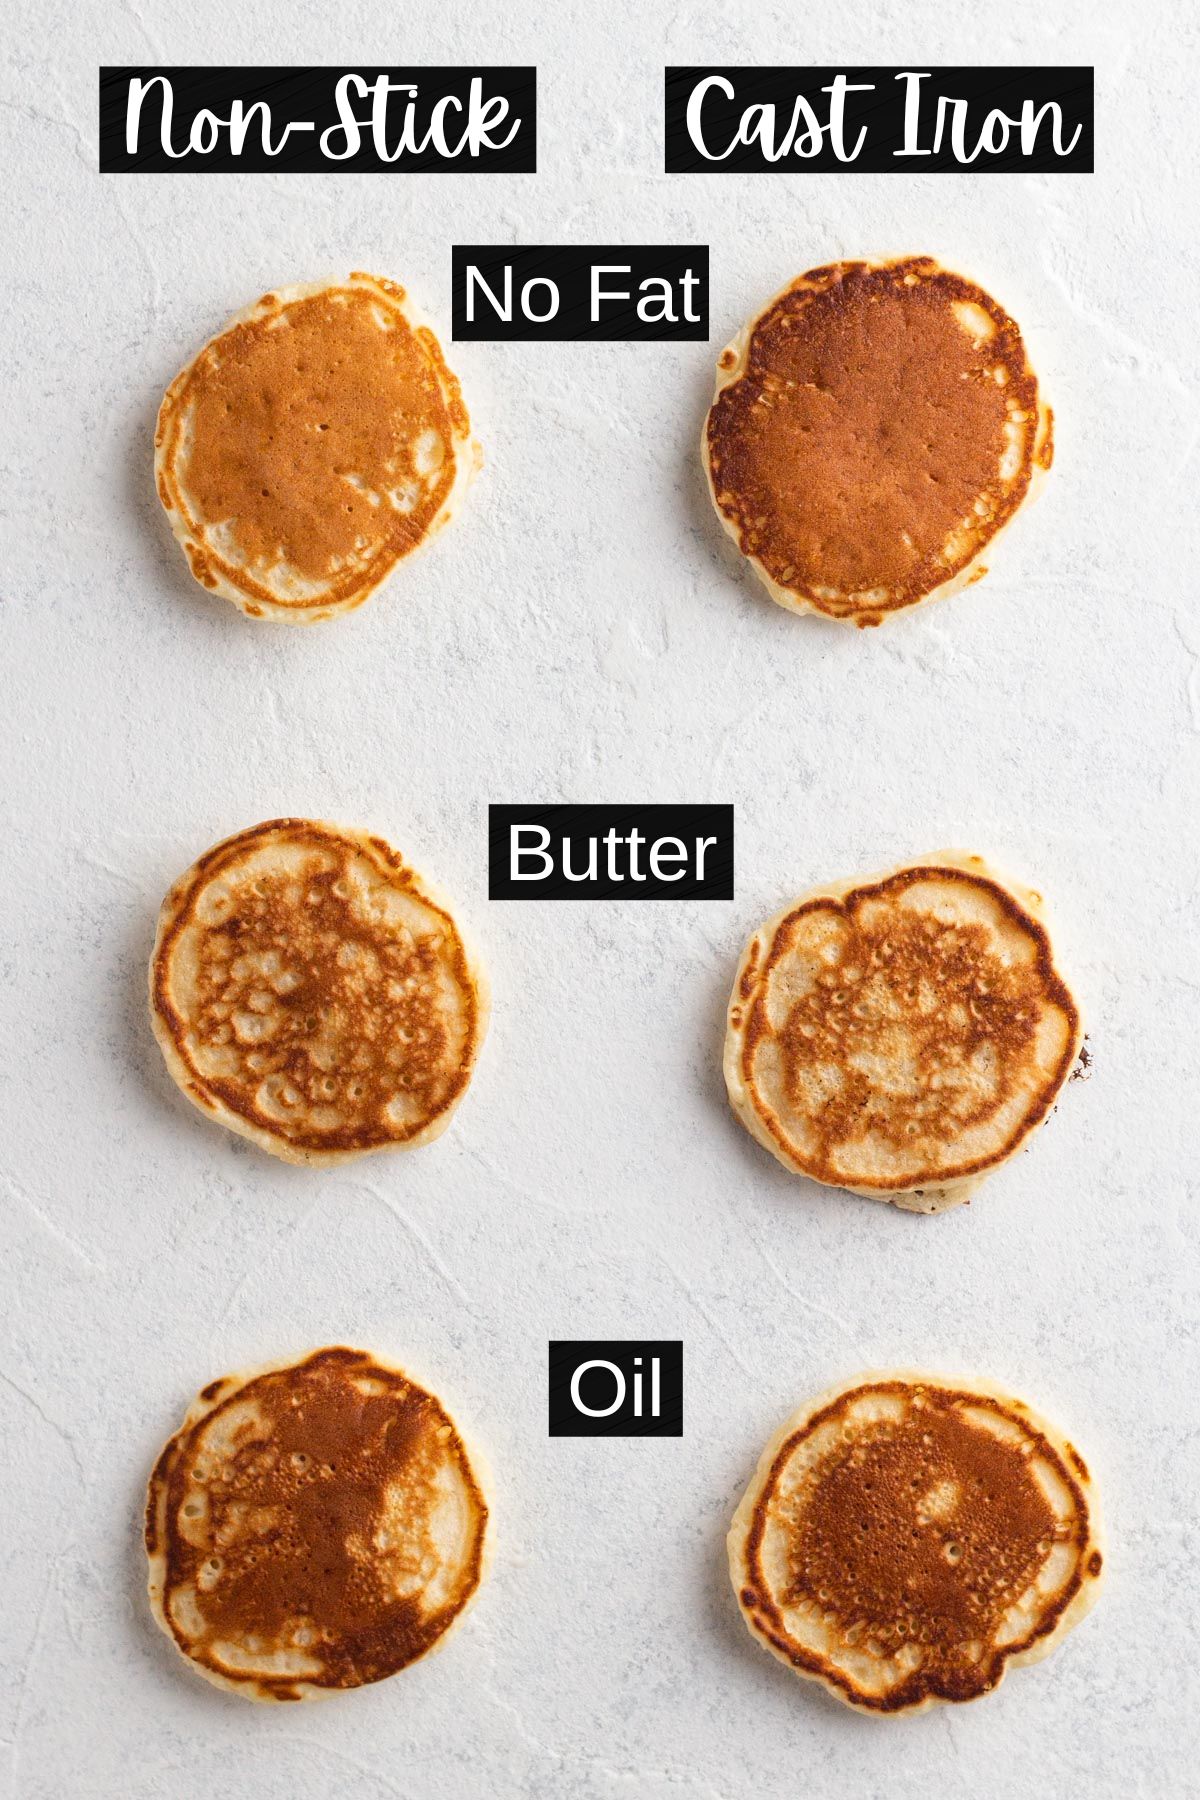
⭐️ My personal fave is pancakes cooked in cast iron with butter, because I love the flavor and the slightly crispy edges. The pancakes shown throughout this post were cooked in a seasoned cast iron skillet with no cooking fat.
Step-By-Step Recipe Instructions
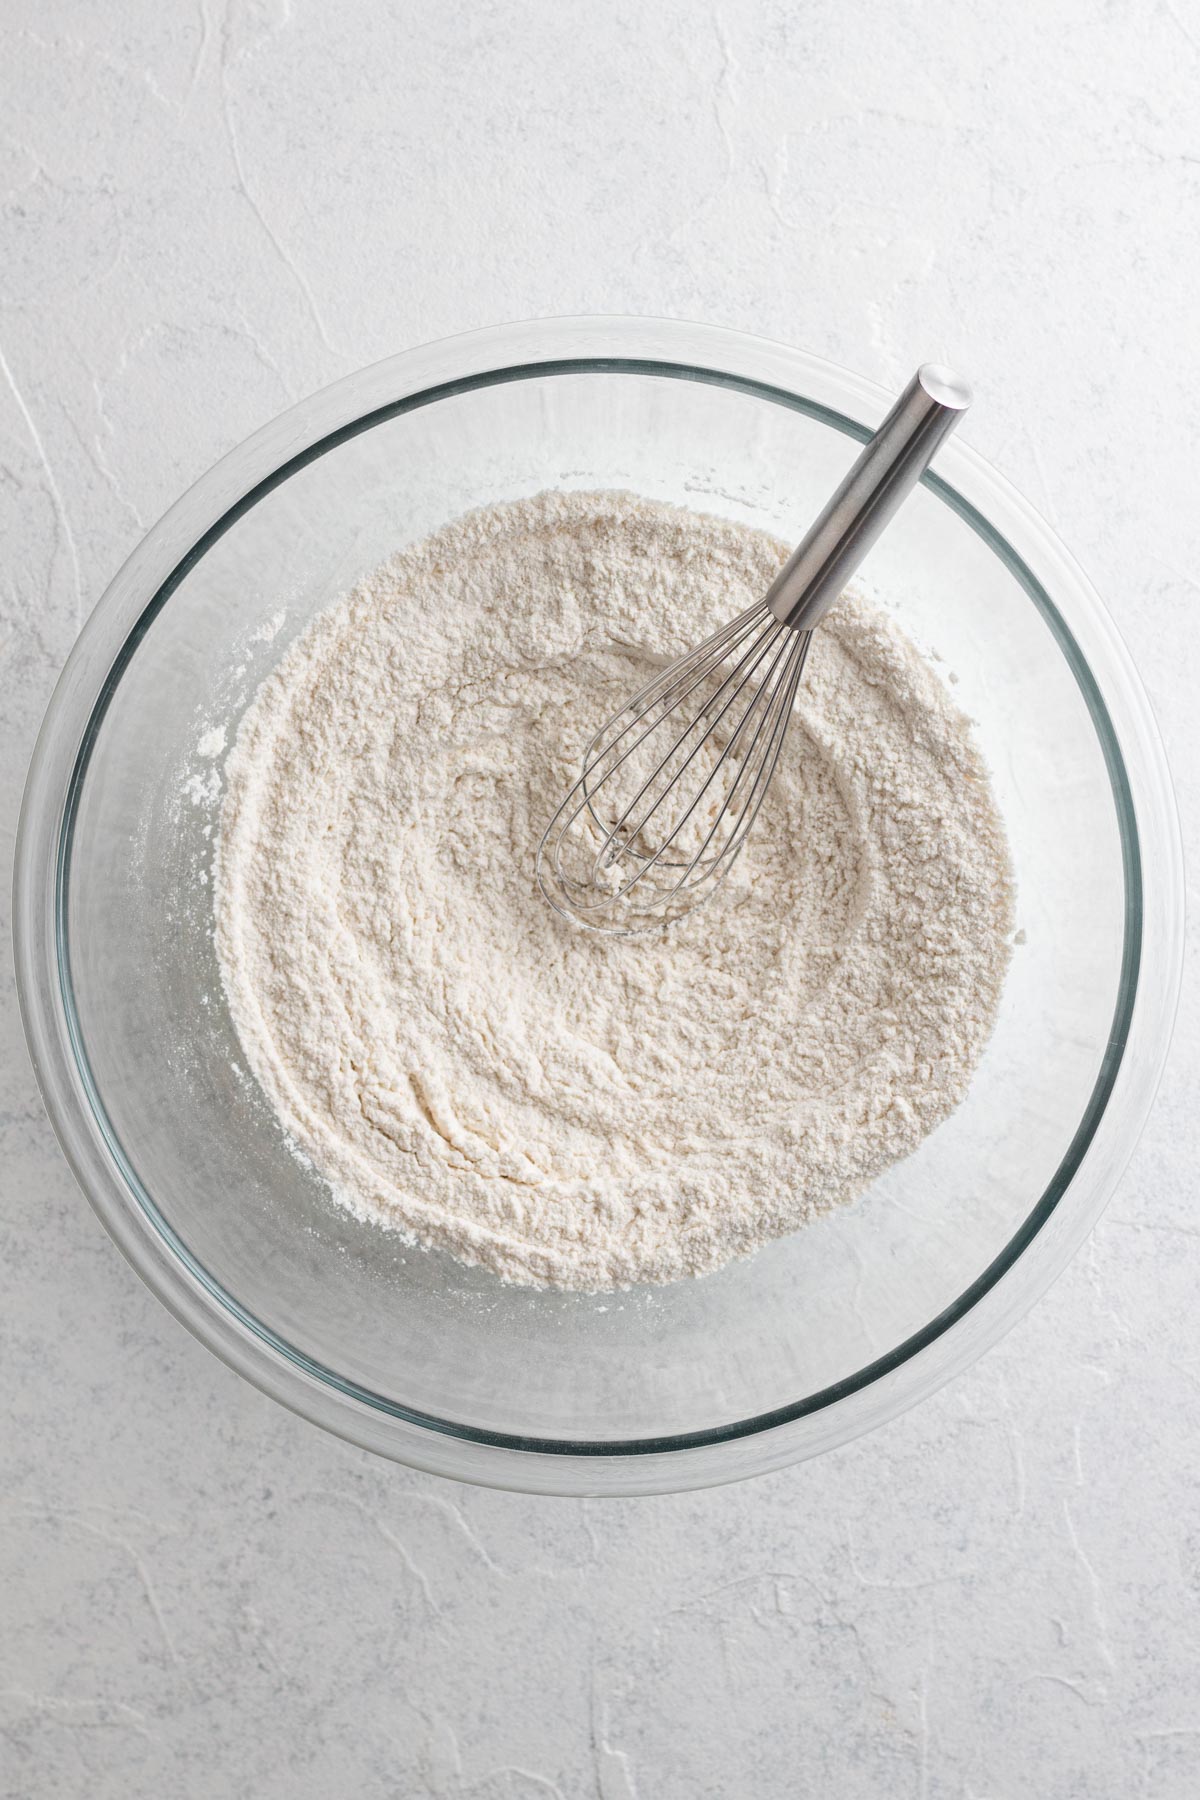
Step 1: In a large bowl, add flour, sugar, baking powder, and salt. Whisk to combine, then set aside.
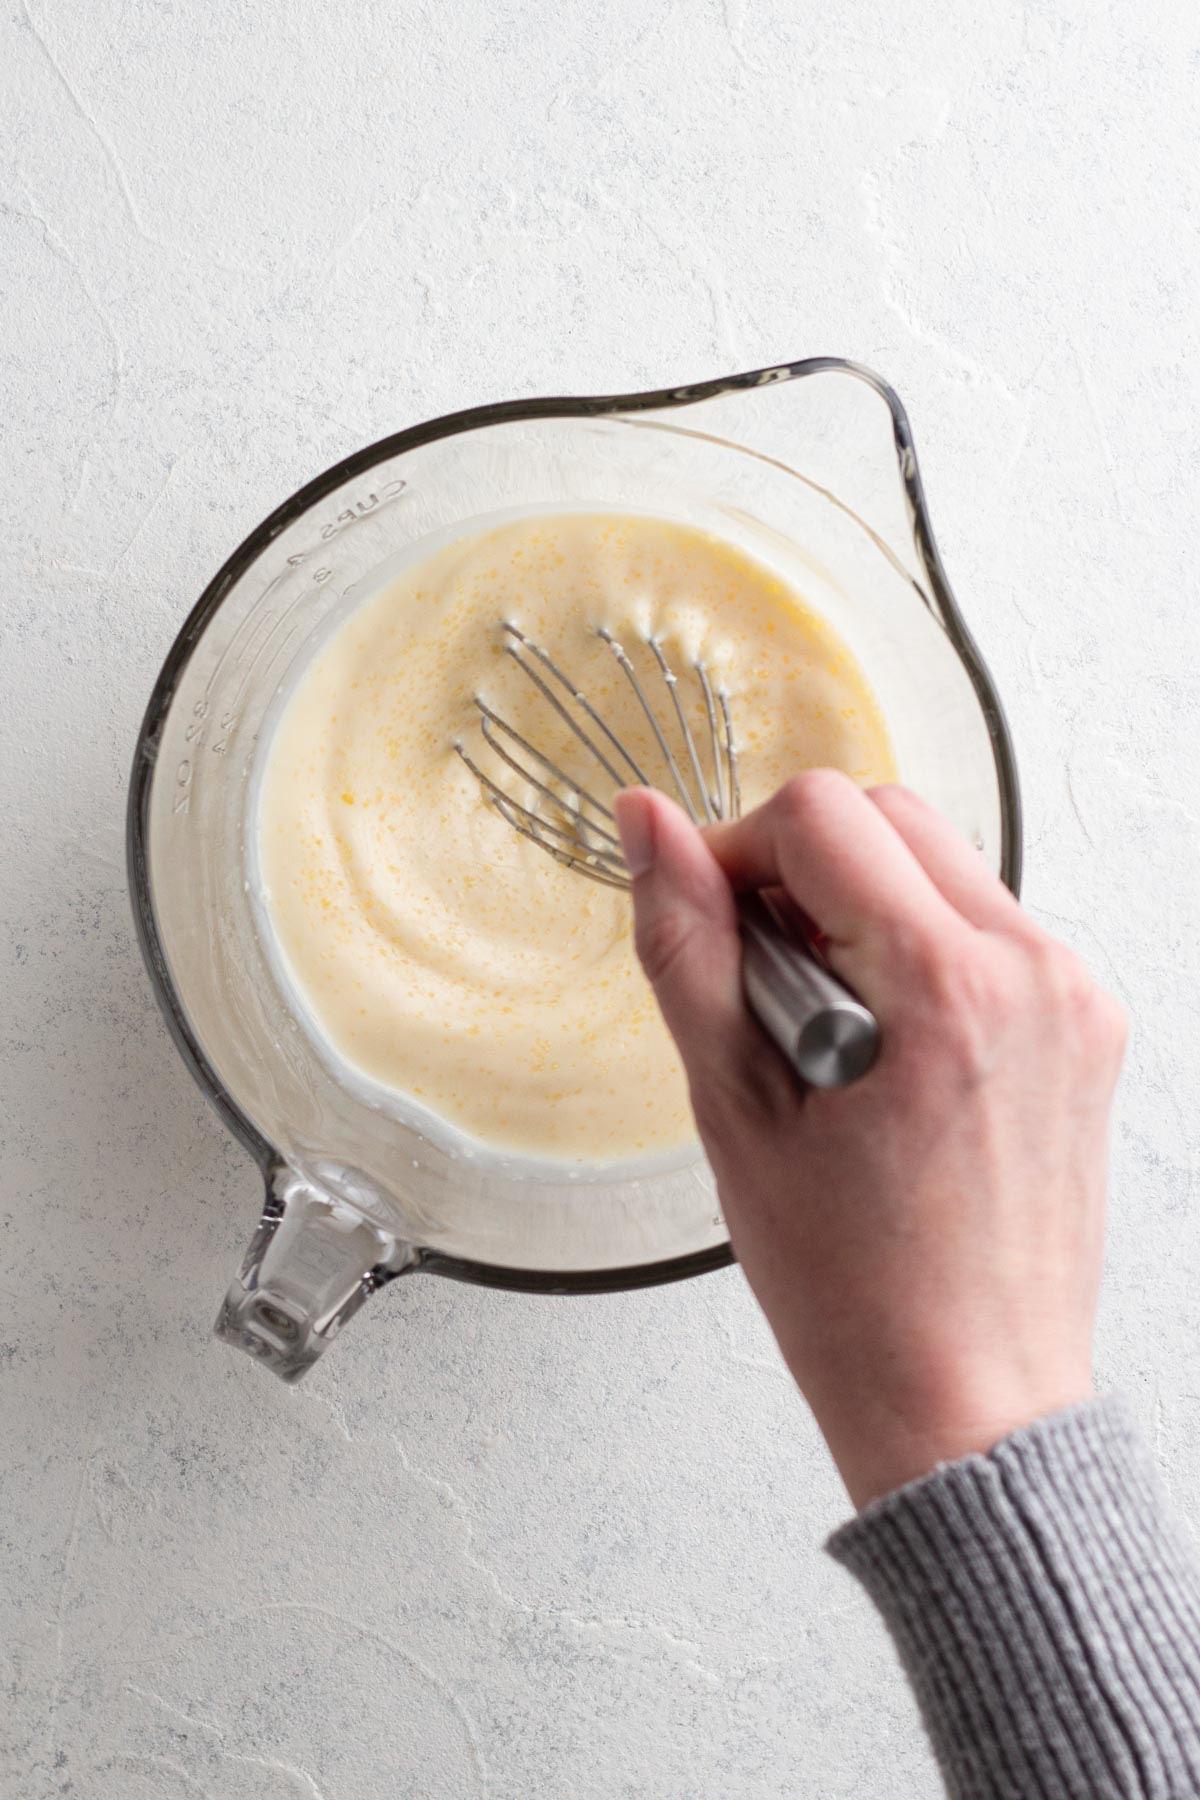
Step 2: In a measuring cup or small bowl, whisk together milk, egg, melted butter, and vanilla.
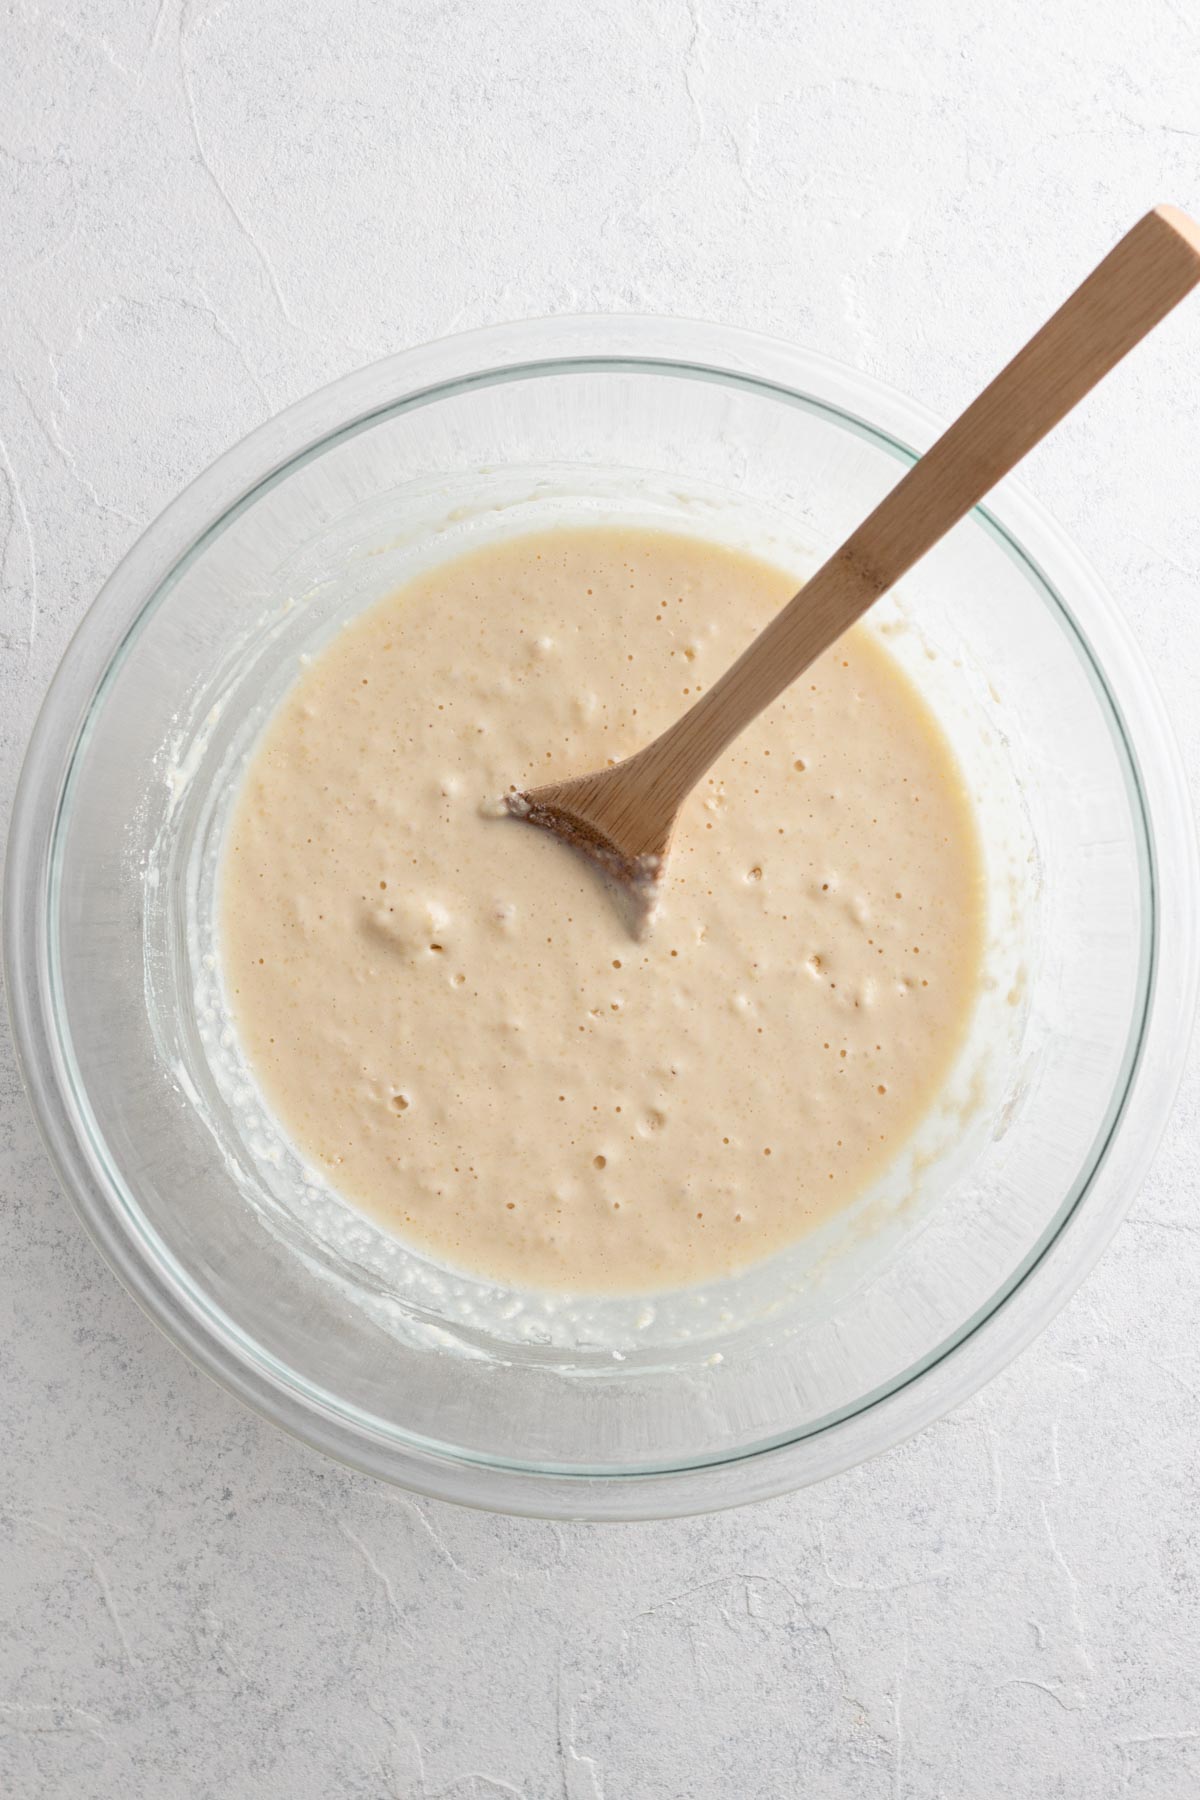
Step 3: Add the milk mixture to the flour mixture and stir using a wooden spoon or spatula just until the batter is blended. Let the batter rest for 10 to 30 minutes while you heat your skillet over medium low heat.
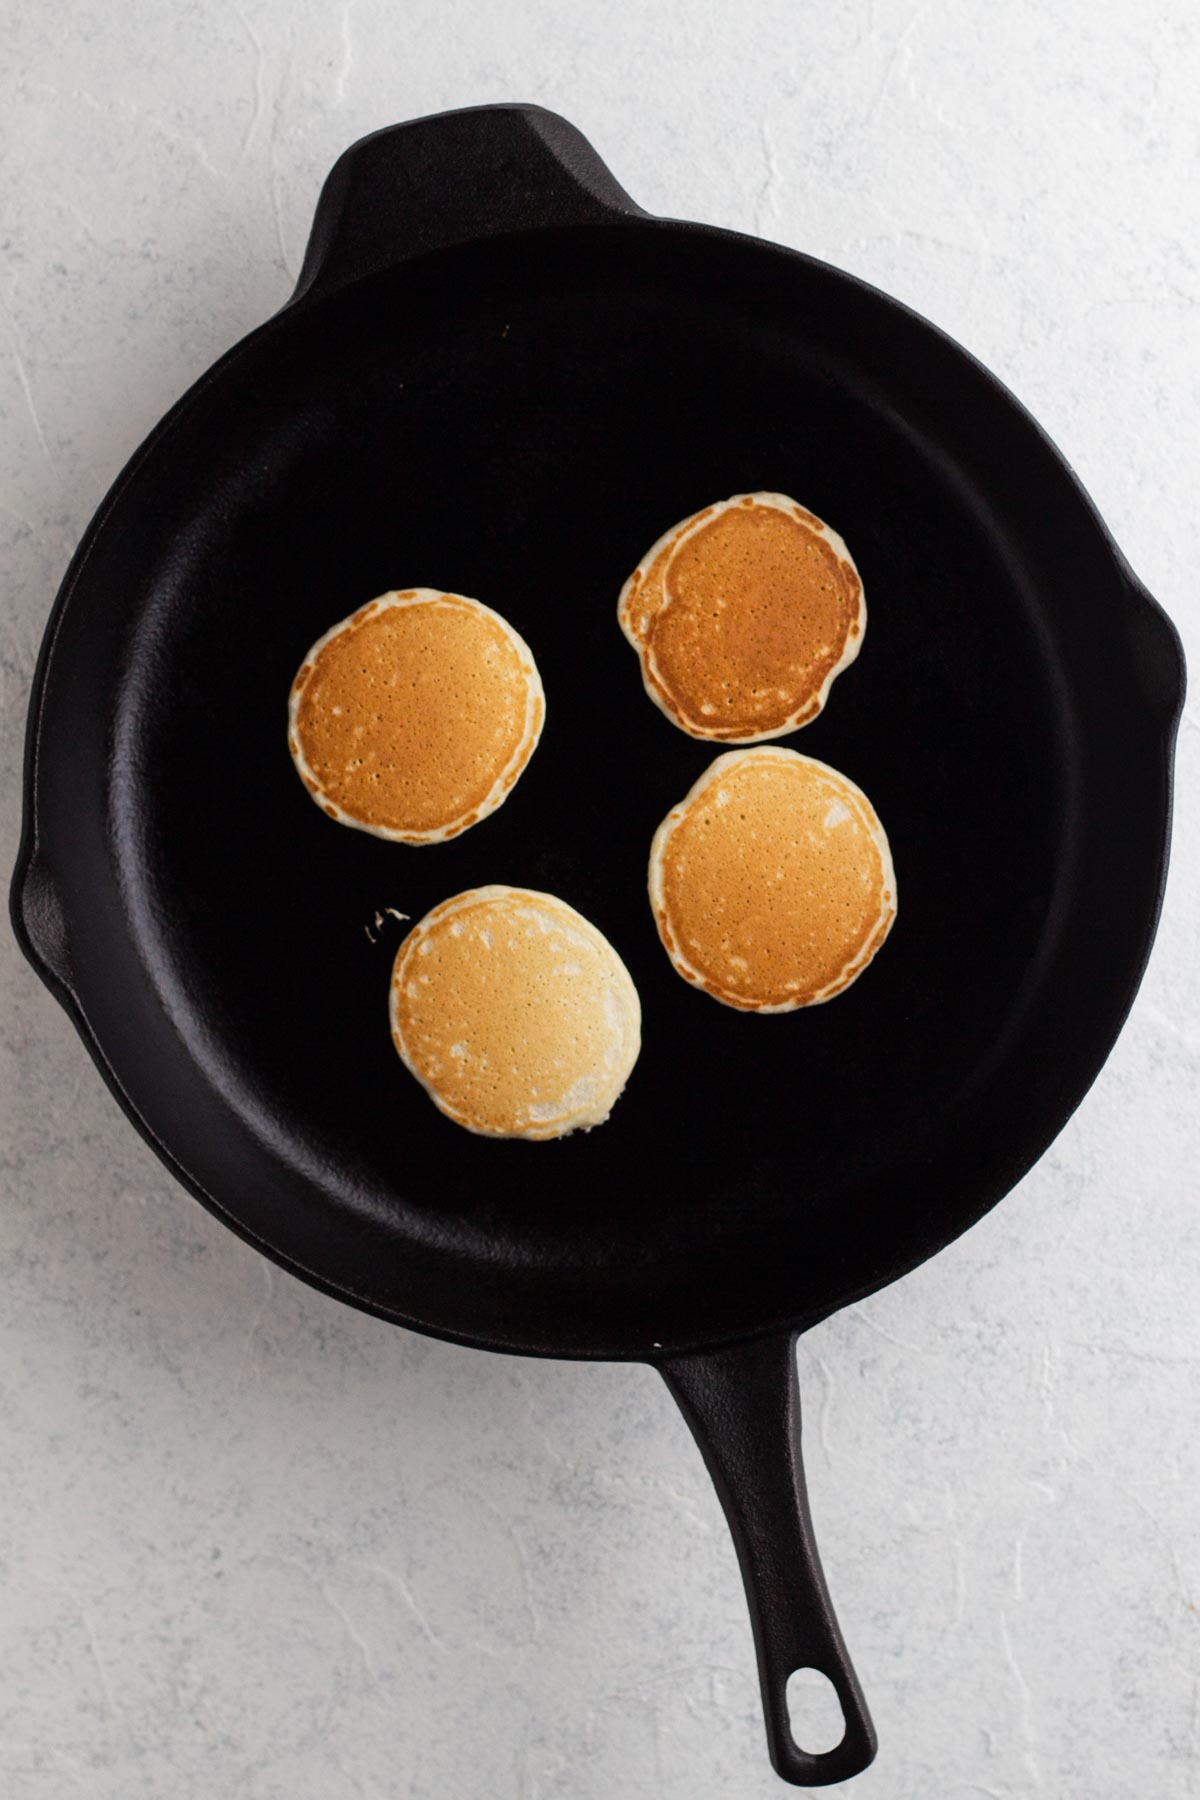
Step 4: Once the pan is heated, carefully scoop 1 Tablespoon of batter onto the pan for each pancake. Cook the pancakes for 1 minute before flipping and cooking for 1 minute on the other side.
Serving Suggestions
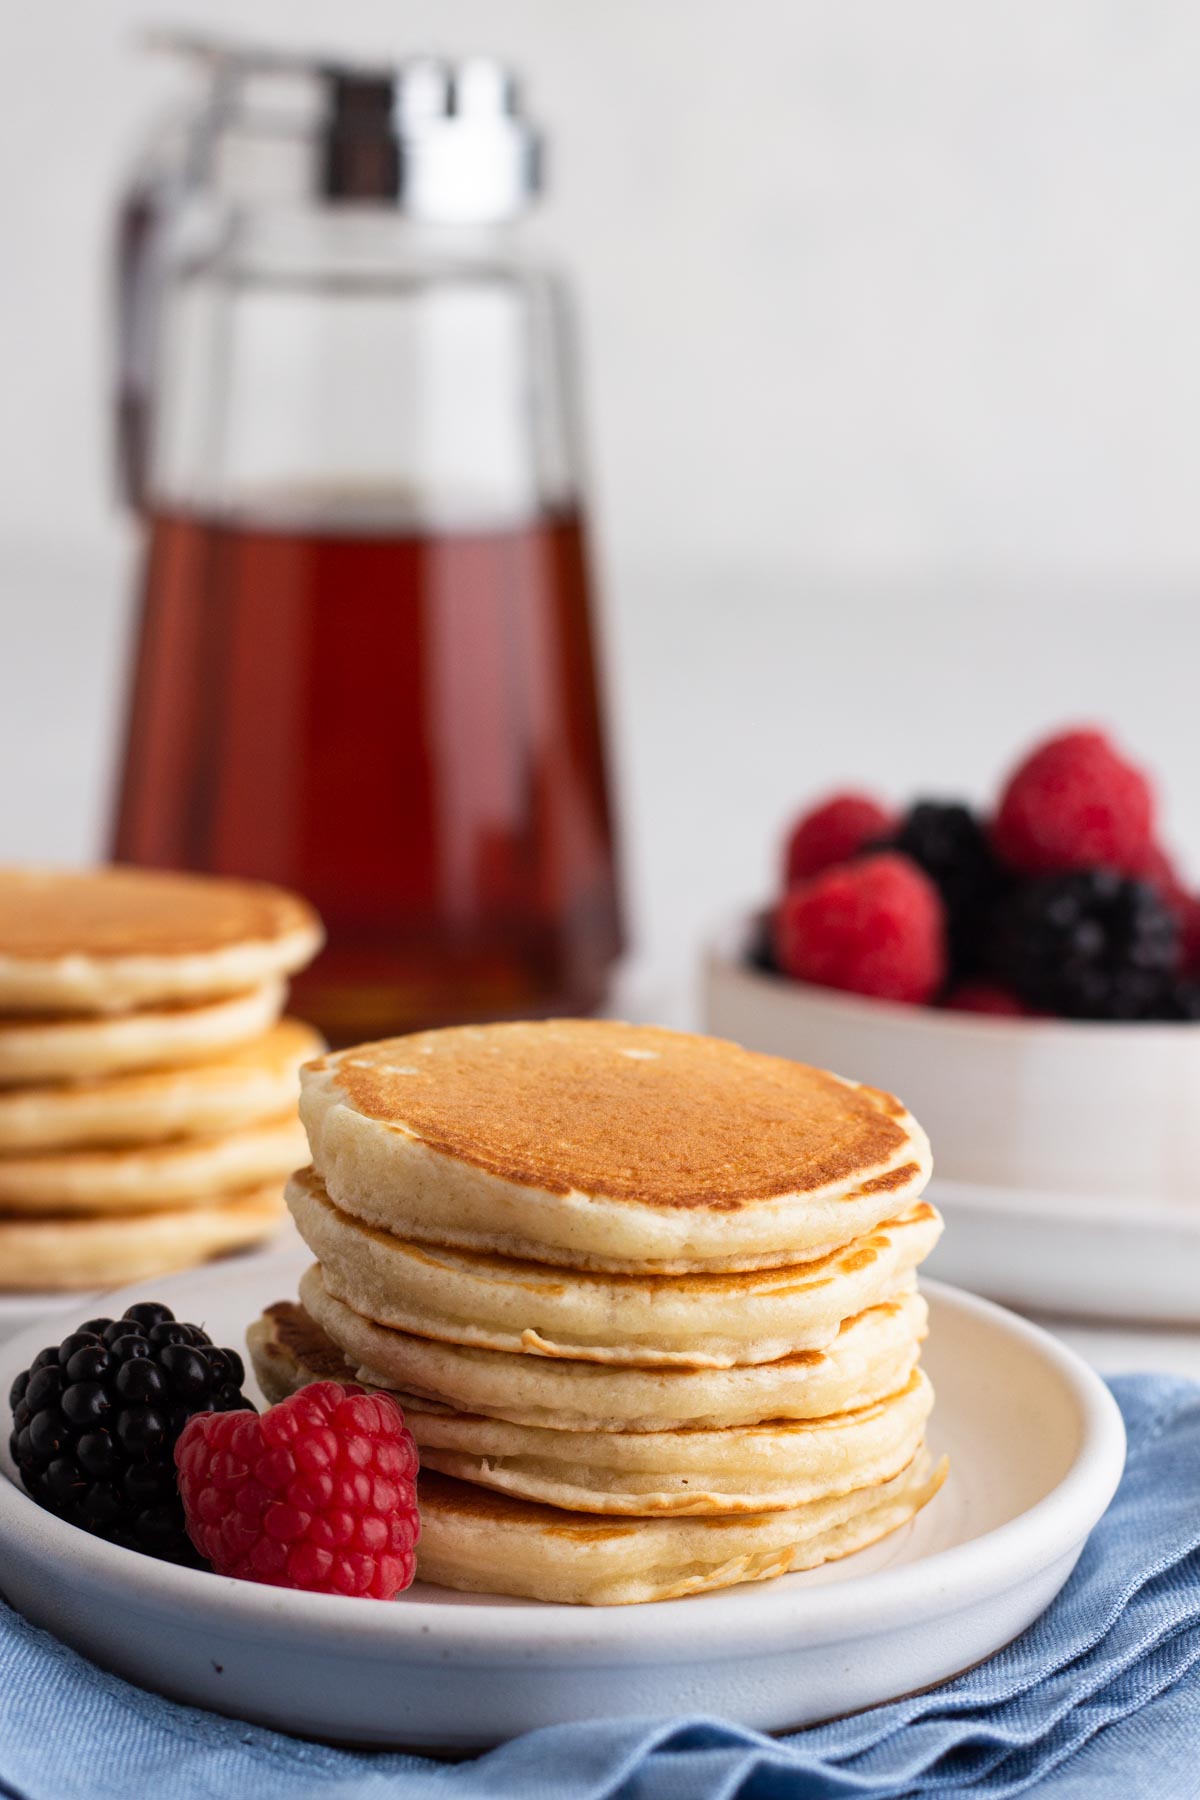
There are tons of ways to serve these mini silver dollar pancakes. Here are just a few suggestions:
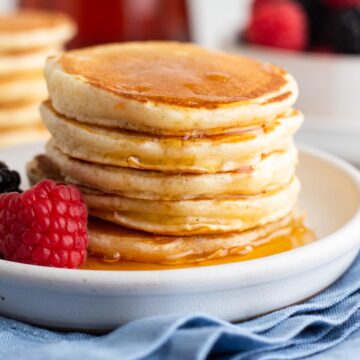
- Stack the pancakes
- Drizzle with maple syrup
- Dust with powdered sugar
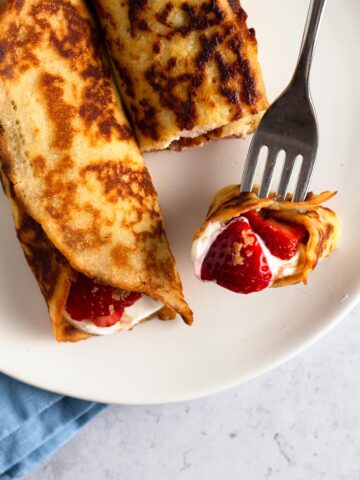
- Top with fresh fruit
- Serve with fruit compote or jam
- Serve on skewers with fruit
- Make mini stacks, secure with cocktail skewers or decorative toothpicks, and serve on a platter
Allison's Top Tips
The most important thing to remember when making pancakes is not to over mix the batter. Be sure to mix the batter just until the wet and dry ingredients are combined, leaving it a little bit lumpy. The batter will deflate if over-mixed, and you'll be left with pancakes that are flat instead of fluffy.
Be sure to let the batter rest for at least 10 minutes (and up to 30 minutes) before cooking the pancakes. While the batter rests, the moisture in the batter will hydrate the flour and activate the baking powder. Once cooked, this will yield softer and fluffier pancakes.
Be careful not to overheat your skillet! A skillet that's too hot will burn the outside of the pancake before the center has a chance to fully cook through. Keep your pan at medium-low heat to avoid burned pancakes.
Recipe FAQs
Miniature pancakes that are just 2 to 3 inches in diameter are often called silver dollar pancakes, since they are about that same size as a US silver dollar.
How long to cook a pancake will depend on its thickness, but generally pancakes should cook for 2 to 3 minutes on each side over medium-low heat. These mini silver dollar pancakes cook for just 60 seconds on each side! You'll know that a pancake is ready to flip when bubbles appear on the surface of the batter and pop, leaving holes that do not disappear in the surface. You can then test the pancake by sliding the spatula under one edge and taking a peek at the underside. If the pancake is golden with no raw batter sticking to the skillet, it's ready to flip.
Mini pancakes can be flipped just like full-sized pancakes, though it may be easier to use a smaller spatula for flipping. Holding the handle of the spatula with your wrist facing upward, slide the spatula all the way under the pancake and lift it a few inches above the skillet. With a quick flip of your wrist (turning your wrist downward), flip the pancake over and replace it in the same spot in the skillet, but with its other side now down in the skillet.
Storage Instructions
Refrigerator: Leftover pancakes can be stored in an airtight container in the fridge for up to 5 days. Reheat in a toaster oven (for crispier pancakes) or in the microwave (for softer pancakes) before serving.
Freezing: Once cooked and fully cooled, lay pancakes on a baking sheet and freeze for 15-30 minutes before packaging so they don't stick together once frozen. Place the already-frozen pancakes into an air-tight container and store in the freezer for up to 2 months. When ready to eat, defrost the pancakes in the microwave before reheating in the toaster oven (for crispier pancakes) or microwave (for softer pancakes).
More Pancake Recipes

Love this recipe? Please leave a star rating and review on the recipe below! And don't forget to subscribe to Always Eat Dessert for even more easy dessert recipes and helpful baking tips.
Recipe
Mini Silver Dollar Pancakes
Special Equipment
- Cast iron or non-stick skillet
- Small (1 Tablespoon) cookie scoop (optional for scooping pancake batter)
Ingredients
- 1 ½ cups (188 grams) all-purpose flour
- 2 Tablespoons (24 grams) granulated sugar
- 3 ½ teaspoons (14 grams) baking powder
- ¼ teaspoon (1.5 grams) salt
- 1 ¼ cups (305 grams) whole milk, room temperature
- 1 large egg, room temperature and lightly beaten
- 3 Tablespoons (42 grams) unsalted butter, melted and slightly cooled
- ½ teaspoon (2 grams) vanilla extract
Instructions
Make the pancake batter.
- In a large bowl, add flour, sugar, baking powder, and salt. Whisk to combine, then set aside.
- In a measuring cup or small bowl, whisk together milk, egg, melted butter, and vanilla.
- Make a well in the center of the dry ingredients. Add the milk mixture to the flour mixture and stir using a wooden spoon or spatula just until the batter is blended. Let the batter rest for 10 to 30 minutes.
Cook the pancakes.
- While the batter rests, heat your skillet or griddle over medium low heat.
- Once the pan is heated, carefully scoop or ladle 1 Tablespoon of batter onto the pan, being sure to leave enough space between the pancakes so they have room to expand as they cook. Cook the pancakes for 1 minute before flipping and cooking for 1 minute on the other side. Both sides of the pancake should be golden with a puffed center that's cooked all the way through. Serve immediately.

Comments
No Comments