
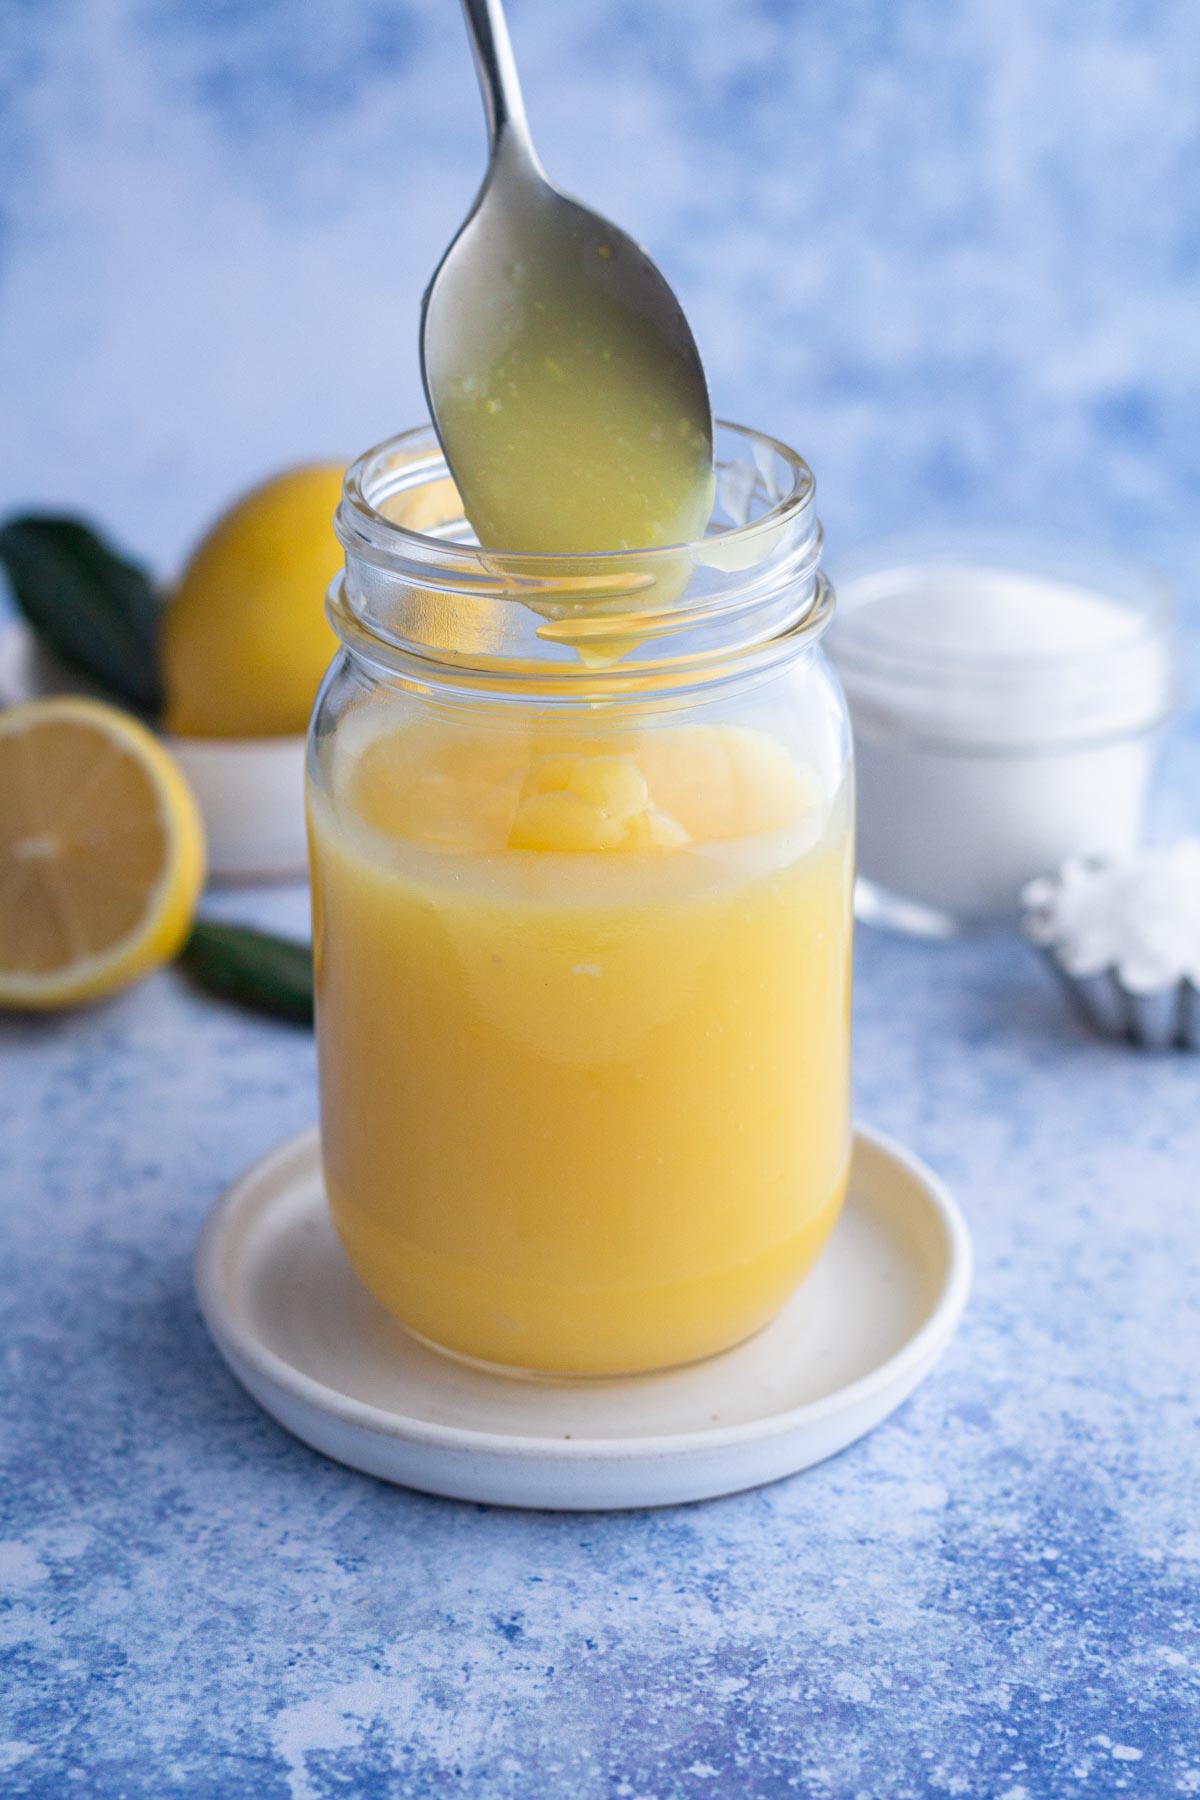
Tangy, creamy, and oh so delicious... lemon curd has a multitude of uses in a lemon lovers kitchen! Learn how to make homemade lemon curd from scratch in just 20 minutes using simple ingredients with this easy-to-follow recipe!

We're big fans of chocolatey desserts here at Always Eat Dessert, but if there's one thing that comes close to rivaling our love of chocolate, it's lemon! I'm a huge sucker for lemony desserts - with their bright, fresh, citrusy flavor - and I know you are, too!
And if you're a lemon lover, chances are you're a big fan of lemon curd, too.
If you love all things lemon but haven't yet tried your hand at making homemade lemon curd, what are you waiting for?! Lemon curd takes just about 20 minutes to make from scratch, and it's fresh citrus flavor can't be beat! This tangy and sweet topping is surprisingly versatile, too. Keep scrolling to learn how to make homemade lemon curd and for inspiration for using it in your kitchen!
Jump to:
Why This Recipe Works
I may be biased, but in my humble opinion this recipe is totally the best because it's:
- Homemade - Homemade lemon curd automatically trumps store bought. You just can't capture the full strength of the citrusy tang with the kind that comes in a jar.
- Quick - This recipe takes just 20 minutes to make, using simple ingredients and basic kitchen tools.
- Easy - The detailed, step-by-step instructions make this recipe foolproof. And I keep things extra easy... even straining the curd is optional!
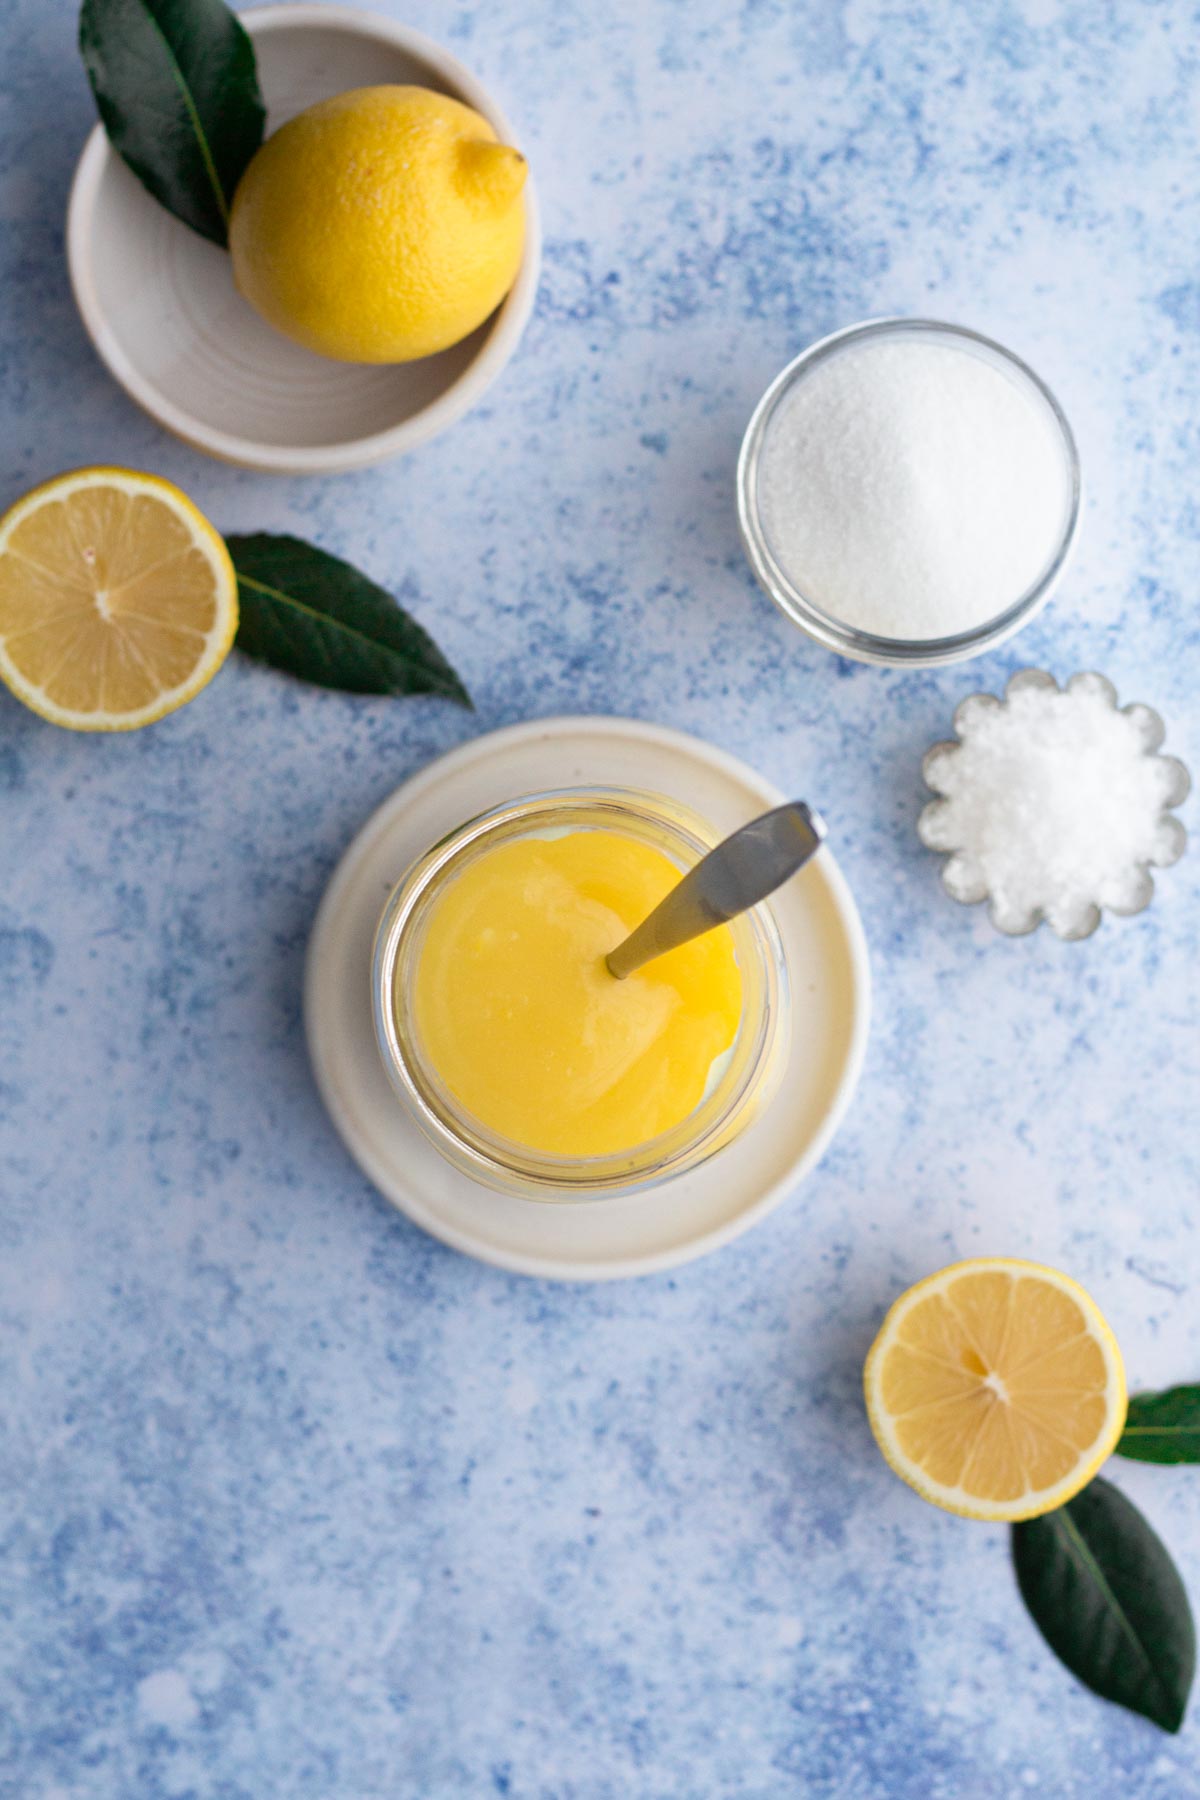
Ingredient Notes & Substitutions
See recipe card at the bottom of this post for full ingredient list and measurements.
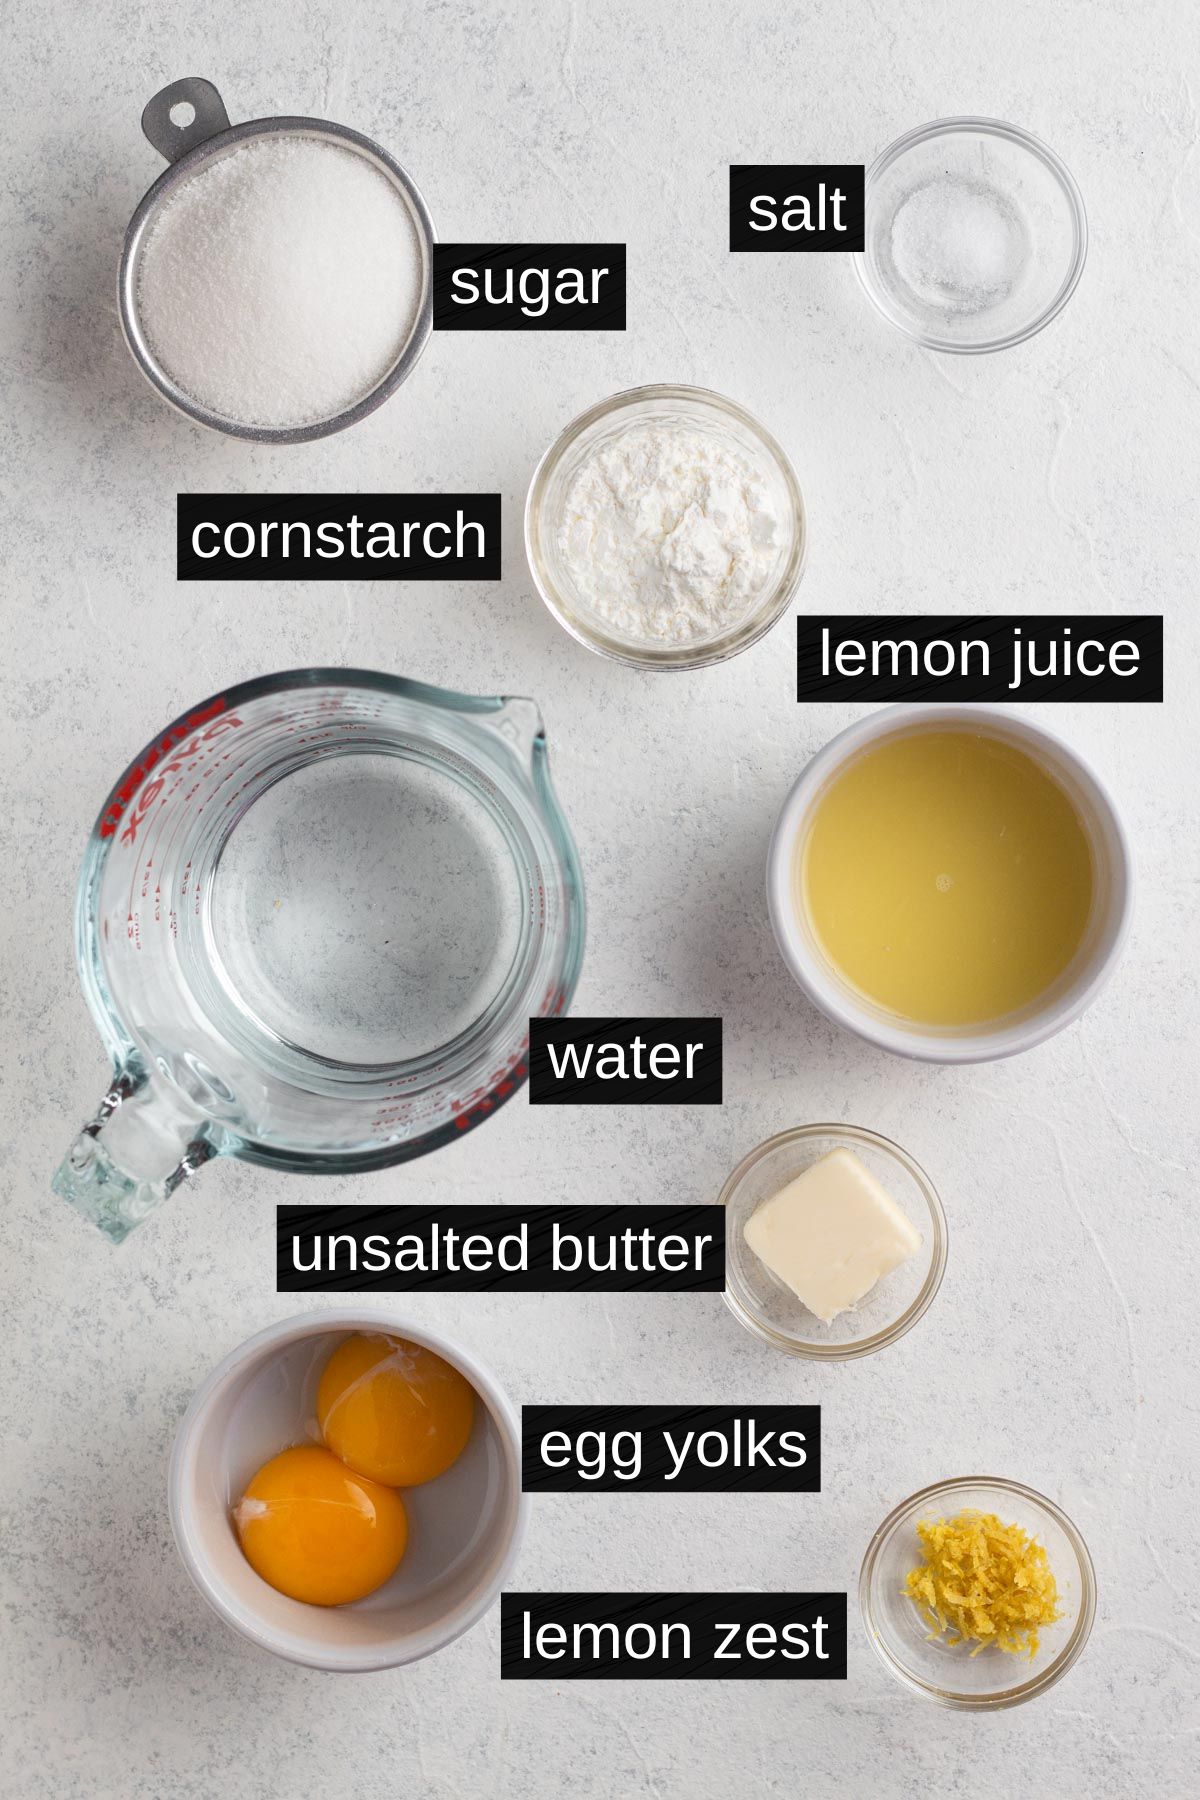
Fresh Lemon Juice & Zest - This one's pretty obvious, but we'll use fresh lemon flavor to give the curd that bright, flavorful punch! Both fresh juice, and freshly-grated zest are used for flavor here.
Granulated Sugar - Sugar's sweetness helps to balance the tartness of the lemons, plus it contributes to the texture of the curd.
Cornstarch - A bit of cornstarch acts as a thickener, helping to thicken the curd as it cooks and cools.
Egg Yolks - Egg yolks add to both the thickness and the creaminess of our curd.
Special Equipment
None! If you have a saucepan and a spatula, you can make this recipe.
With that said, you may choose to strain your curd, in which case you would want a fine mesh sieve. I skip this step (see Recipe Tips for more).
Step-By-Step Instructions
See recipe card at the bottom of this post for detailed recipe instructions.
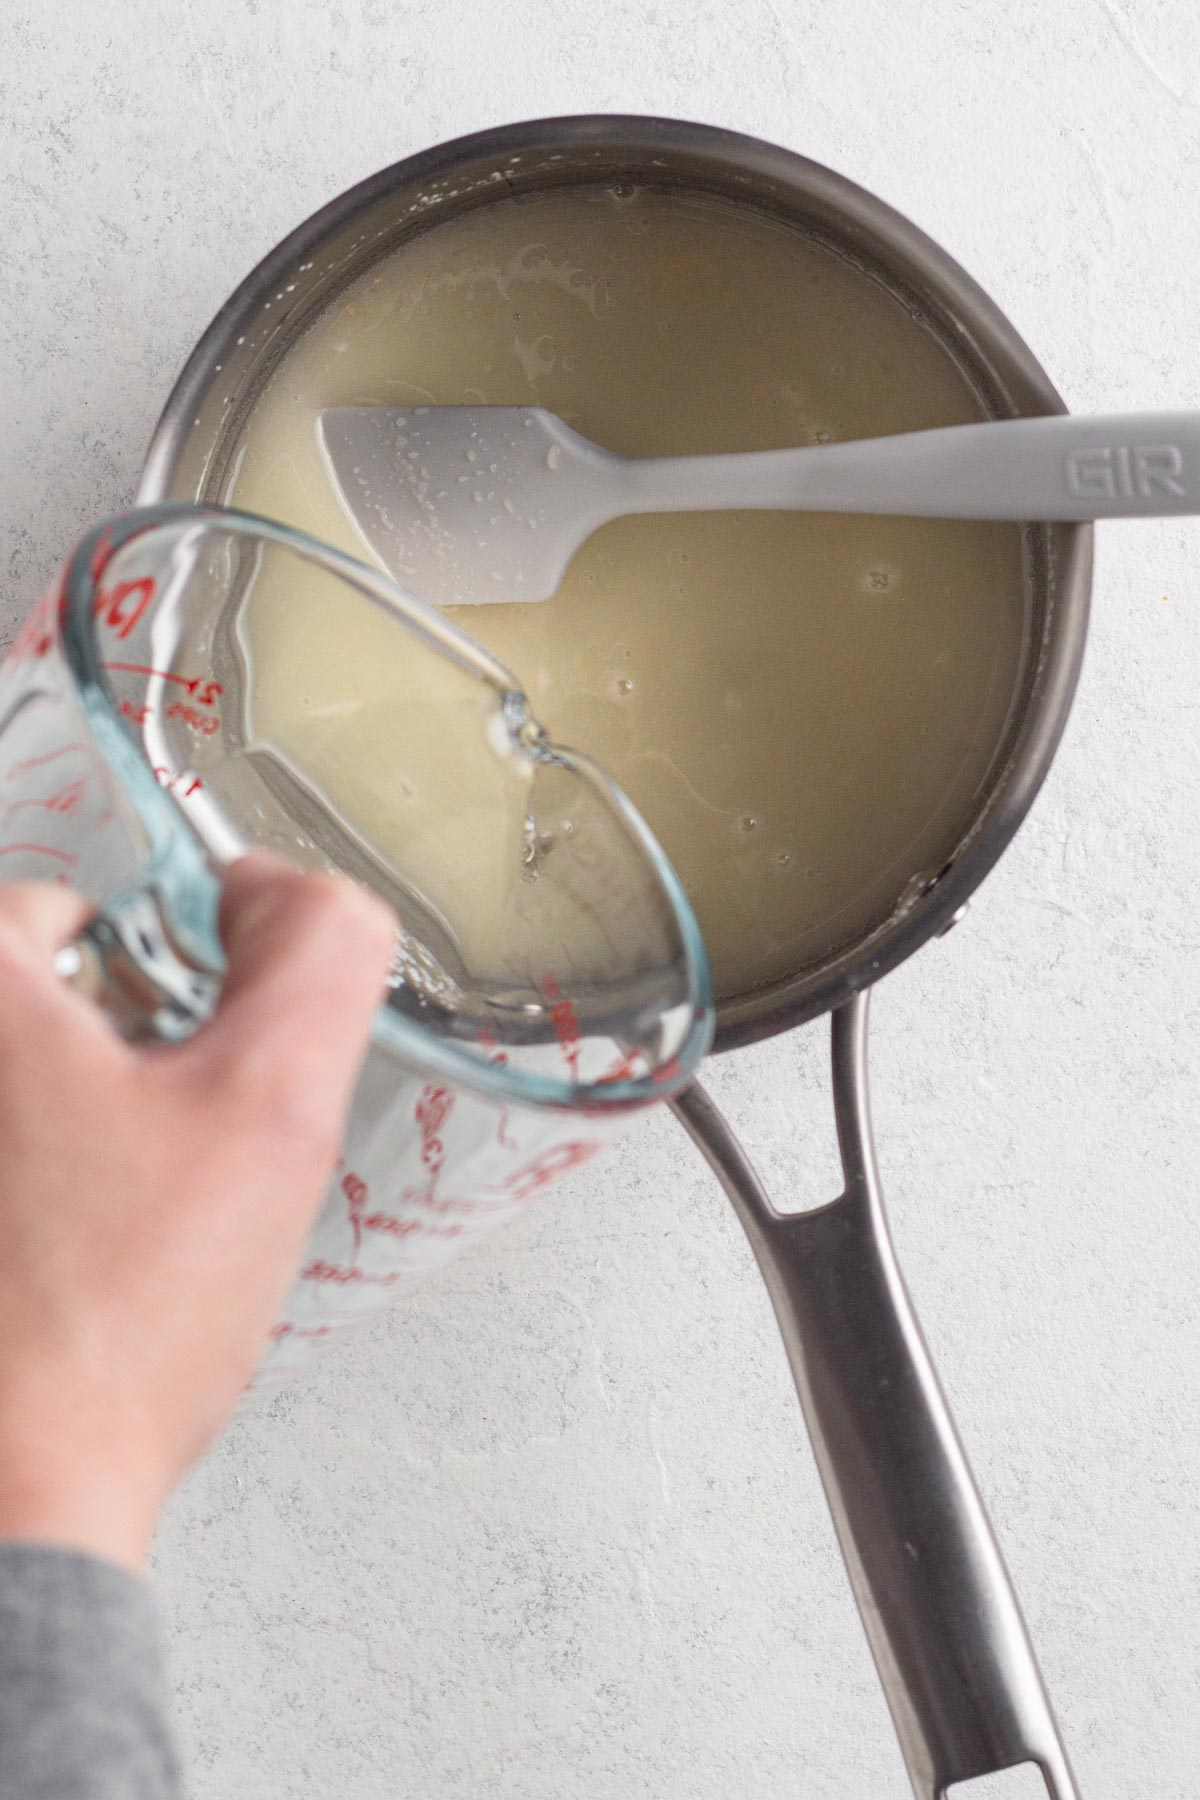
Step 1: In a medium saucepan, add sugar, sifted cornstarch, and salt. Slowly add lemon juice and cold water to the sugar mixture, stirring until smooth.
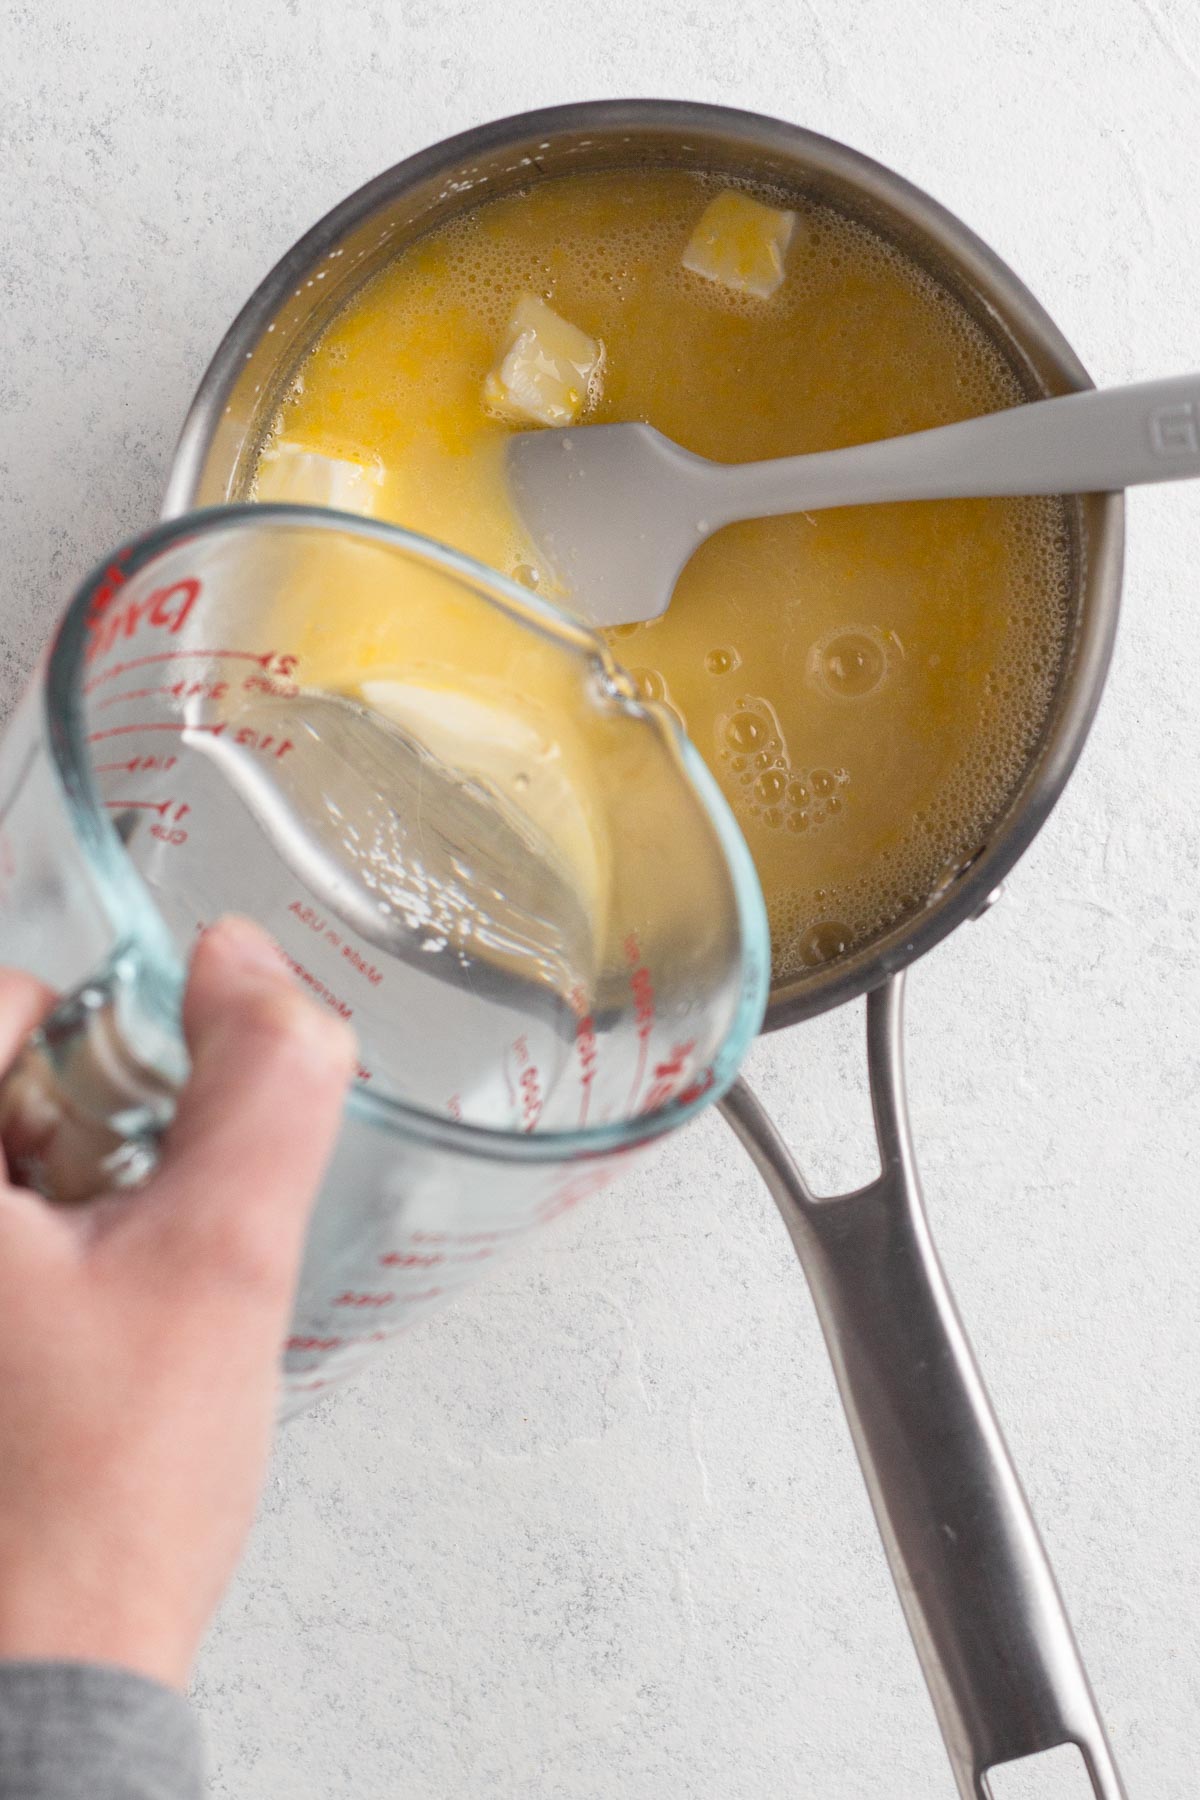
Step 2: Add the beaten egg yolks to the saucepan and stir until the yolks are thoroughly blended with the lemon juice mixture. Then add the butter.
Step 3: Stirring constantly, slowly add boiling water to the saucepan. Continue to stir until all of the boiling water has been added and the mixture is cohesive and smooth.
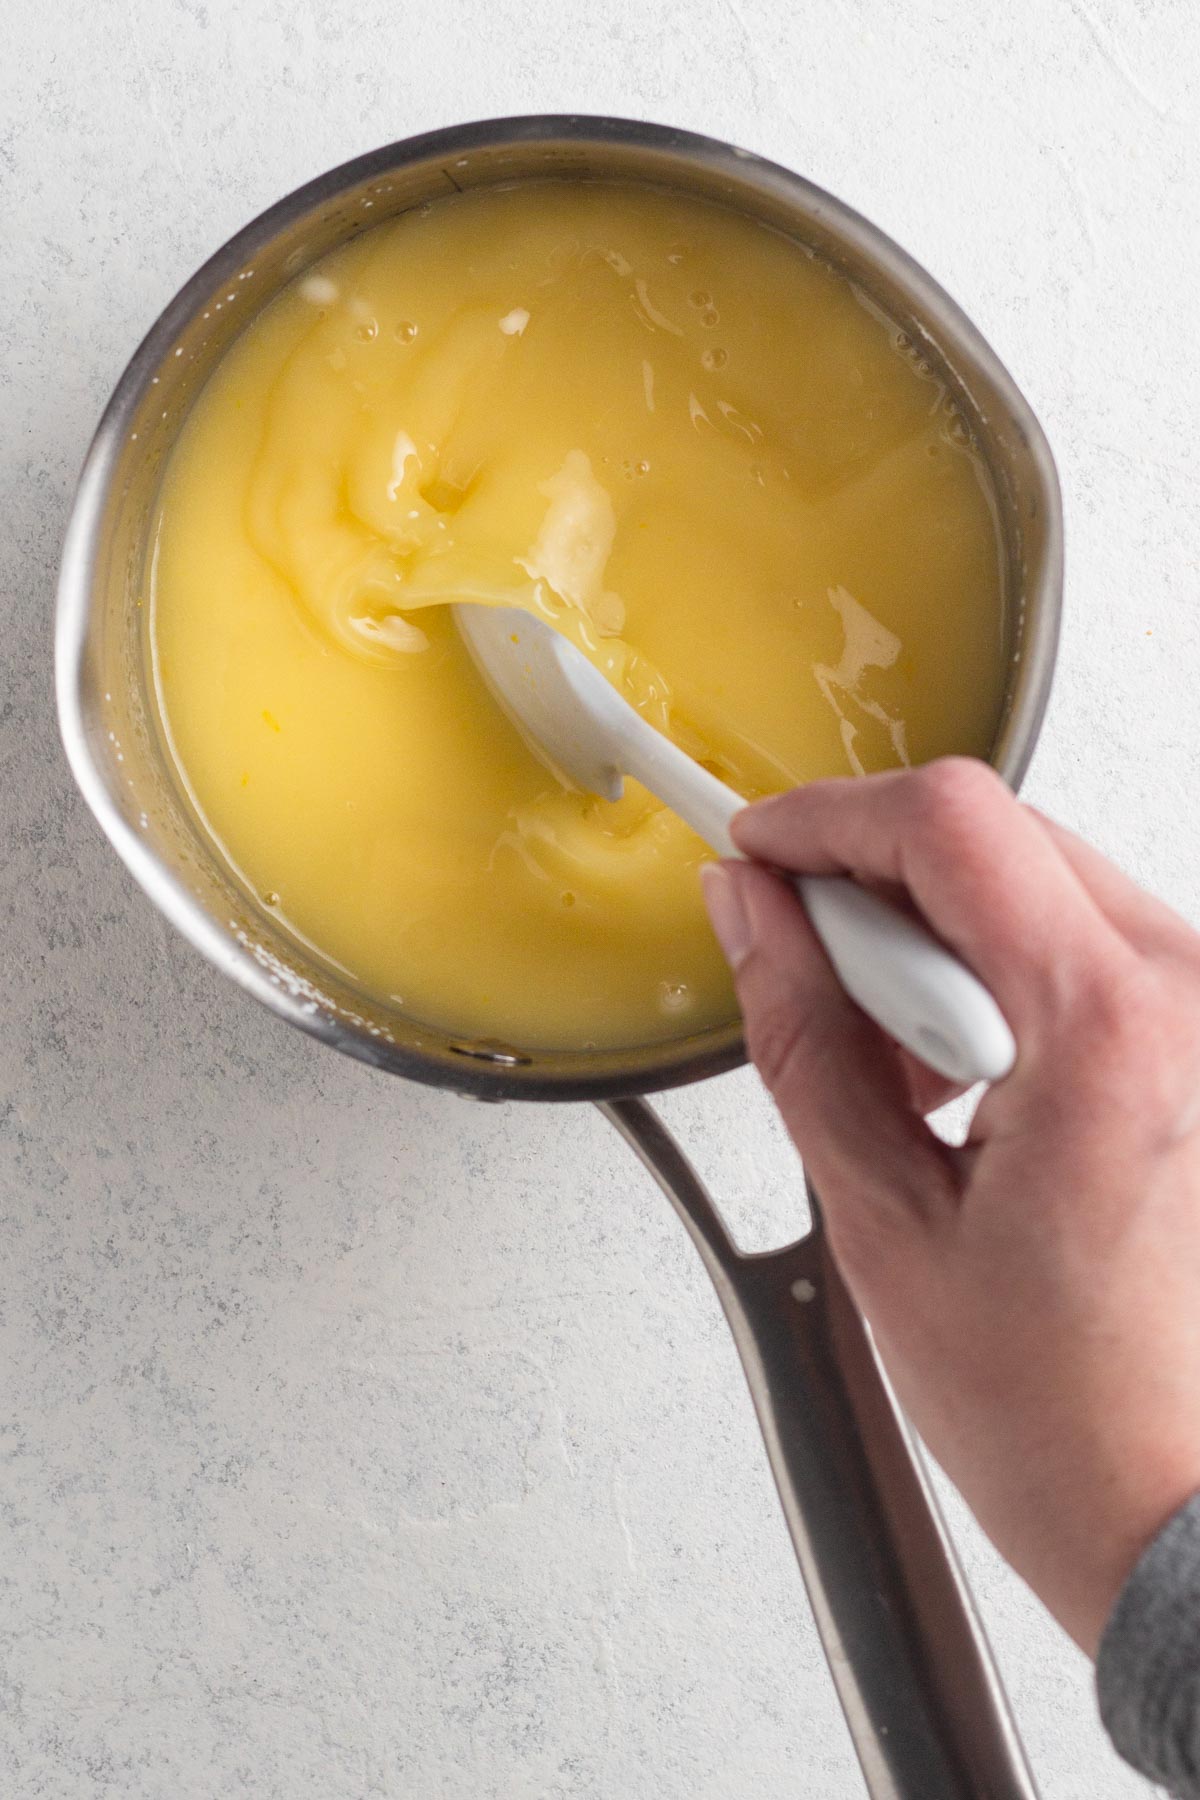
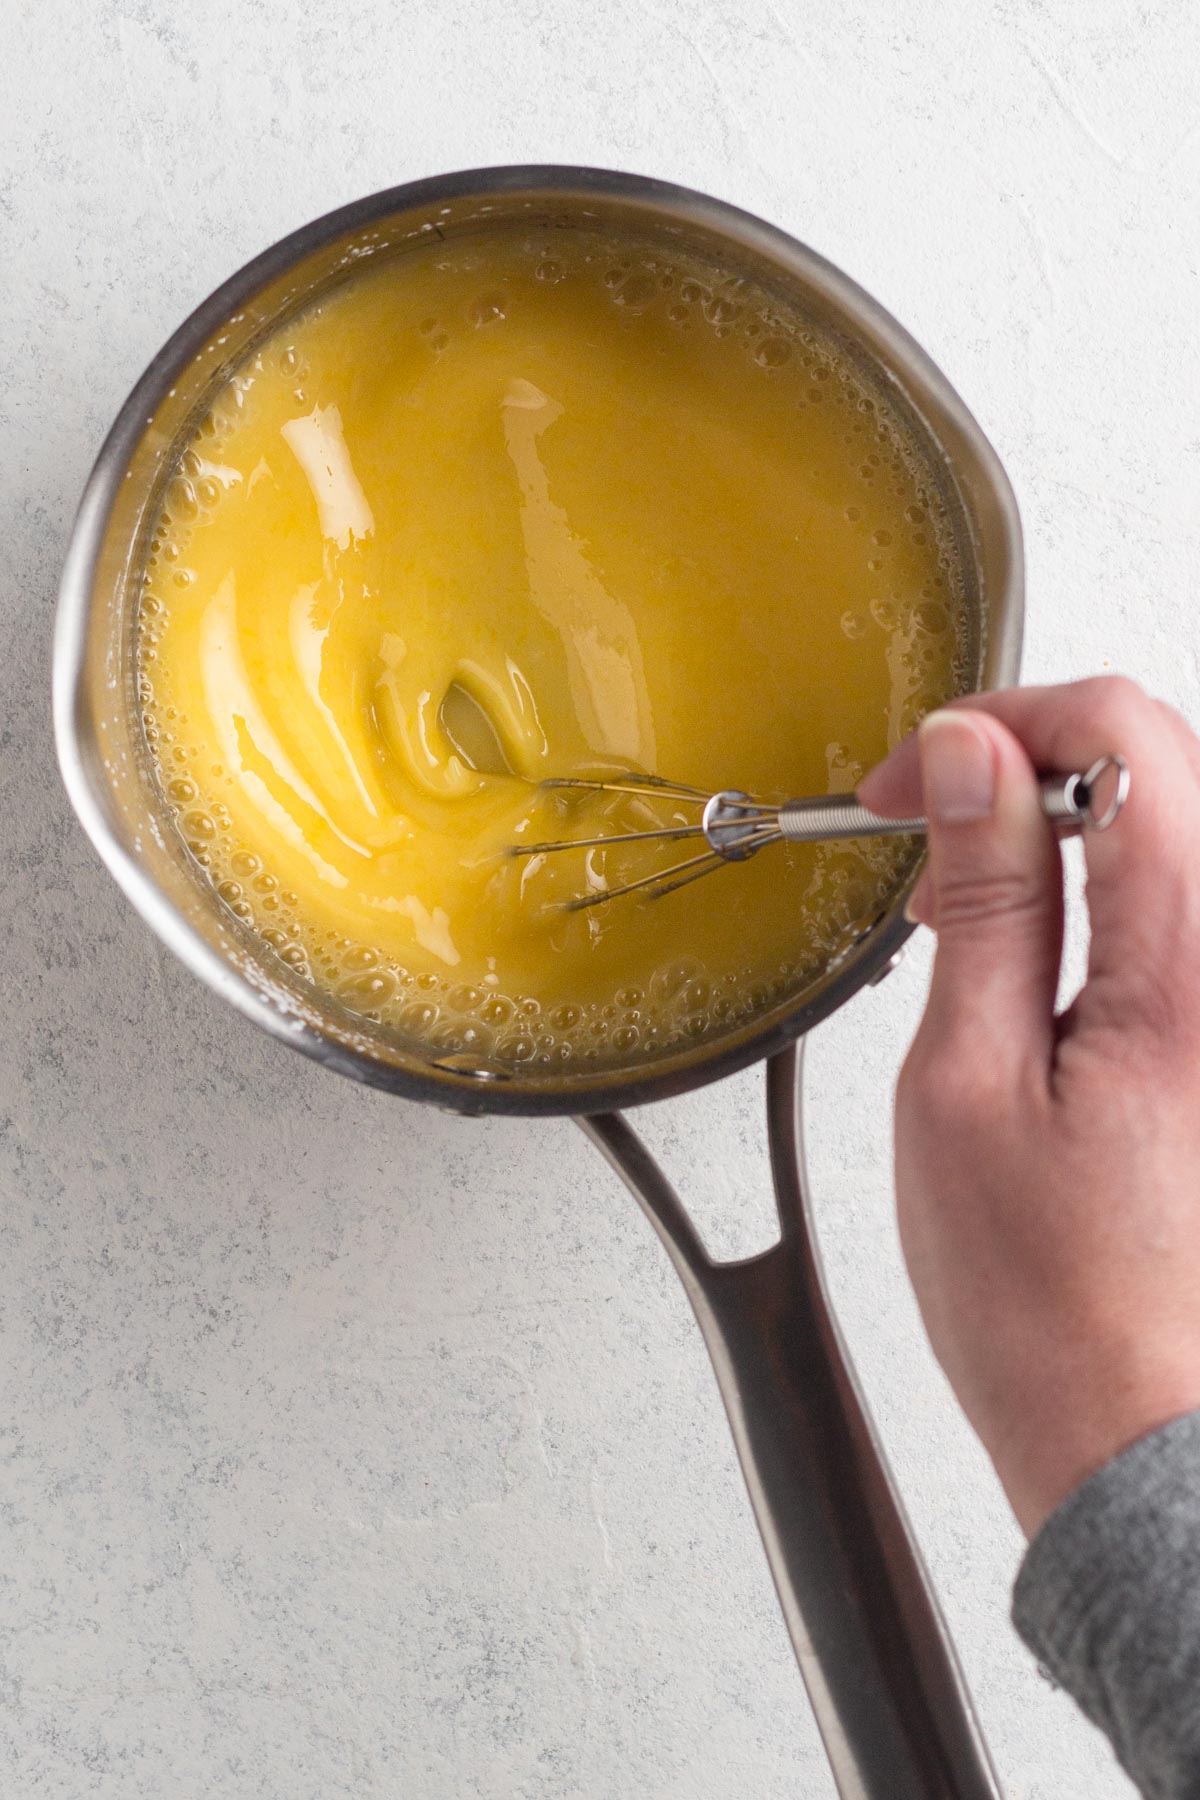
Step 4: Place the saucepan over medium heat and continue to stir the mixture gently until it comes to a gentle boil. The mixture will thicken as it heats.
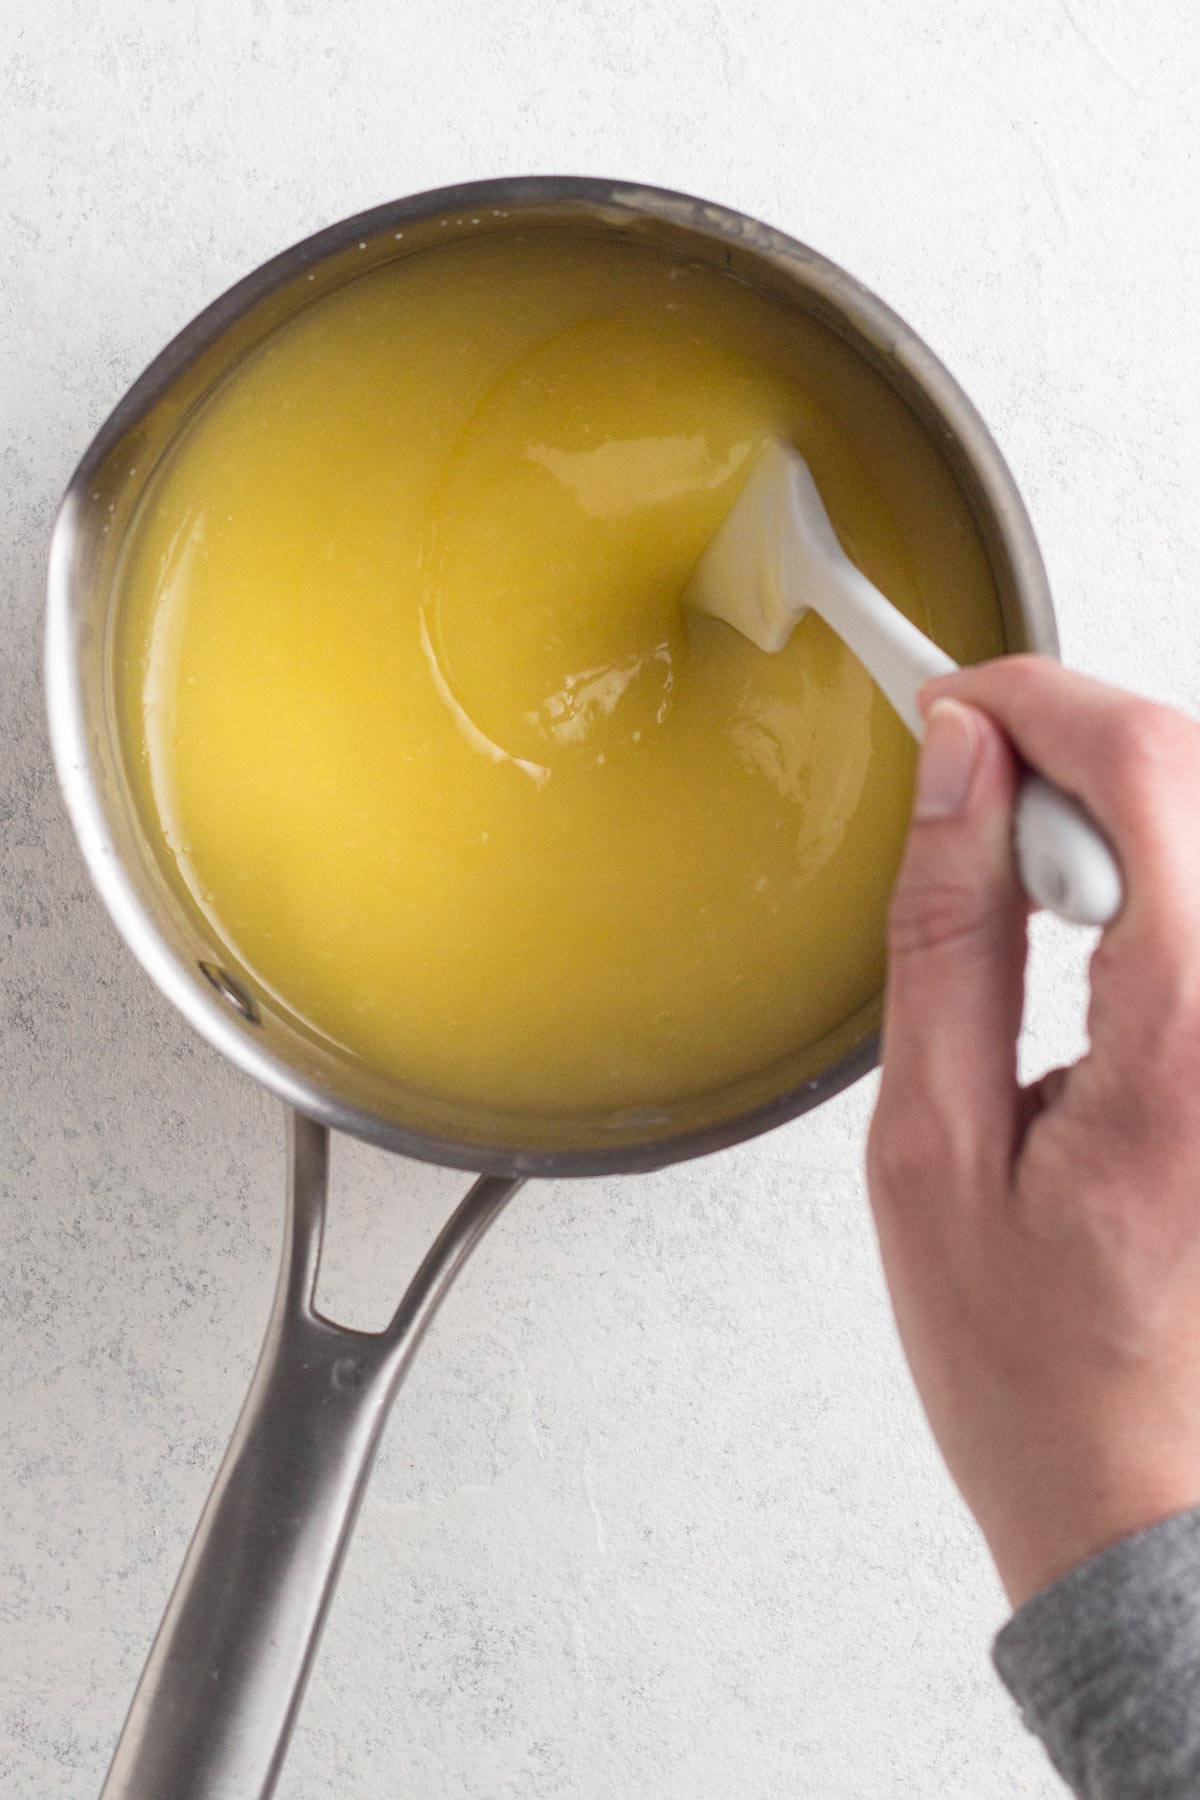
Step 5: When the mixture reaches a gentle boil, reduce the heat to medium-low and allow it to simmer slowly while you continue to stir it gently. At this point the curd should have the consistency of pudding, and it will thicken a bit more as it cools..
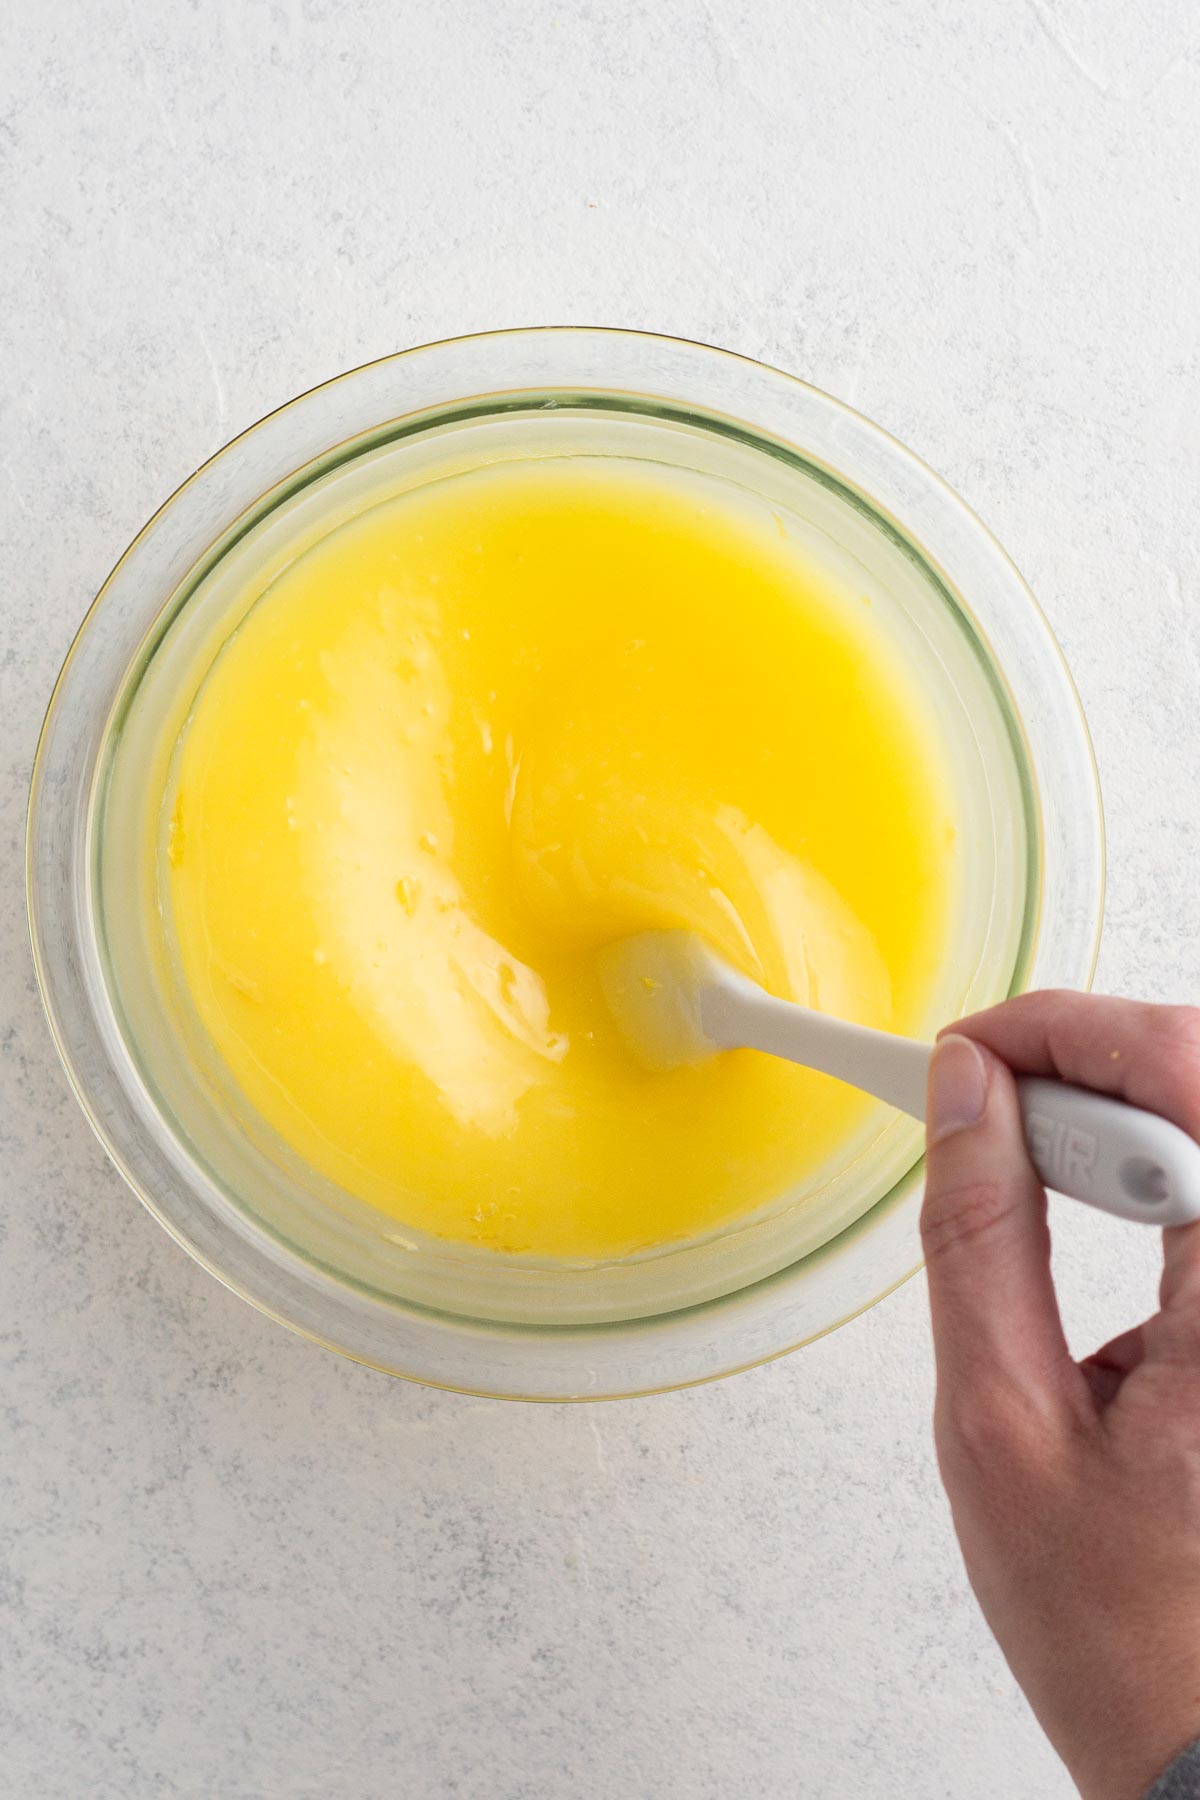
Step 6: Remove the pan from the heat and transfer the lemon curd to a heat-safe bowl (so that it does not continue to cook from the residual heat of the hot pan). Stir in grated lemon peel.
Step 8: Let it cool completely. I like to stir it a few times as it cools to avoid a skin forming on top of the curd, or you can place a piece of plastic wrap directly on the top of the curd as it cools to avoid a skin forming.
Allison's Top Tips
It's easiest to zest the whole lemon, before slicing it in half and squeezing out the juice. Be sure to zest just the very outer layer of peel. The white pith underneath the peel is bitter, so you want to be careful not to include it with the zest.
Be sure to sift the cornstarch the cornstarch before adding it to the pot to avoid lumps in your curd.
If your curd has not yet reached the consistency of pudding when you're ready to take it off the heat, simmer it for another few seconds to a minute longer, continuing to stir as it cooks and being careful not to burn the curd.
I don't bother to strain my lemon curd because I don't mind a few little bits of lemon zest (which add lots of flavor and almost imperceptible texture). If you prefer ultra smooth curd, you can strain your lemon curd through a fine mesh sieve.
How to Avoid Lumps in Your Curd
These tips will help to avoid lumps from forming in your lemon curd.
- Sift the cornstarch before adding it to the saucepan. Cornstarch tends to clump in its container, so sifting it before adding it to the pan will ensure that you're not starting out with lumps.
- If you notice a few lumps form after you add the lemon juice and cold water to the saucepan, they're likely clumps of cornstarch. Use a rubber spatula to press the clumps against the bottom or side of the pan to squash and remove the lumps.
- If you don't stir the mixture constantly while adding the boiling water, you may notice small lumps after the water has been added which are likely small bits of cooked egg. Avoid this by being sure to stir constantly while adding the boiling water. If you do end up with small bits of cooked egg, you can strain the curd through a fine mesh sieve after it's finished cooking.
Recipe FAQs
Nope! Though lemon pie filling commonly includes the same 6 ingredients as lemon curd - lemon, sugar, cornstarch, egg, butter, and salt - lemon pie filling is typically thicker and sweeter than lemon curd.
If your lemon curd isn't thickening as expected, it most likely needs to be cooked a bit longer, as the heat will thicken the curd. If your curd has not yet reached the consistency of pudding when you're ready to take it off the heat, simmer it for another few seconds to a minute longer, continuing to stir as it cooks and being careful not to burn the curd.
I don't bother to strain my lemon curd because I don't mind a few little bits of lemon zest (which add lots of flavor and nearly imperceptible texture). If you prefer ultra smooth curd, you can strain your lemon curd through a fine mesh sieve.
Uses for Lemon Curd
If I've convinced you that you need to make your own batch of lemon curd but you're not sure what to do with it, fear not! Here are a handful of ideas for how to use your homemade lemon curd.
- Serve it with breakfast foods. Scones, biscuits, or muffins would be a great choice, and curd can be delicious with waffles or pancakes, too. It would be delicious as the filling in crepe-style pancakes!
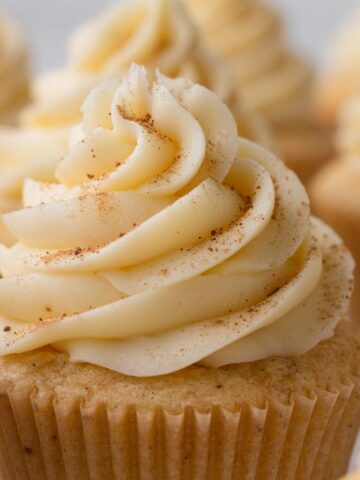
- Use lemon curd to fill cakes, cupcakes, or macarons.
- Top elegant desserts with lemon curd, like I did with my blackberry meringues!
- Use it to fill doughnuts or ebelskivers!
Storage Instructions
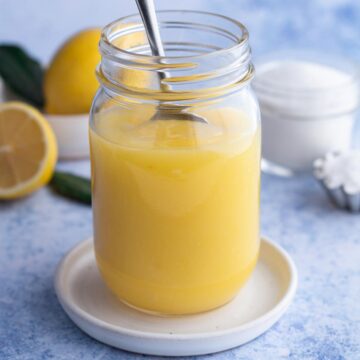
Store homemade lemon curd in an airtight glass jar in the fridge for up to 1 week.
Love this recipe? Please leave a star rating and review on the recipe below! And don't forget to subscribe to Always Eat Dessert for even more easy dessert recipes and helpful baking tips.
Recipe
Easy Homemade Lemon Curd
Special Equipment
- Fine mesh sieve (optional)
Ingredients
- ¾ cup (150 grams) granulated sugar
- 3 Tablespoons (24 grams) cornstarch sifted
- ⅛ teaspoon (0.75 gram) fine sea salt
- ¼ cup (61 grams) fresh lemon juice
- ¼ cup (59 millileters) cold water
- 2 large egg yolks beaten
- 1 Tablespoon (14 grams) unsalted butter
- ¾ cup (177 grams) boiling water
- ½ teaspoon (1 gram) grated lemon peel
Instructions
- In a medium saucepan, add sugar, sifted cornstarch, and salt.¾ cup (150 grams) granulated sugar, 3 Tablespoons (24 grams) cornstarch, ⅛ teaspoon (0.75 gram) fine sea salt
- Slowly add lemon juice and cold water to the sugar mixture, stirring until smooth. If you notice any lumps of cornstarch, use a rubber spatula to press the lumps against the bottom or side of the saucepan to remove them.¼ cup (61 grams) fresh lemon juice, ¼ cup (59 millileters) cold water
- Add the beaten egg yolks and butter to the saucepan and stir until the yolks are thoroughly blended with the lemon juice mixture. (The butter will remain, but it will melt into the mixture in the following step.)2 large egg yolks, 1 Tablespoon (14 grams) unsalted butter
- Stirring constantly with a wooden spoon or heatproof spatula, gradually add boiling water to the saucepan. Continue to stir until all of the boiling water has been added and the mixture is cohesive and smooth.¾ cup (177 grams) boiling water
- Place the saucepan over medium heat and continue to stir the mixture gently until it comes to a gentle boil. The mixture will thicken as it heats.
- When the mixture reaches a gentle boil, reduce the heat to medium-low/low and allow it to simmer slowly for one minute while you continue to stir it gently. At this point the curd should have the consistency of pudding and should coat the back of a spoon. It will thicken a bit more as it cools.
- Remove the pan from the heat and transfer the lemon curd to a heat-safe bowl (so that it does not continue to cook from the residual heat of the hot pan). Stir in grated lemon peel.½ teaspoon (1 gram) grated lemon peel
- Let it cool completely. I like to stir it a few times as it cools to avoid a skin forming on top of the curd, or you can place a piece of plastic wrap directly on the top of the curd as it cools to avoid a skin forming.
Notes
- Storage: Store homemade lemon curd in an airtight glass jar in the fridge for up to 1 week.
- It's easiest to zest the whole lemon, before slicing it in half and squeezing out the juice. Be sure to zest just the very outer layer of peel. The white pith underneath the peel is bitter, so you want to be careful not to include it with the zest.
- Be sure to sift the cornstarch to avoid lumps in your curd.
- If your curd has not yet reached the consistency of pudding when you're ready to take it off the heat, simmer it for another few seconds to a minute longer, continuing to stir as it cooks and being careful not to burn the curd.
- I don't bother to strain my lemon curd because I don't mind a few little bits of lemon zest (which add lots of flavor and almost imperceptible texture). If you prefer ultra smooth curd, you can strain your lemon curd through a fine mesh sieve.


Comments
No Comments