The secret to better baking is measuring your ingredients properly. Learn how to measure ingredients the right way with this useful guide full of helpful tips!
Jump to:
The biggest difference between cooking and baking comes down to science. With cooking, it's usually safe to go a little rogue and add an extra pinch of this and a dash of that. But with baking it's all about chemistry, and adding a little bit of extra flour and cutting down on the amount of sugar can dramatically change the results.
Measuring ingredients incorrectly is the #1 reason a recipe doesn't turn out as expected. This guide will help to ensure you're measuring baking ingredients properly so that your baked goods will turn out the way you want them to.
Measuring Methods: Weight vs. Volume
There are two ways to measure ingredients for baking:
- Measuring by weight, using a kitchen scale
- Measuring by volume, using measuring cups and spoons
Measuring ingredients by weight is the standard for many countries around the world. However, here in the United States baking ingredients are more commonly measured by volume. If you're a home baker in the US, you probably learned to bake measuring ingredients with cups and spoons.
Most modern recipes will include both weight and volume measurements for ingredients, so the method that you use comes down to personal preference. That said, it's important to know that measuring ingredients by weight is the most accurate method. Keep reading to learn why.
Why Measure by Weight
First and foremost, measuring ingredients by weight is more accurate than measuring by volume. Why? I'm glad you asked!
- Measuring by weight allows for great precision and consistency. A gram is a gram and an ounce is an ounce. Factors like how tightly packed your ingredient is and variations between brands won't affect an ingredient's weight.
- Conversely, there is lots of room for error when measuring by volume. How densely packed into the measuring cup is the flour? Did you scoop the flour right out of the bag or did you fluff it up before spooning it into the measuring cup? Or did you sift it first? How you fill the measuring cup can have a big impact on how much of an ingredient it holds.
- To further complicate things, not all measuring cups are even the same size. If you own multiple sets of measuring cups you may notice that a cup is not perfectly consistent in size. Also the US and UK both have teaspoons, but they're not actually the same size, which creates confusion if you're using a recipe from another country.
Beyond being the most accurate method, measuring by weight also means fewer dishes to wash! Since everything gets measured in the bowl you'll be mixing it in, you'll no longer have to wash a bunch of measuring cups and spoons. No more scraping peanut butter out of measuring cups!
Measuring by weight also makes it a lot easier to scale recipes up or down, since you won't have to divide or multiply fractions. If you want to halve a cookie recipe, instead of having divide 1 ¾ cups of flour in half, you can more easily divide 219 grams in half.
How to Measure by Weight
Ingredient measurements by weight are almost always noted in grams rather than ounces, since most countries use the metric system. To measure ingredients by weight, you'll need a quality kitchen scale (see my recommendation at the bottom of this post) that uses grams.
Here's how to measure by weight:
Step 1: Turn on your scale.
Step 2: Place your mixing bowl onto the scale. The scale will show the weight of the mixing bowl.
Step 3: Tare your scale. The weight should now be set to zero so that you're no longer seeing the weight of the bowl and will only see the weight of the ingredient that you add next.
Step 4: Add the first ingredient to the bowl until you reach the weight measurement that your recipe calls for. Then tare the scale again so that it's once again set to zero.
Step 5: Continue to add ingredients following your recipe, taring the scale after adding each one.
It's that simple!
Tips for Measuring by Weight
Add your ingredients slowly until you reach the correct amount. Adding them quickly will make it more likely that you'll accidentally add too much of an ingredient and have to scoop the extra out of your bowl. As you get more comfortable measuring ingredients by weight, you'll become more familiar with how different weights of ingredients look, which will make measuring easier and quicker.
If you're nervous about accidentally adding too much of an ingredient to the bowl and not being able to scoop out the extra (like if there's liquid ingredients in the bowl), use a separate bowl for measuring all of the ingredients (one by one) before adding to your mixing bowl. This will mean you have another bowl to wash, but it's still less dishes than if you were washing a bunch of measuring cups and spoons.
Be sure to keep any mixing spoons and whisks out of the bowl when you're measuring so that you're only measuring the weight of each ingredient.
How to Measure by Volume
Believe it or not, there is a correct way to measure ingredients by volume. The proper way to measure ingredients will vary by the type of ingredient and the measuring device used, so be sure to read these instructions for each type of ingredient and device to make sure you're doing it correctly. Measuring ingredients incorrectly will lead to you adding either too much or too little ingredients to a recipe, which will alter its chemistry and change the result.
Dry Ingredients with Measuring Cups
Use this method for dry ingredients (like flour, granulated sugar, oats, and confectioners sugar) being measured with a measuring cup.
Note that brown sugar is one exception to this method for measuring dry ingredients, so see below for how to measure brown sugar.
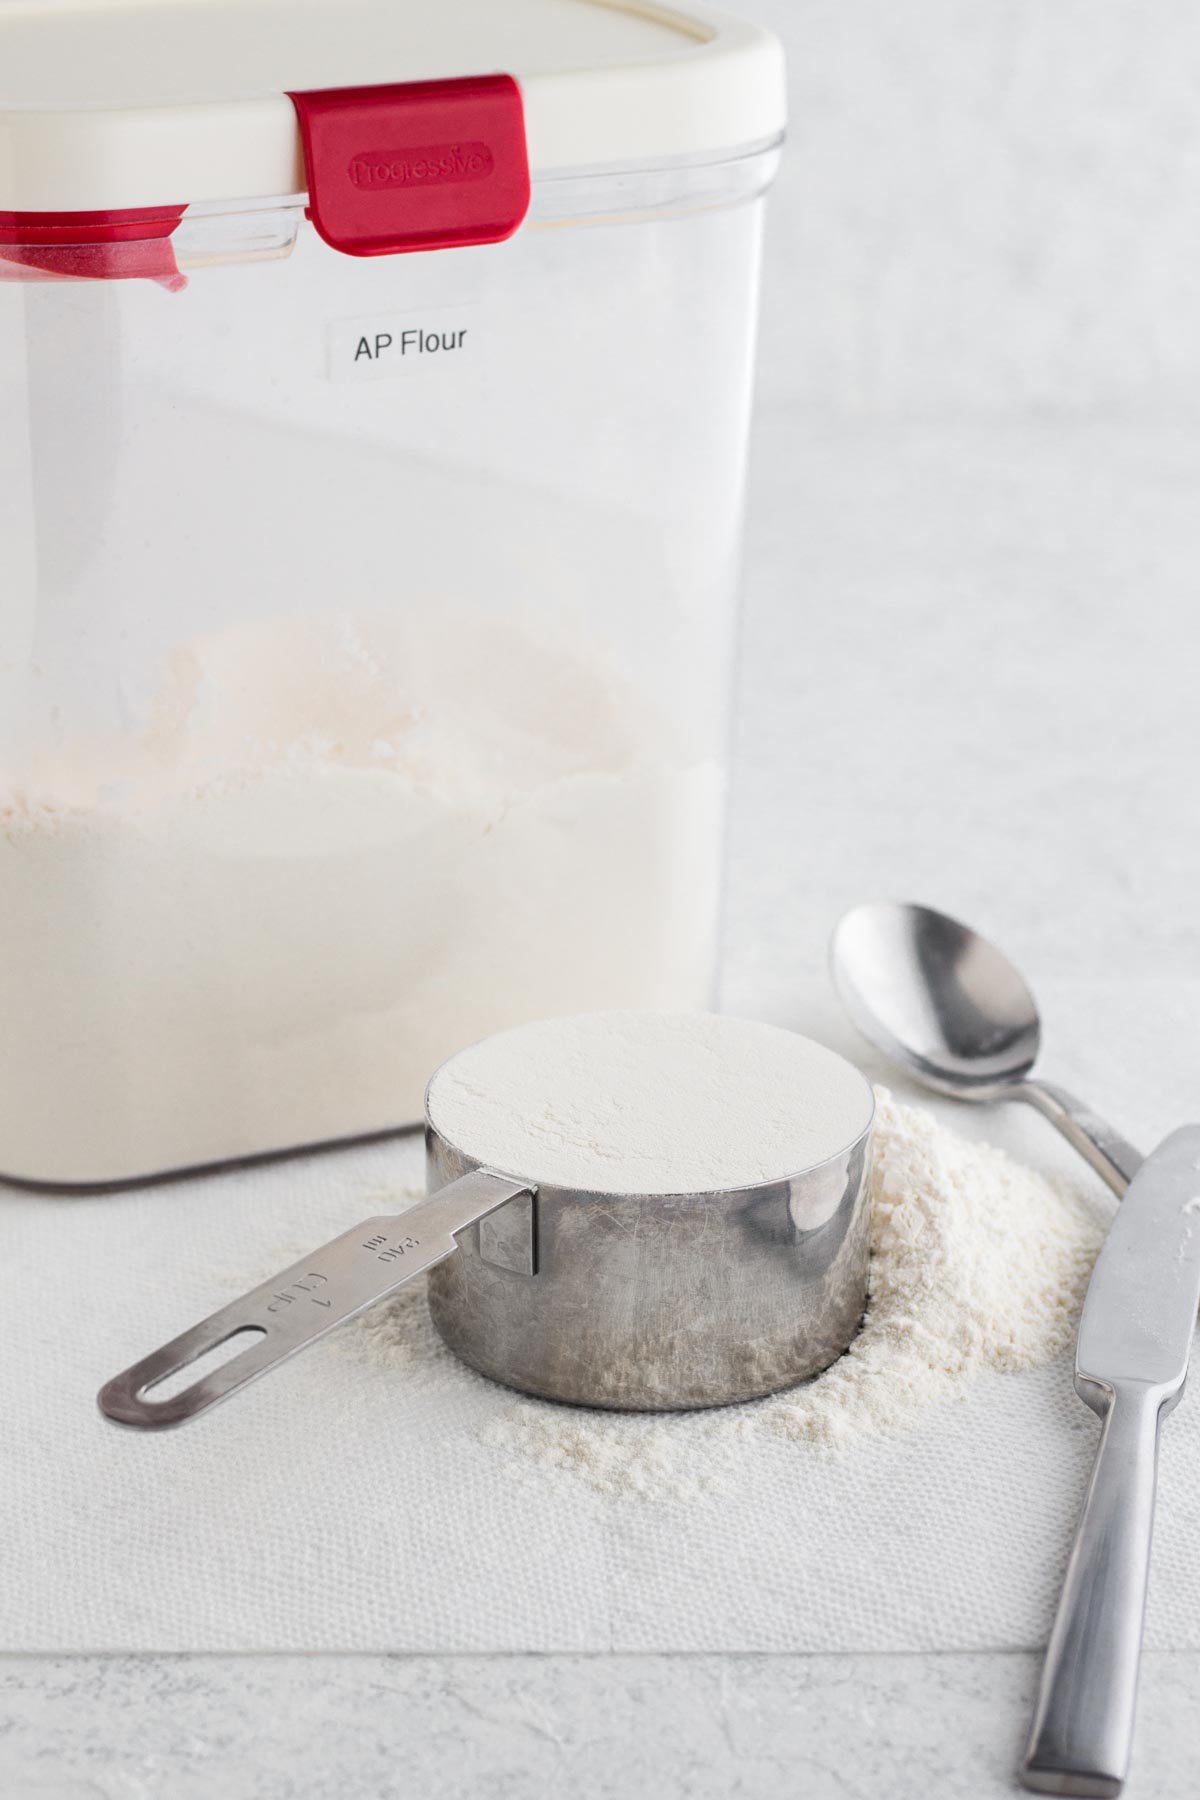
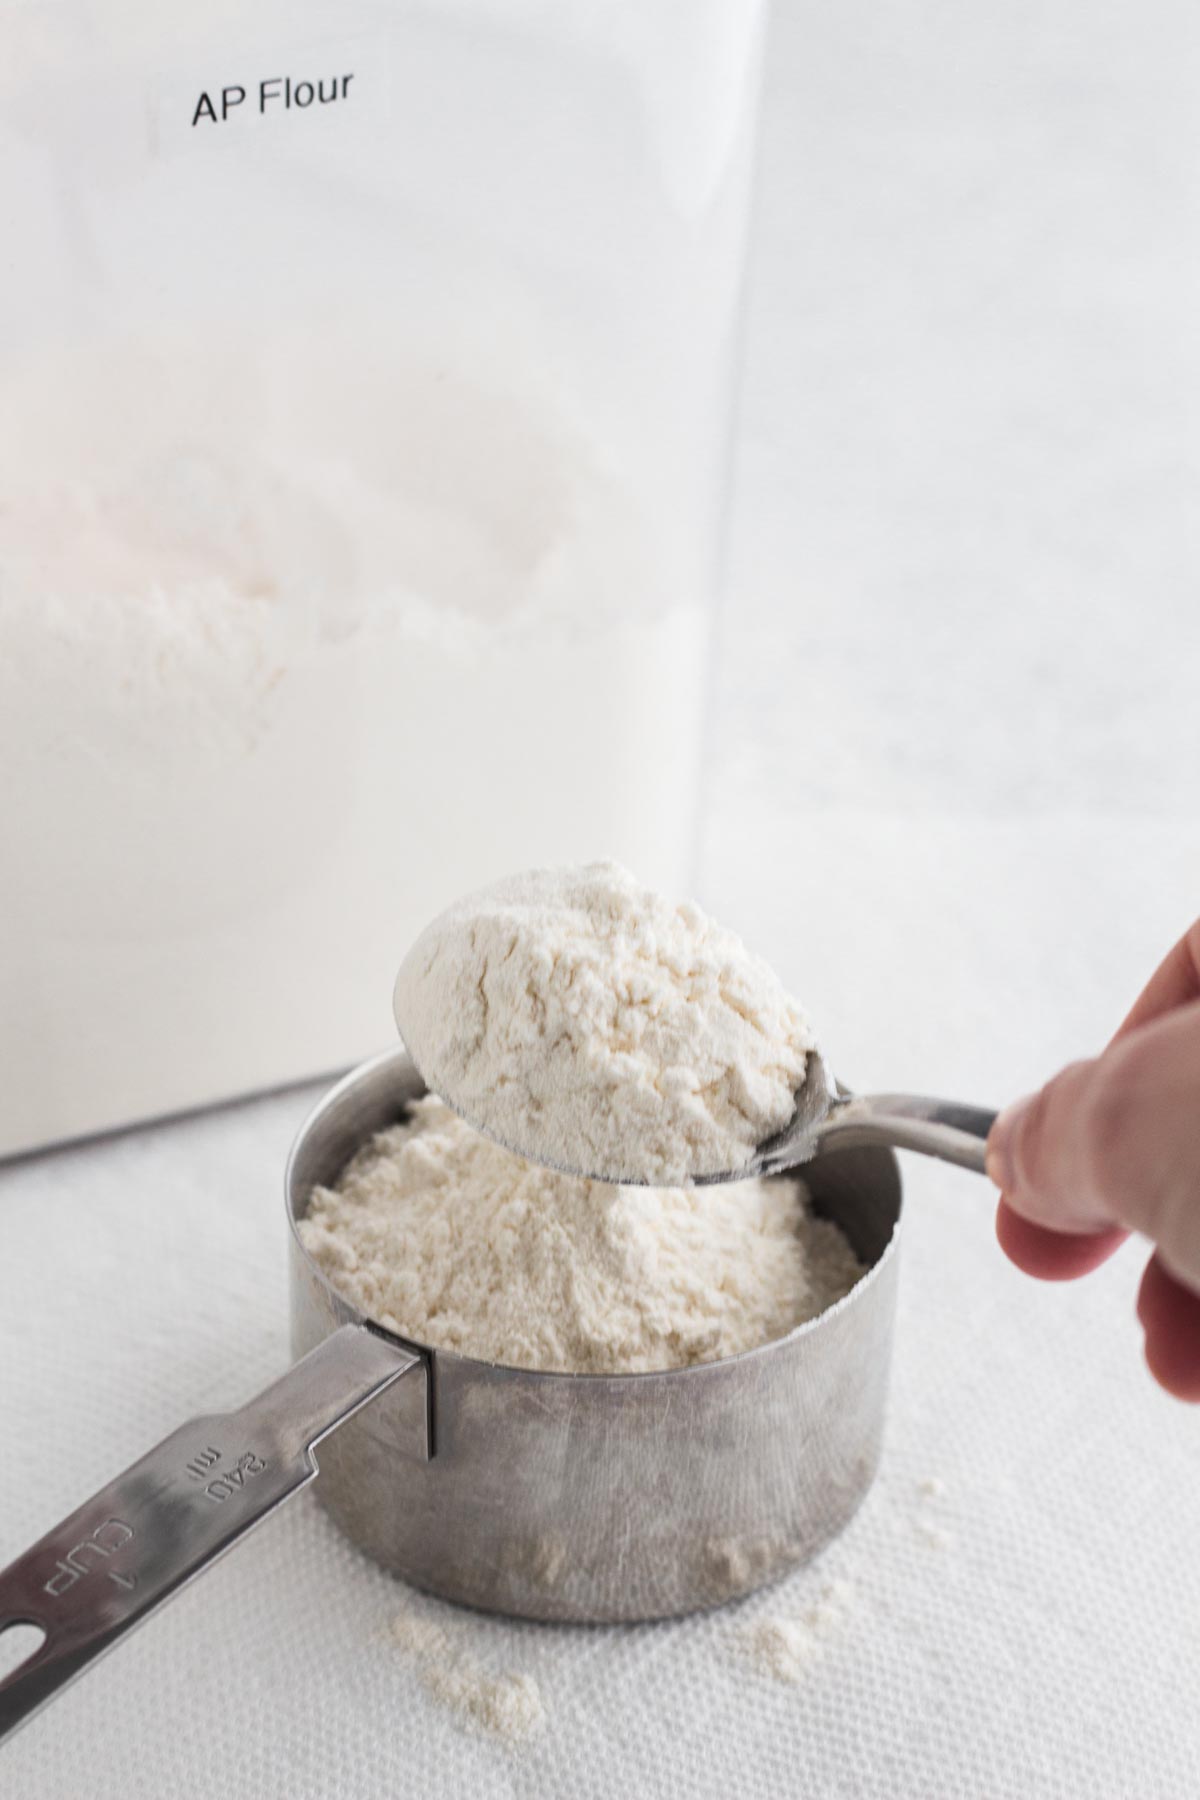
Step 1: Use a spoon to gently stir or fluff up your the ingredient before spooning the ingredient into the measuring cup until the cup overflows slightly. (Do not simply scoop the ingredient up using the measuring cup, as this will compact the ingredient and cause you to add too much of it to your recipe.)
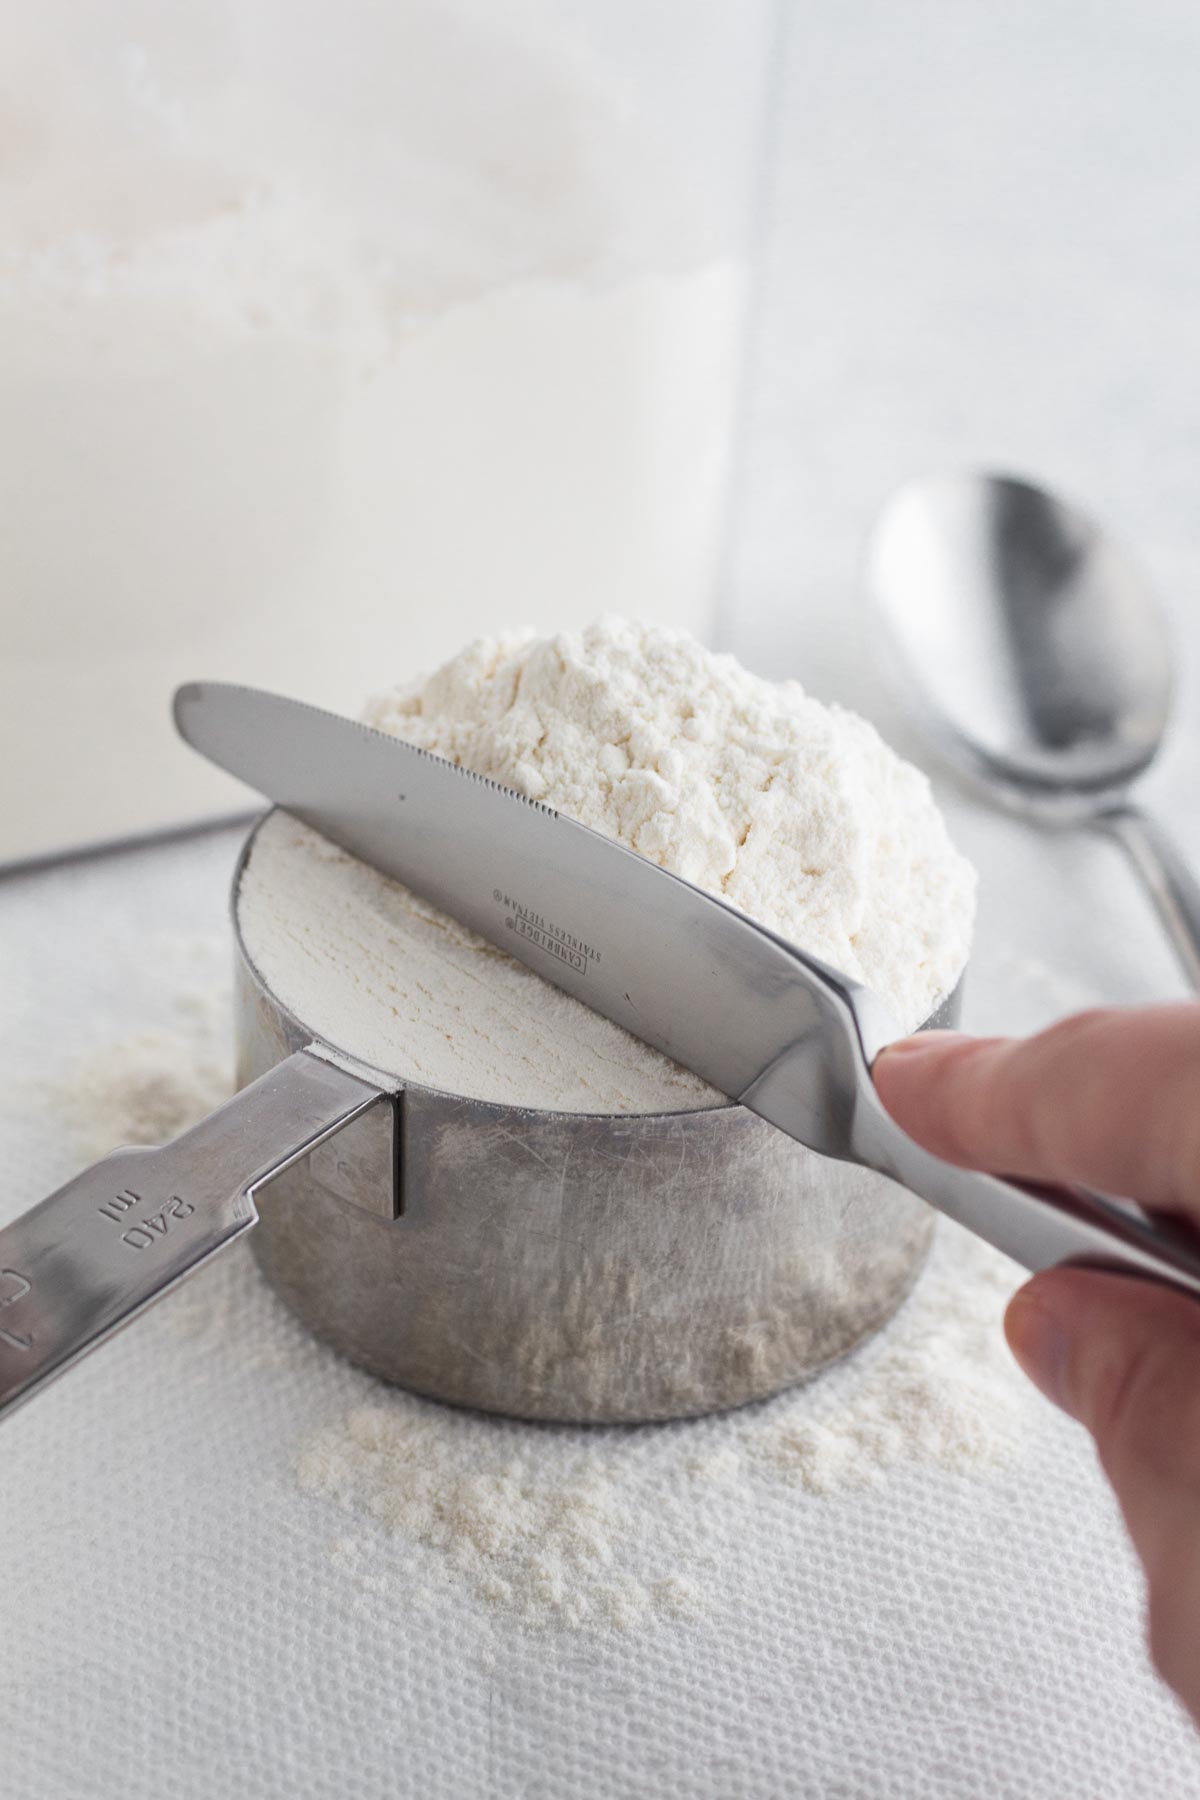
Step 2: Use the spoon handle or the dull side of a butter knife to level off the top of the measuring cup, scraping off any excess. (Return the excess ingredient to its container.)
Dry Ingredients with Measuring Spoons
Use this method for dry ingredients (like baking soda, baking powder, and ground spices) being measured with a measuring spoon.
Step 1: Give the container a little shake or gently stir the ingredient to loosen it up a bit.
Step 2: Use your measuring spoon to scoop the ingredient so that the spoon overflows, then use the dull side of a knife to scrape off the excess.
Brown Sugar
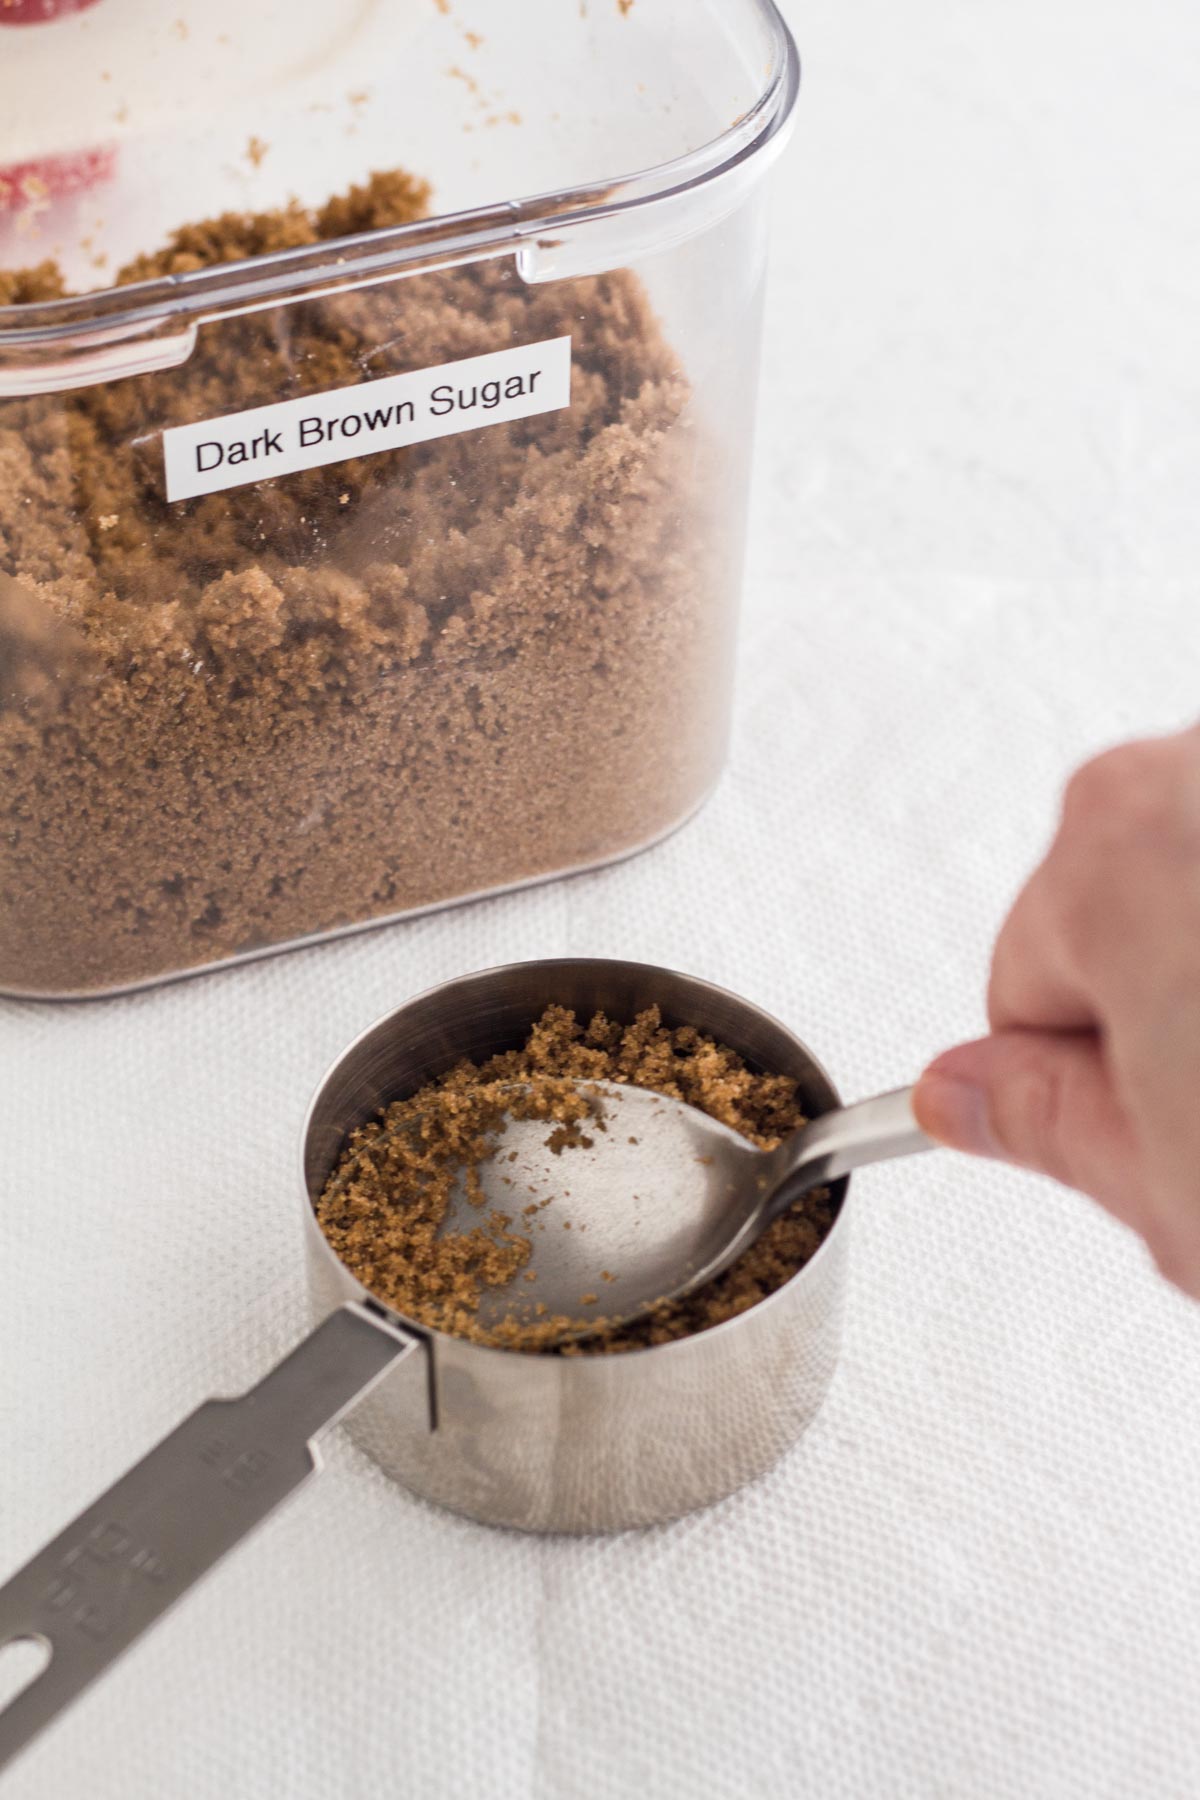
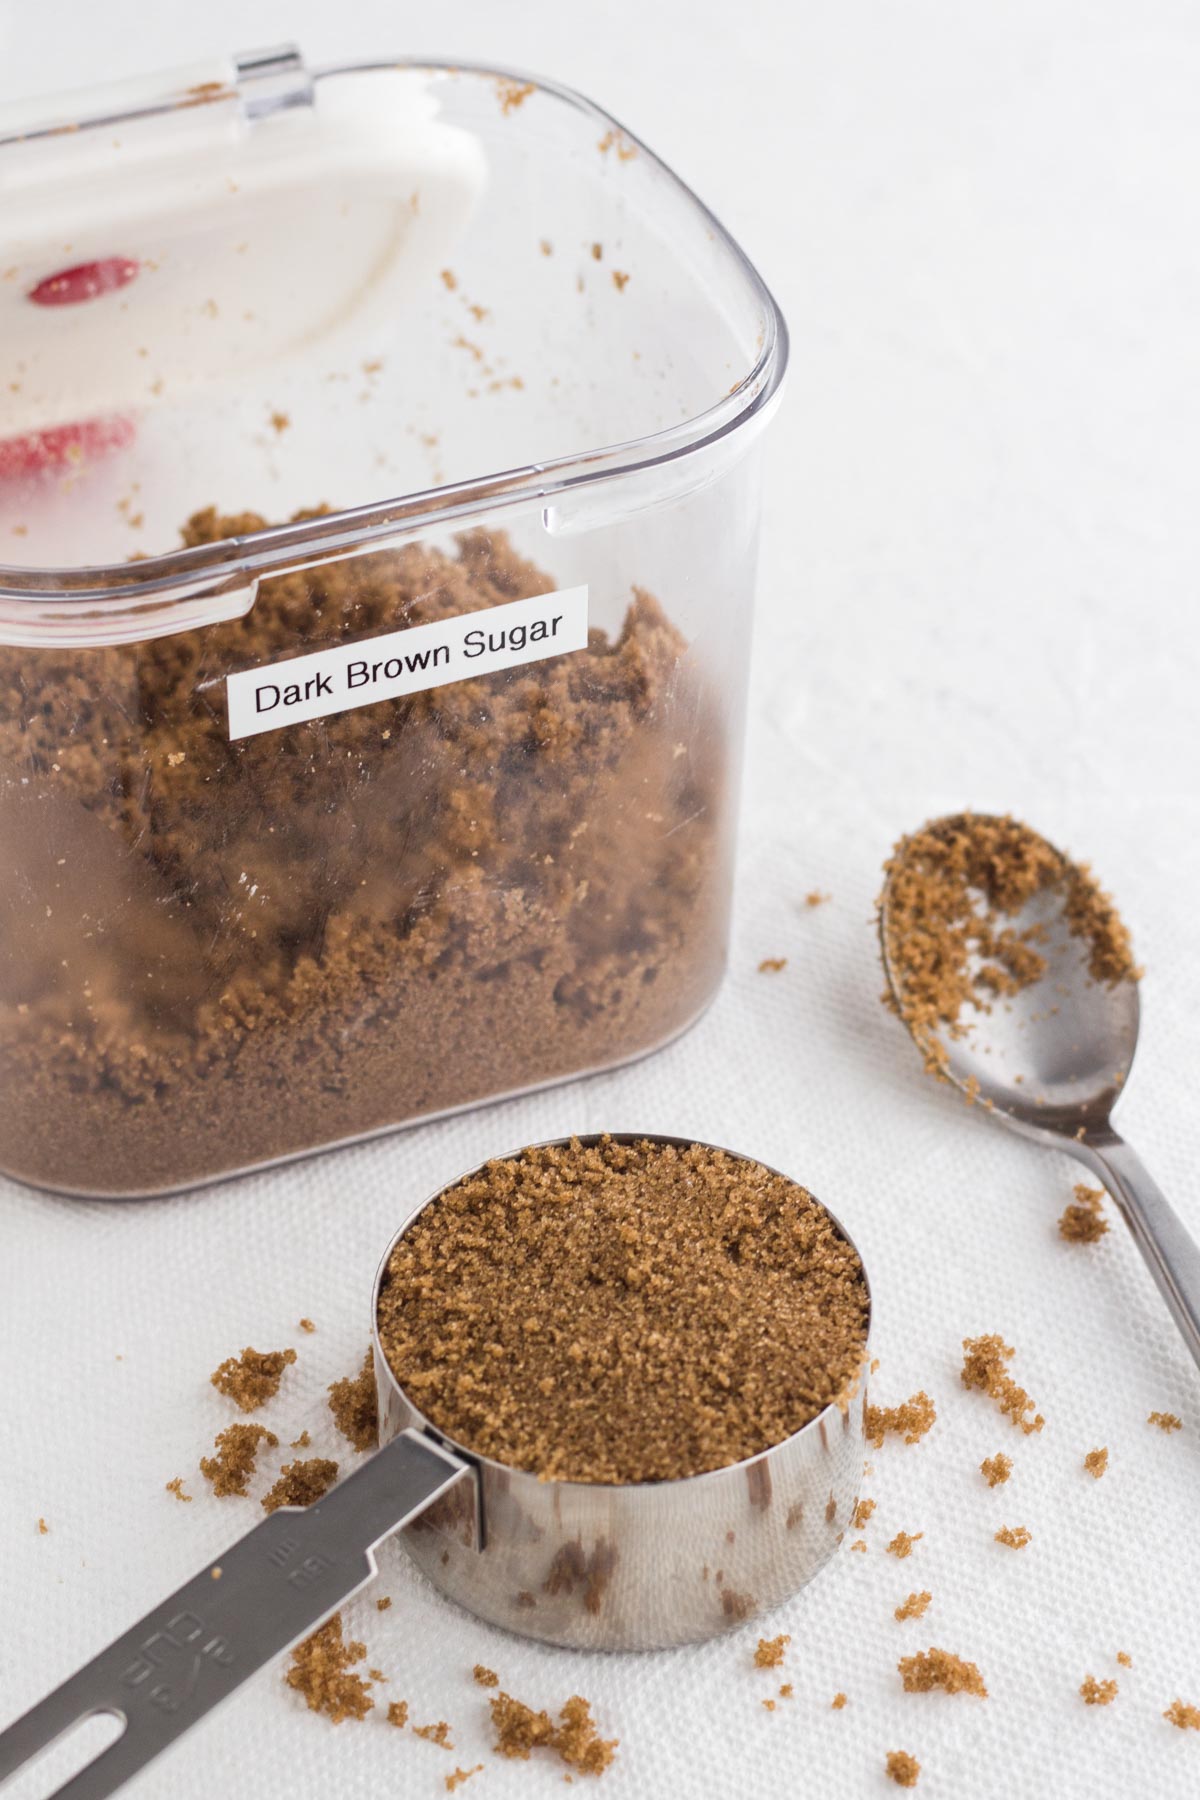
Unlike other dry ingredients, brown sugar should be packed down into the measuring cup or measuring spoon. Use the following method to properly measure brown sugar.
Step 1: Use a spoon to add the brown sugar to your measuring cup/spoon, then use the back of the spoon to press the brown sugar down into the measuring cup.
Step 2: Keep adding and pressing down on the brown sugar until the measuring cup/spoon is full. Use the spoon handle or the dull side of a butter knife to level off any excess brown sugar.
Semi-Liquid Ingredients
To measure semi-liquid ingredients (like peanut butter and applesauce), use the same method as you would for measuring dry ingredients (see above).
Step 1: Use a spoon or rubber spatula to spoon the ingredient into the measuring cup or spoon until it's completely full or even slightly overflowing.
Step 2: Level off the top of the cup/spoon and return any excess ingredient to its container.
Liquid Ingredients
Use this method for liquid ingredients (like milk, oil, and honey).
Large Amounts of Liquid: Use a liquid measuring cup. Place your liquid measuring cup on the counter and bend down so that you can see the measurements at eye level. Carefully pour the liquid into the measuring cup until it aligns exactly with the correct measure.
If you accidentally add too much liquid, pour some back into the container and recheck your measurement at eye level.
If you’ve picked up or shifted the liquid measuring cup, give it a moment for the liquid to settle before checking your measurement so that you can get an accurate view without sloshing liquid.
Small Amounts of Liquid: Use a measuring spoon. Carefully pour the liquid into a measuring spoon until the spoon is completely full.
Tips for Measuring by Volume
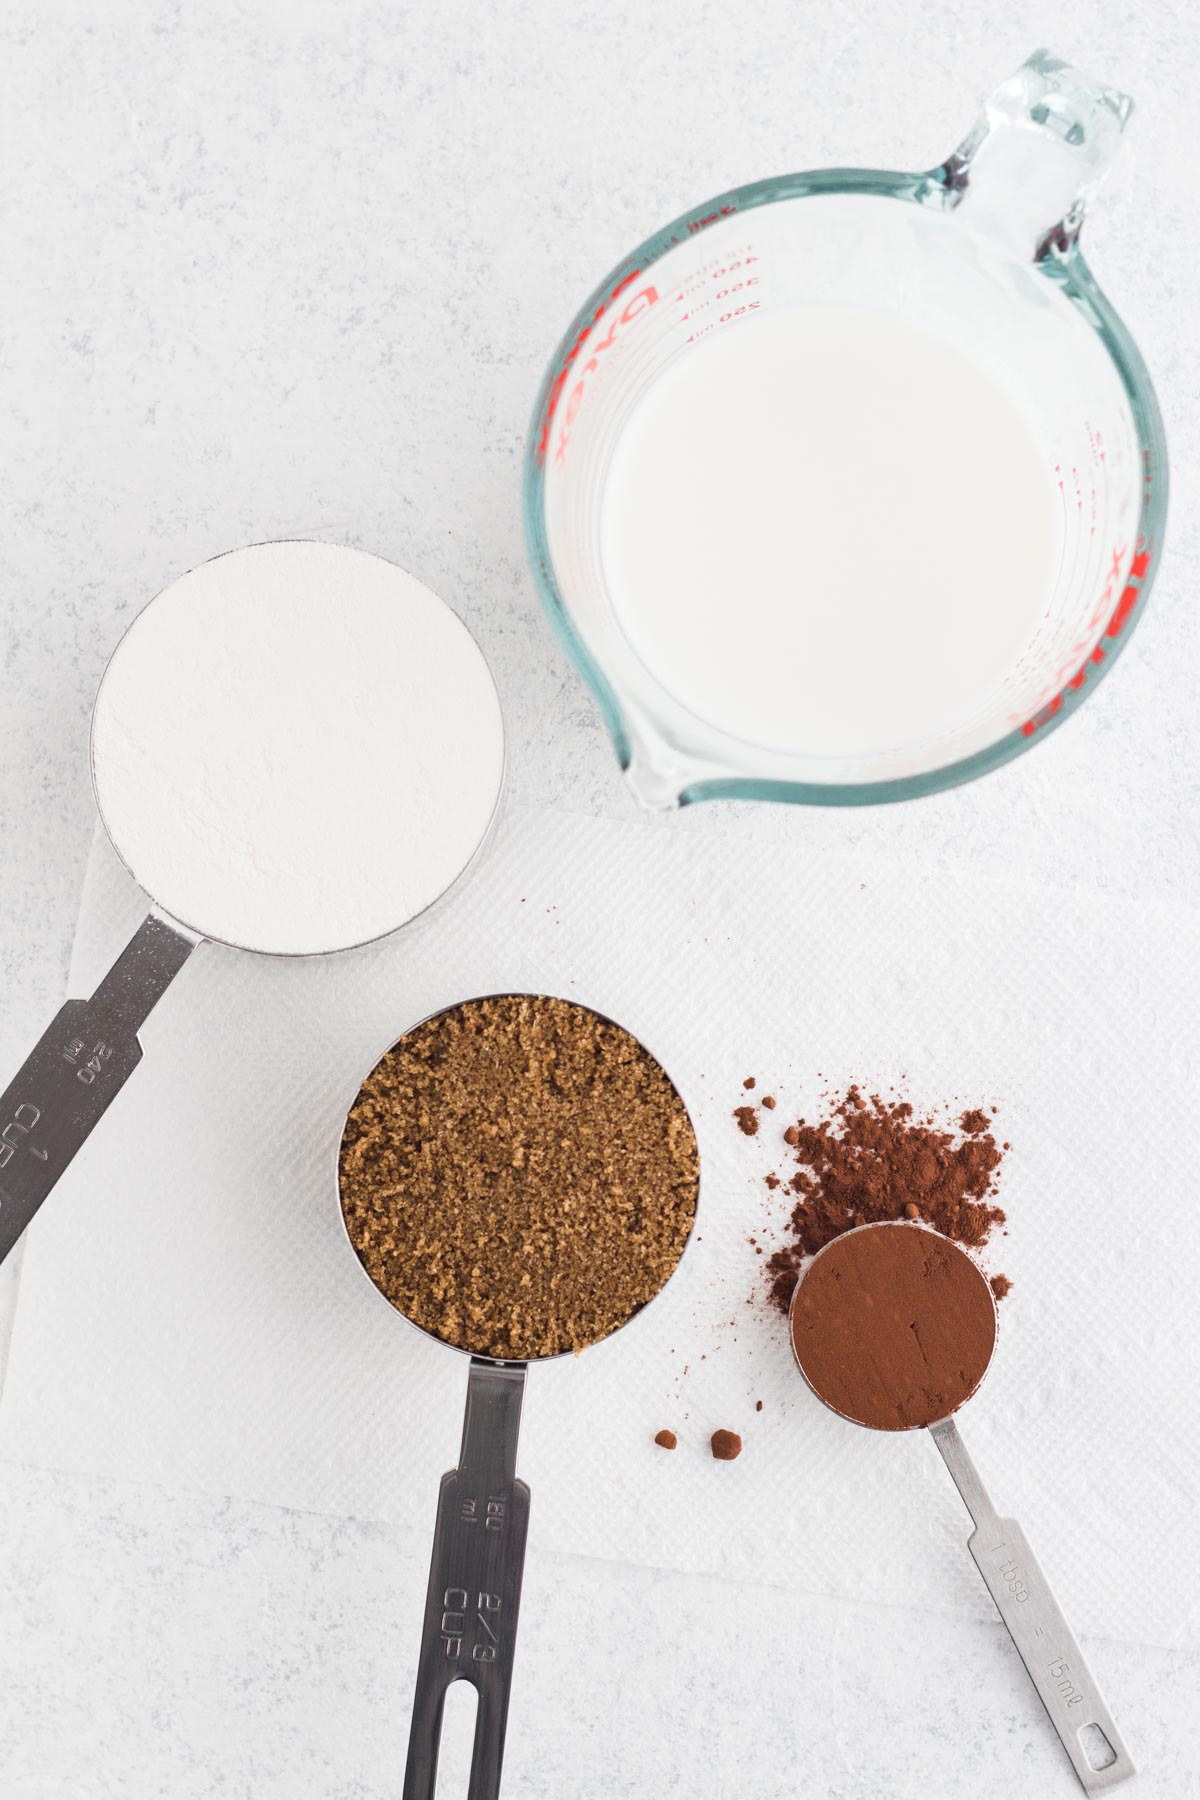
Measure out all of your ingredients before you begin baking. This will allow you to focus on measuring properly so that once you begin baking your focus can be on the recipe's instructions. Trying to focus on measuring ingredients while following a recipe's steps can be a recipe for disaster (pun intended)!
Read the wording of your ingredients carefully when measuring, because seemingly small differences in wording can make a big difference in how much of an ingredient is added to your recipe. For example, "1 cup flour, sifted" means that you should measure out 1 cup of flour and then sift it, but "1 cup sifted flour" means that you should sift your flour before you measure it. This distinction makes a difference in the amount of flour (or other ingredient) that is added to the recipe.
Lay a paper towel down on a clean work surface before measuring your ingredients. Use the paper towel to catch any overflow when measuring each ingredient, and then use it to create a funnel and pour the extra of each ingredient back into its container.
How to Measure Eggs
This one is pretty straightforward. If the recipe calls for one egg, add one egg. BUT did you know that eggs come in different sizes? If you're using the wrong size eggs, you could be adding more or less egg to the recipe than intended, which will definitely make a difference in the texture of your baked goods. Grade A large eggs are the standard, so if the recipe doesn't specify a certain size of egg, it's safe to assume that you should be using large eggs. (Store-bought eggs will have the size of the eggs clearly marked on the carton.)
Recommend Products
- Kitchen scale - Easy to read with a pull-out display (so the weights aren't hidden under a large bowl).
- Stainless steel measuring cups - This set of 7 cups includes less common measurements like ⅛ cup and ⅔ cup, which saves me time to I don't have to measure out 1 Tablespoon or ⅓ cup twice.
- Stainless steel measuring spoons - This durable set includes a handy ⅛ tsp. measure.
- Liquid measuring cup - It's a classic for a reason.
Love this baking tutorial? Check out these other great baking tips linked above! And don't forget to subscribe to Always Eat Dessert for even more baking tips and simple dessert recipes.


Kelsey Renee | Blue Cheese Bungalow
I’m lazy and sometimes measure liquid ingredients in dry measuring cups. I know it’s wrong! These are good tips. Thank you for sharing.
Allison
Haha my husband does that sometimes too! If I'm being honest, I sometimes cut corners when measuring, too. BUT I've heard so many people say how intimidated they are to bake, and I'm a firm believer that if you can read a recipe and measure ingredients properly you'll be good to go!
xx Allison