
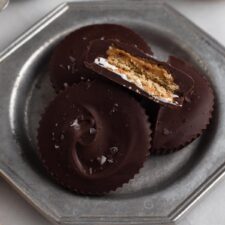
Homemade peanut butter cups with a fun s'mores twist! Layers of creamy peanut butter, crisp graham crackers, and sweet marshmallow creme are surrounded by rich chocolate and sprinkled with a hint of salt. Best of all, this easy, no-bake summer treat takes less than 30 minutes to make!

Homemade peanut butter cups are seriously simple - and fun! - to make, and the options for customizing are endless! I wouldn't help but combine my love of classic s'mores and all things chocolate peanut butter to create a chocolatey candy that includes graham cracker cookies and smooth marshmallow.
For more s'mores-inspired desserts, don't miss my s'mores chocolate chip cookies and my s'mores ice cream sandwiches!
Ingredient Notes & Substitutions
See recipe card at the bottom of this post for full ingredient list and measurements.
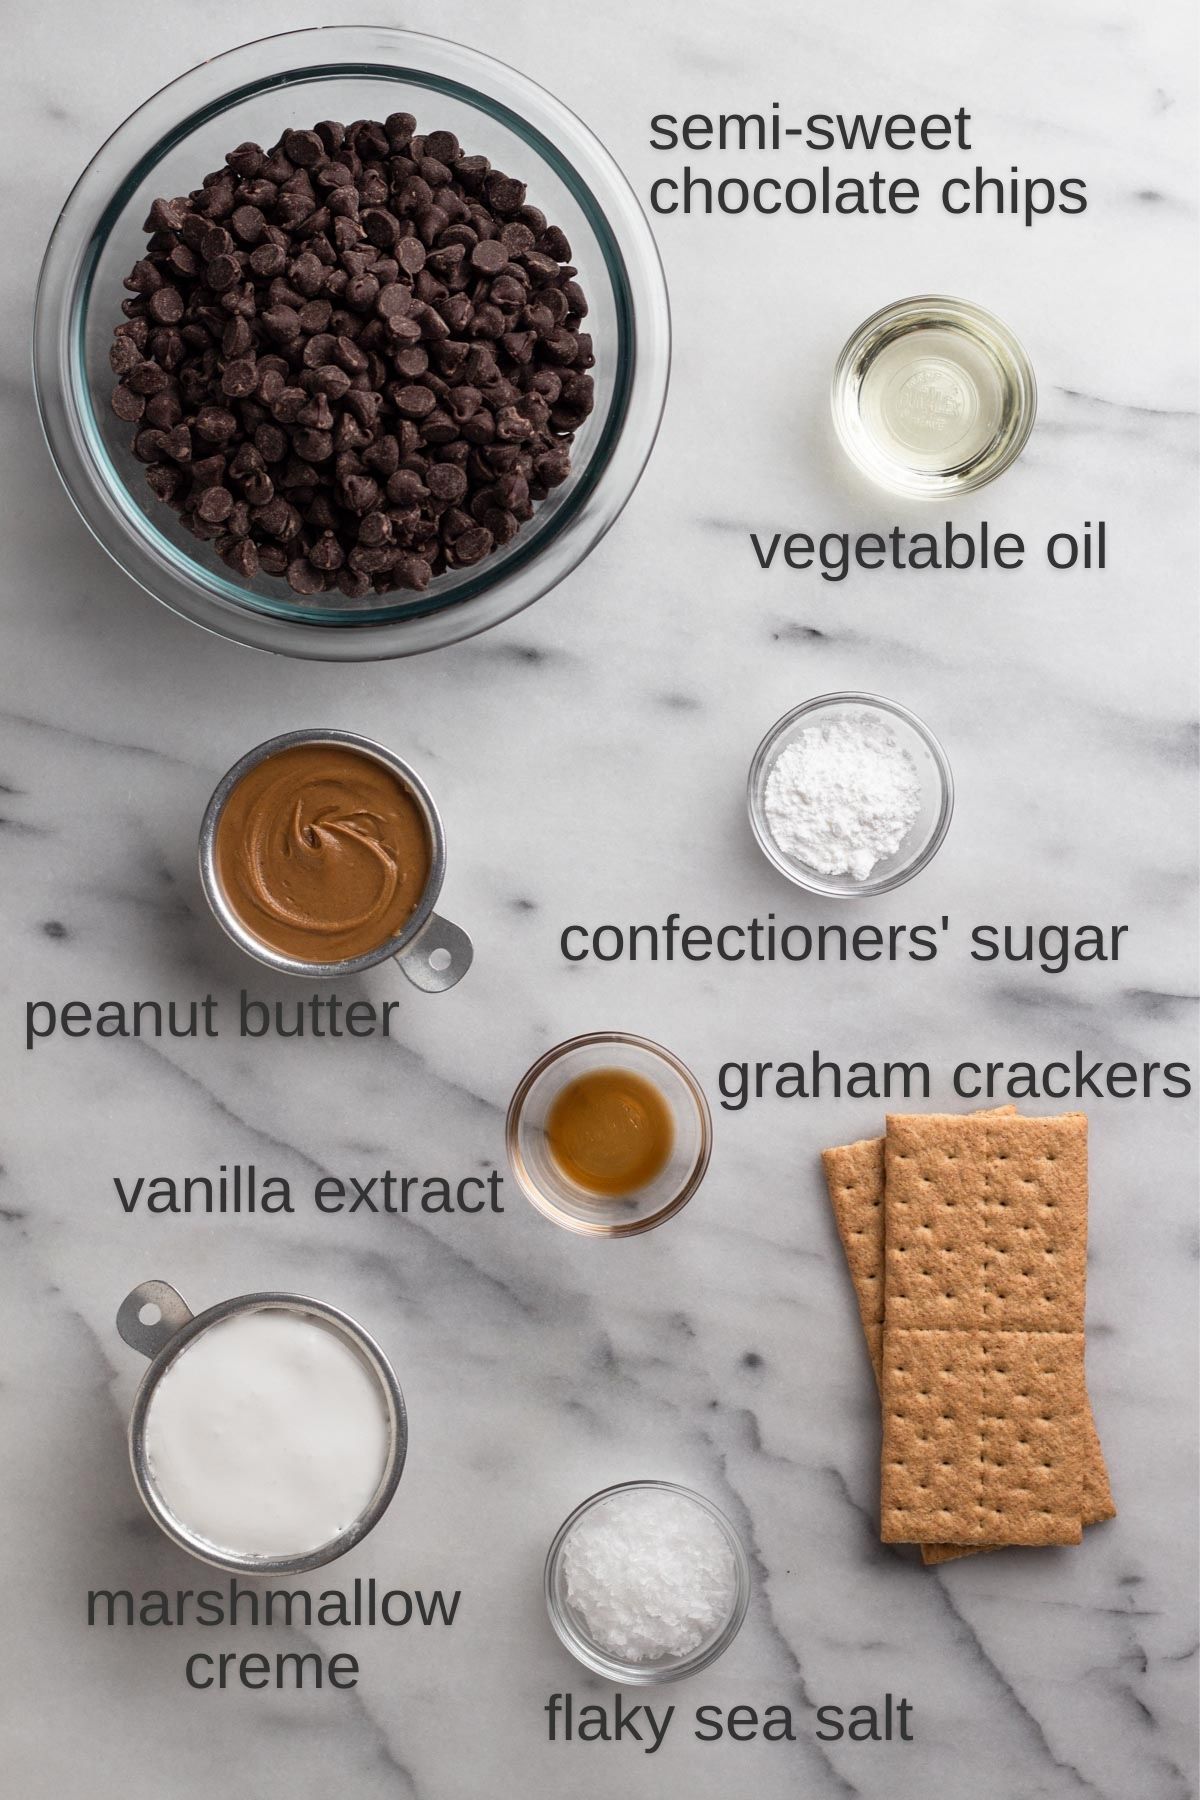
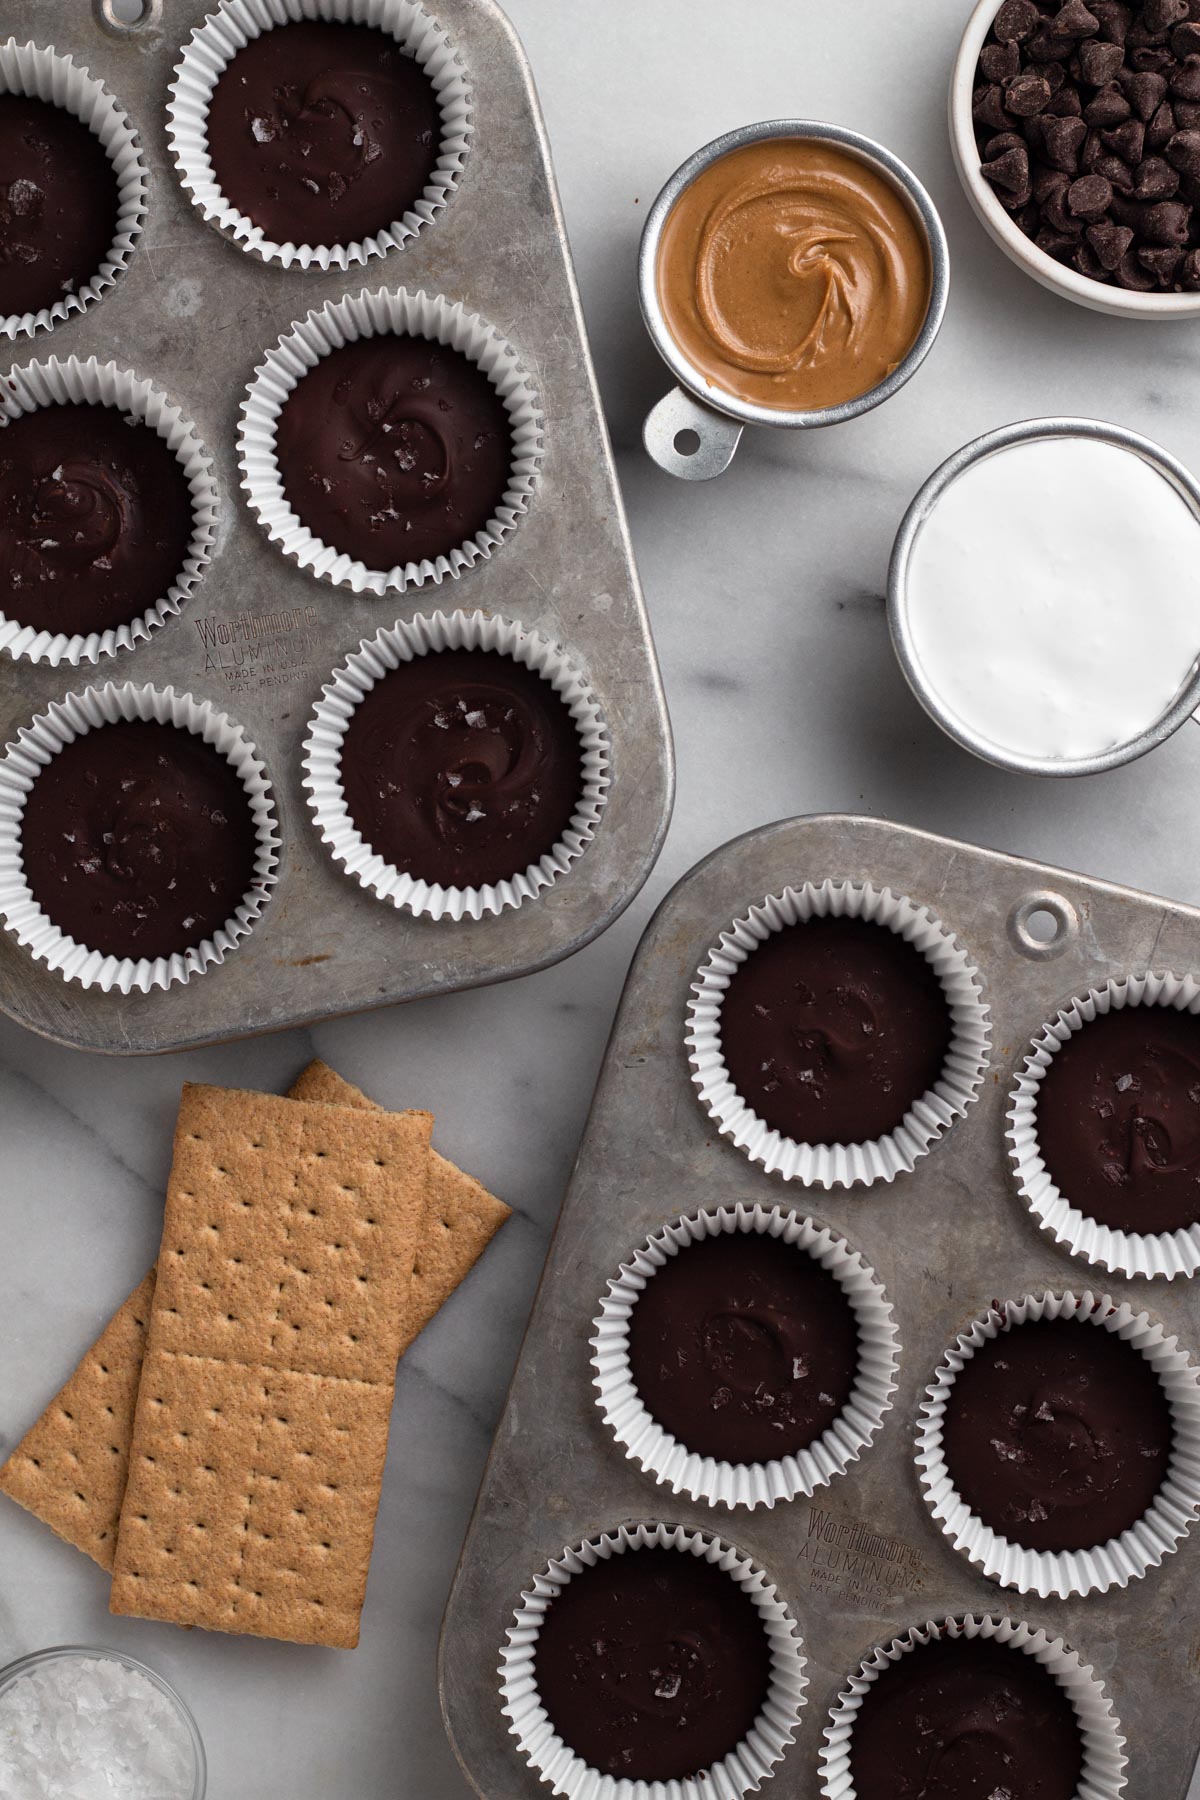
Semi-Sweet Chocolate Chips - Chocolate is of course a key ingredient when making chocolate peanut butter cups! I recommend a semi-sweet chocolate, since it's flavor profile is classic for s'mores, but milk or dark chocolate can be used if that's your preference. An equal measure of a chopped chocolate baking bar can be substituted for chocolate chips.
Vegetable Oil - A bit of oil is added to the chocolate to help it stay smooth and glossy when melted. I used vegetable oil, but another neutral oil, like canola oil, or refined coconut oil can also be used.
Creamy Peanut Butter - Creamy peanut butter lends rich peanut butter flavor and smooth creaminess to the filling of these candies. I prefer the smoothness of traditional peanut butter for its creamy texture, but natural peanut butter can be used if you prefer it and don't mind a thicker textured filling.
Graham Crackers - Another essential s'mores ingredient! I used Honey Maid brand graham crackers, which come in rectangular sheets that are perforated so they can be easily broken into 4 smaller rectangles. Breaking each of those smaller rectangles in half yields a square that's roughly 1 inch, which is the perfect size for this recipe. One and a half of the rectangular sheets when broken will yield 12 squares.
Marshmallow Creme - Marshmallow creme (aka marshmallow fluff) is essentially a marshmallow meringue; it tastes like marshmallow but is smooth and creamy (and sticky!). You can use store-bought marshmallow creme or homemade marshmallow meringue.
Flaky Sea Salt - A sprinkling of salt on top of each candy perfectly balances their sweetness. I opted for flaky sea salt and gently crushed the flakes between my fingers so they wouldn't be too big before sprinkling. Fine sea salt would be a good option for sprinkling too, which will taste a bit too salty.
Step-By-Step Recipe Instructions
See recipe card at the bottom of this post for detailed recipe instructions.
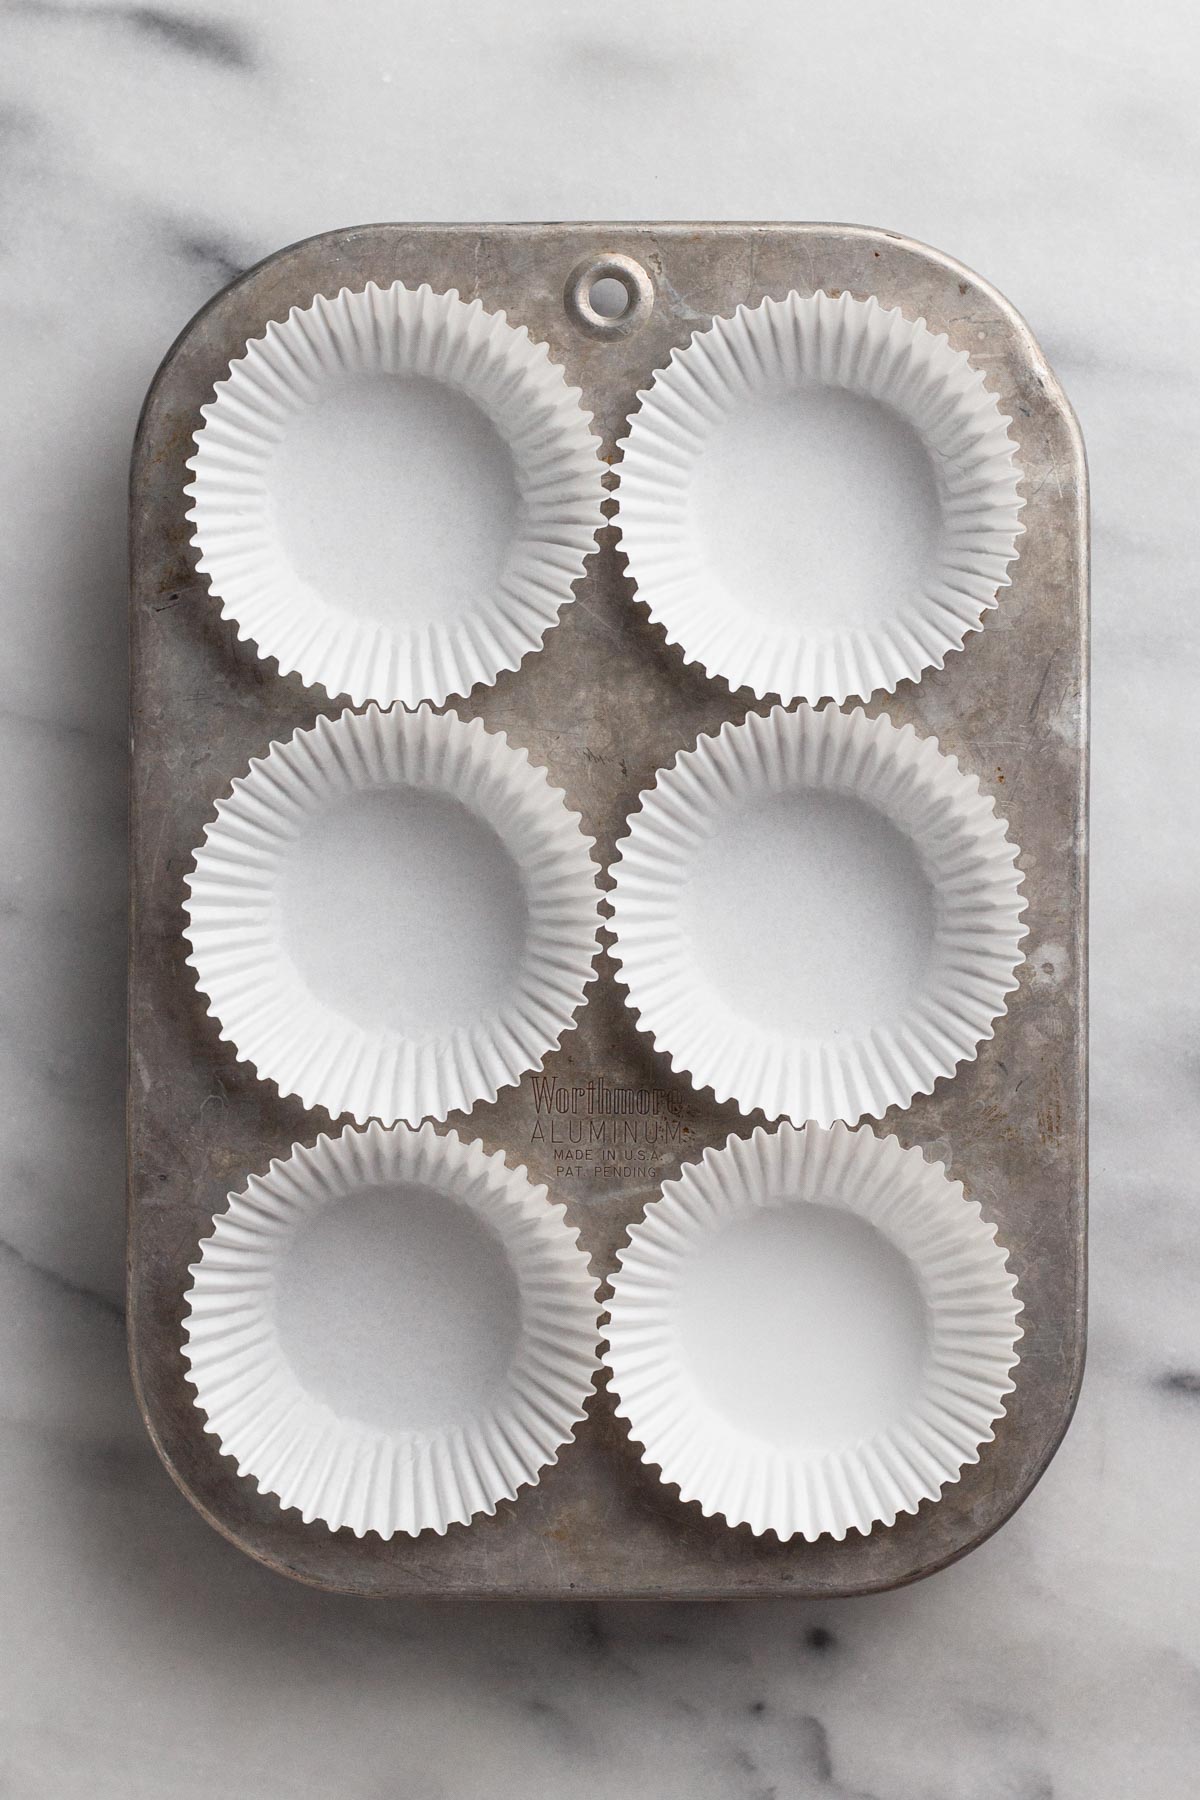
Step #1: Line a standard muffin pan with paper liners. Set aside.
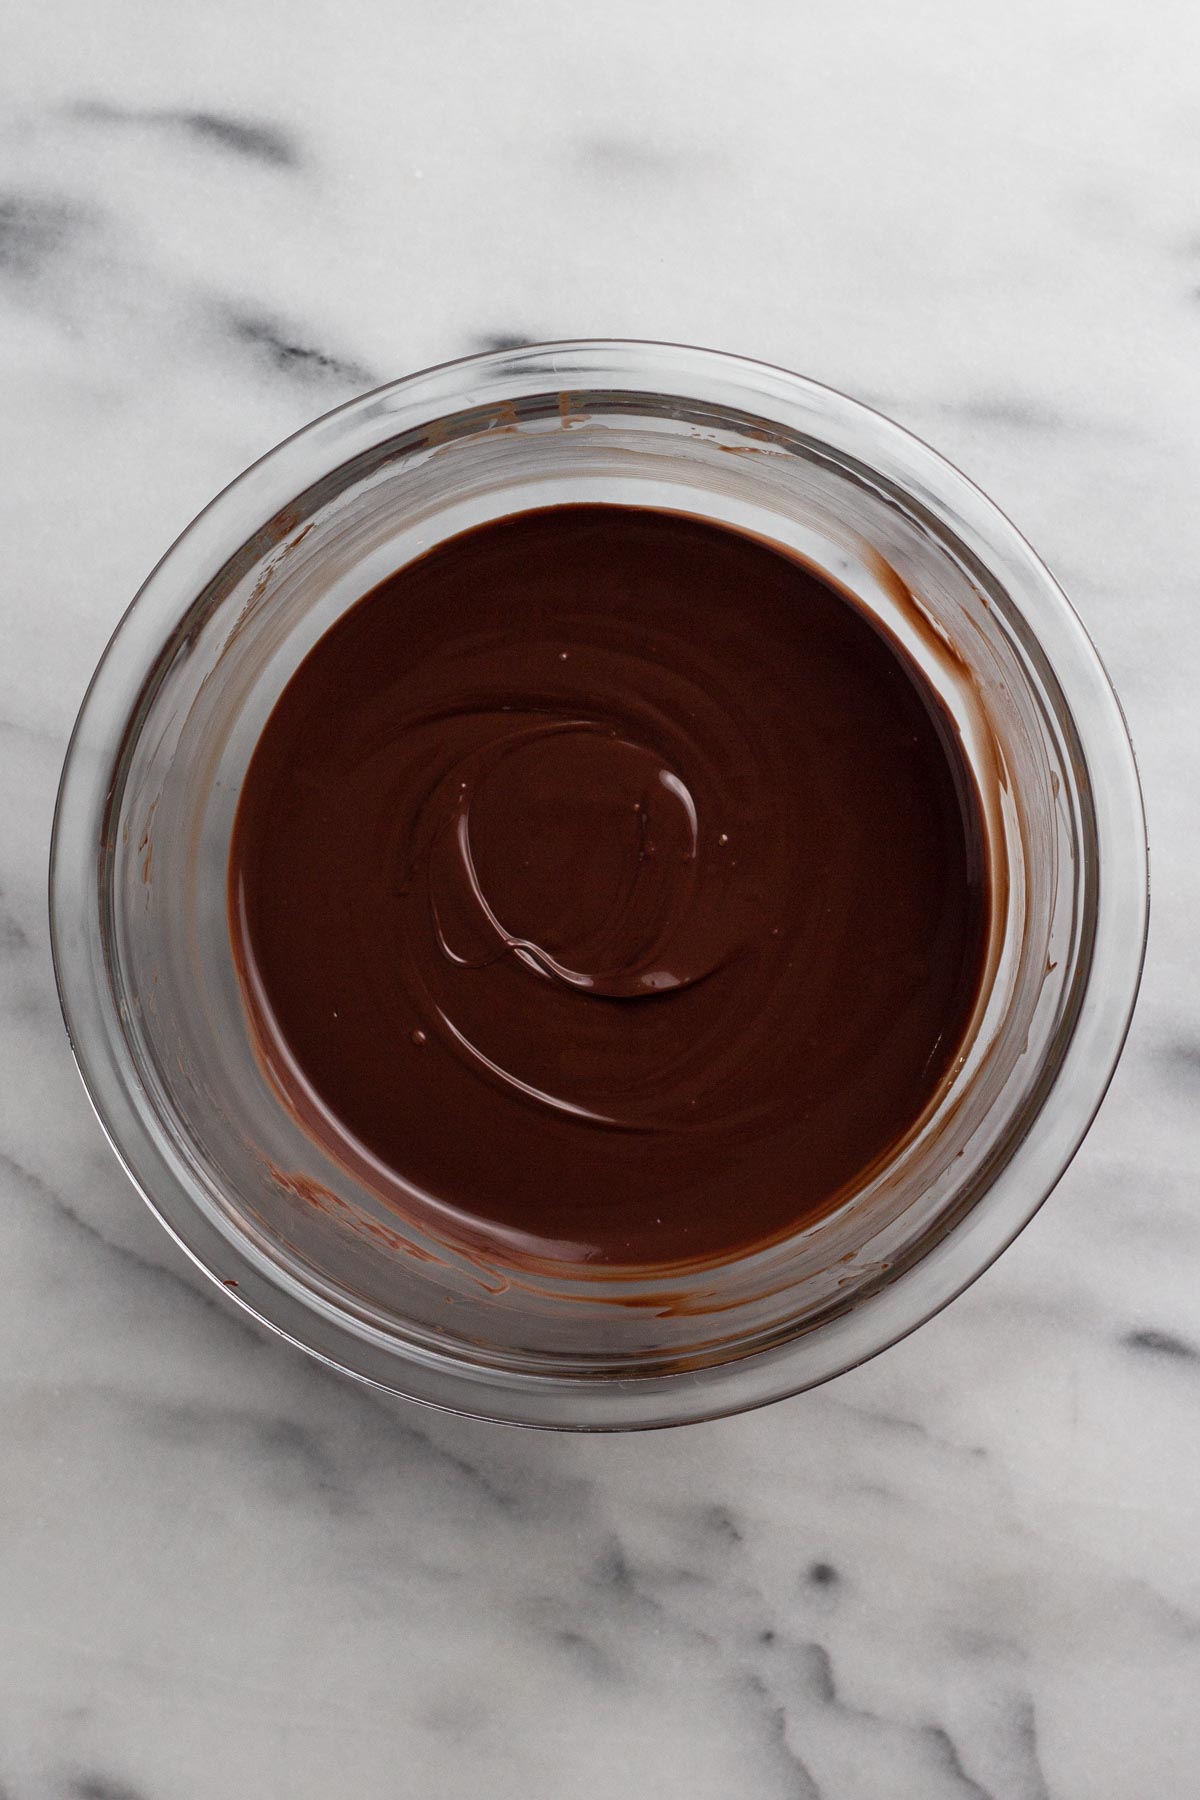
Step #2: Melt the chocolate. In a large bowl, add chocolate and vegetable oil. Melt the chocolate using a double boiler or in the microwave on 50% power in 30 second increments, stirring the mixture between each stint in the microwave. The chocolate should be completely melted and smooth.
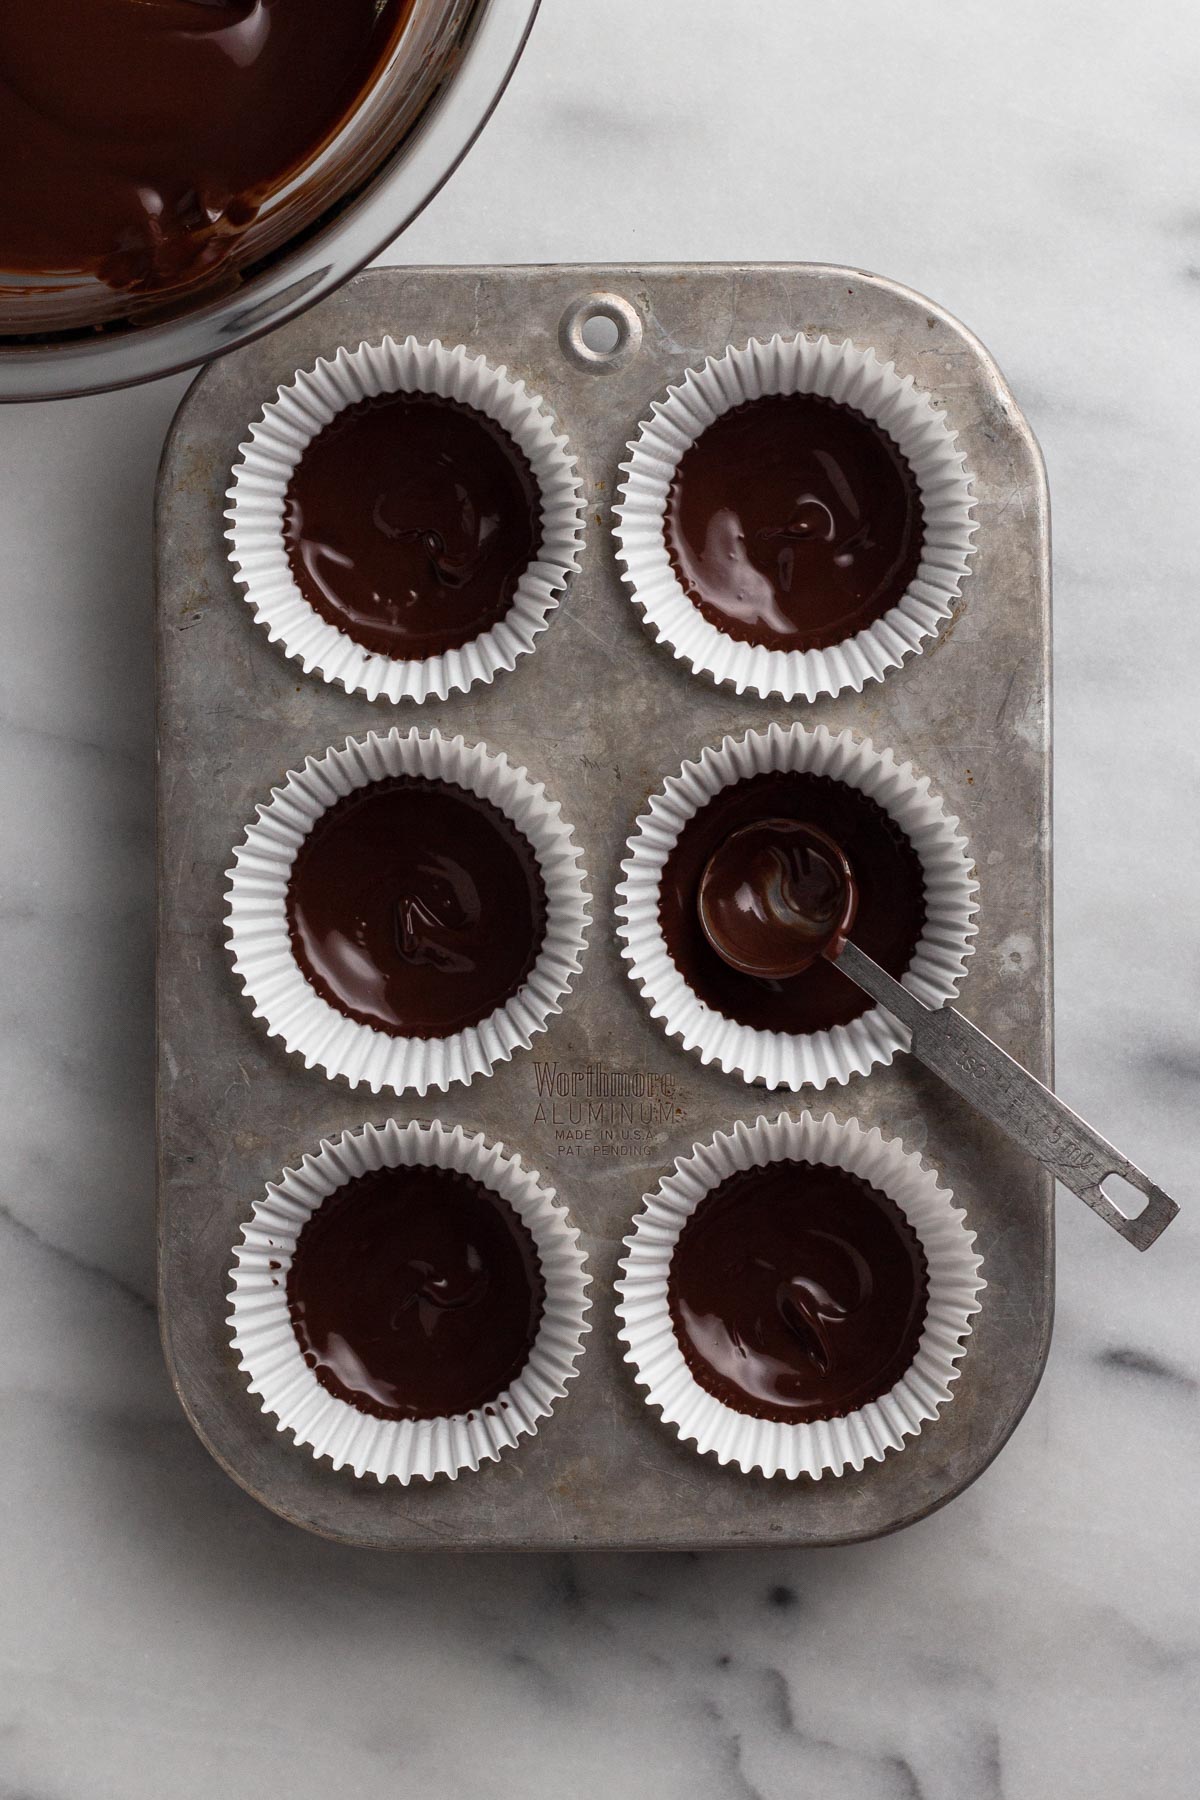
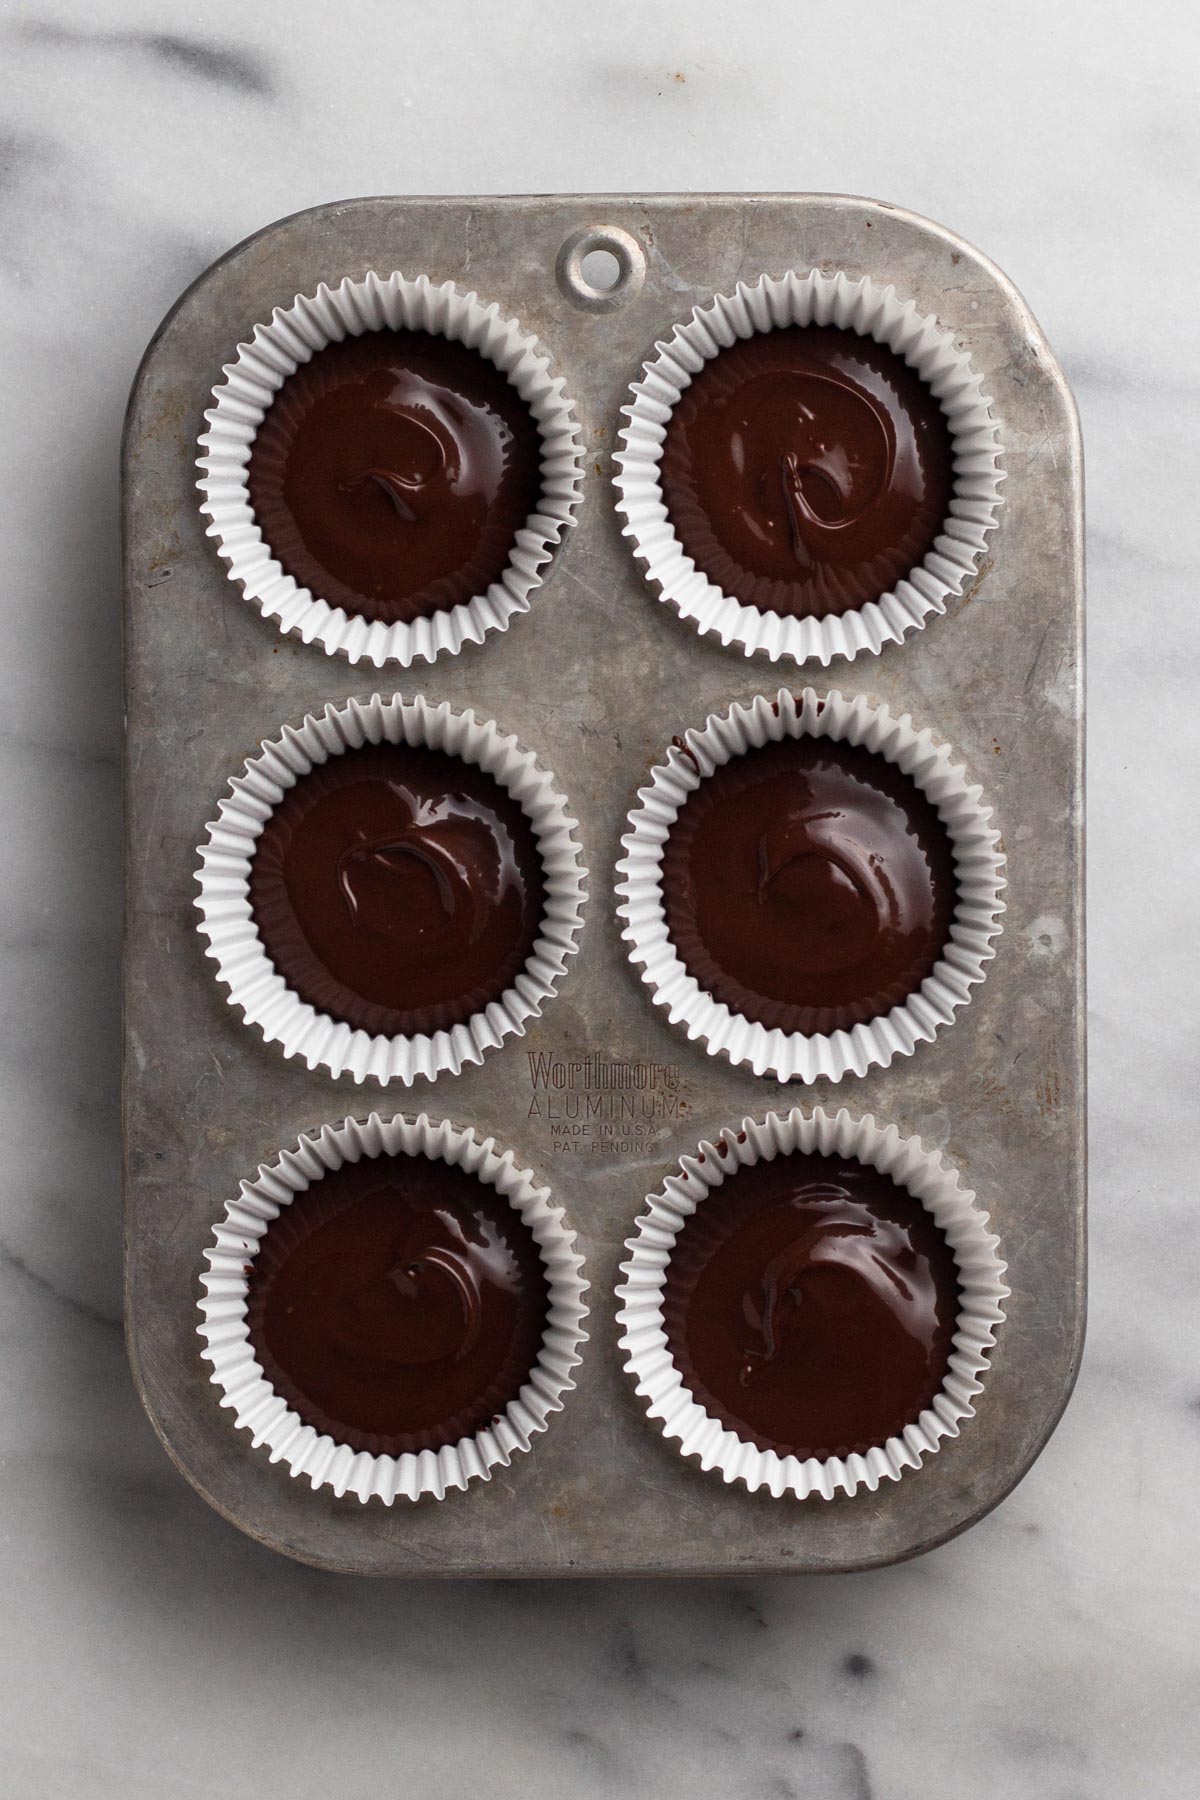
Step #3: Add 1 heaping teaspoon of melted chocolate to each paper liner and use the back of the measuring spoon or a small spatula to spread the chocolate up the sides of the liner about ½ inch.
Step #4: Place the muffin pan in the fridge to quickly set the chocolate while you prep the fillings.
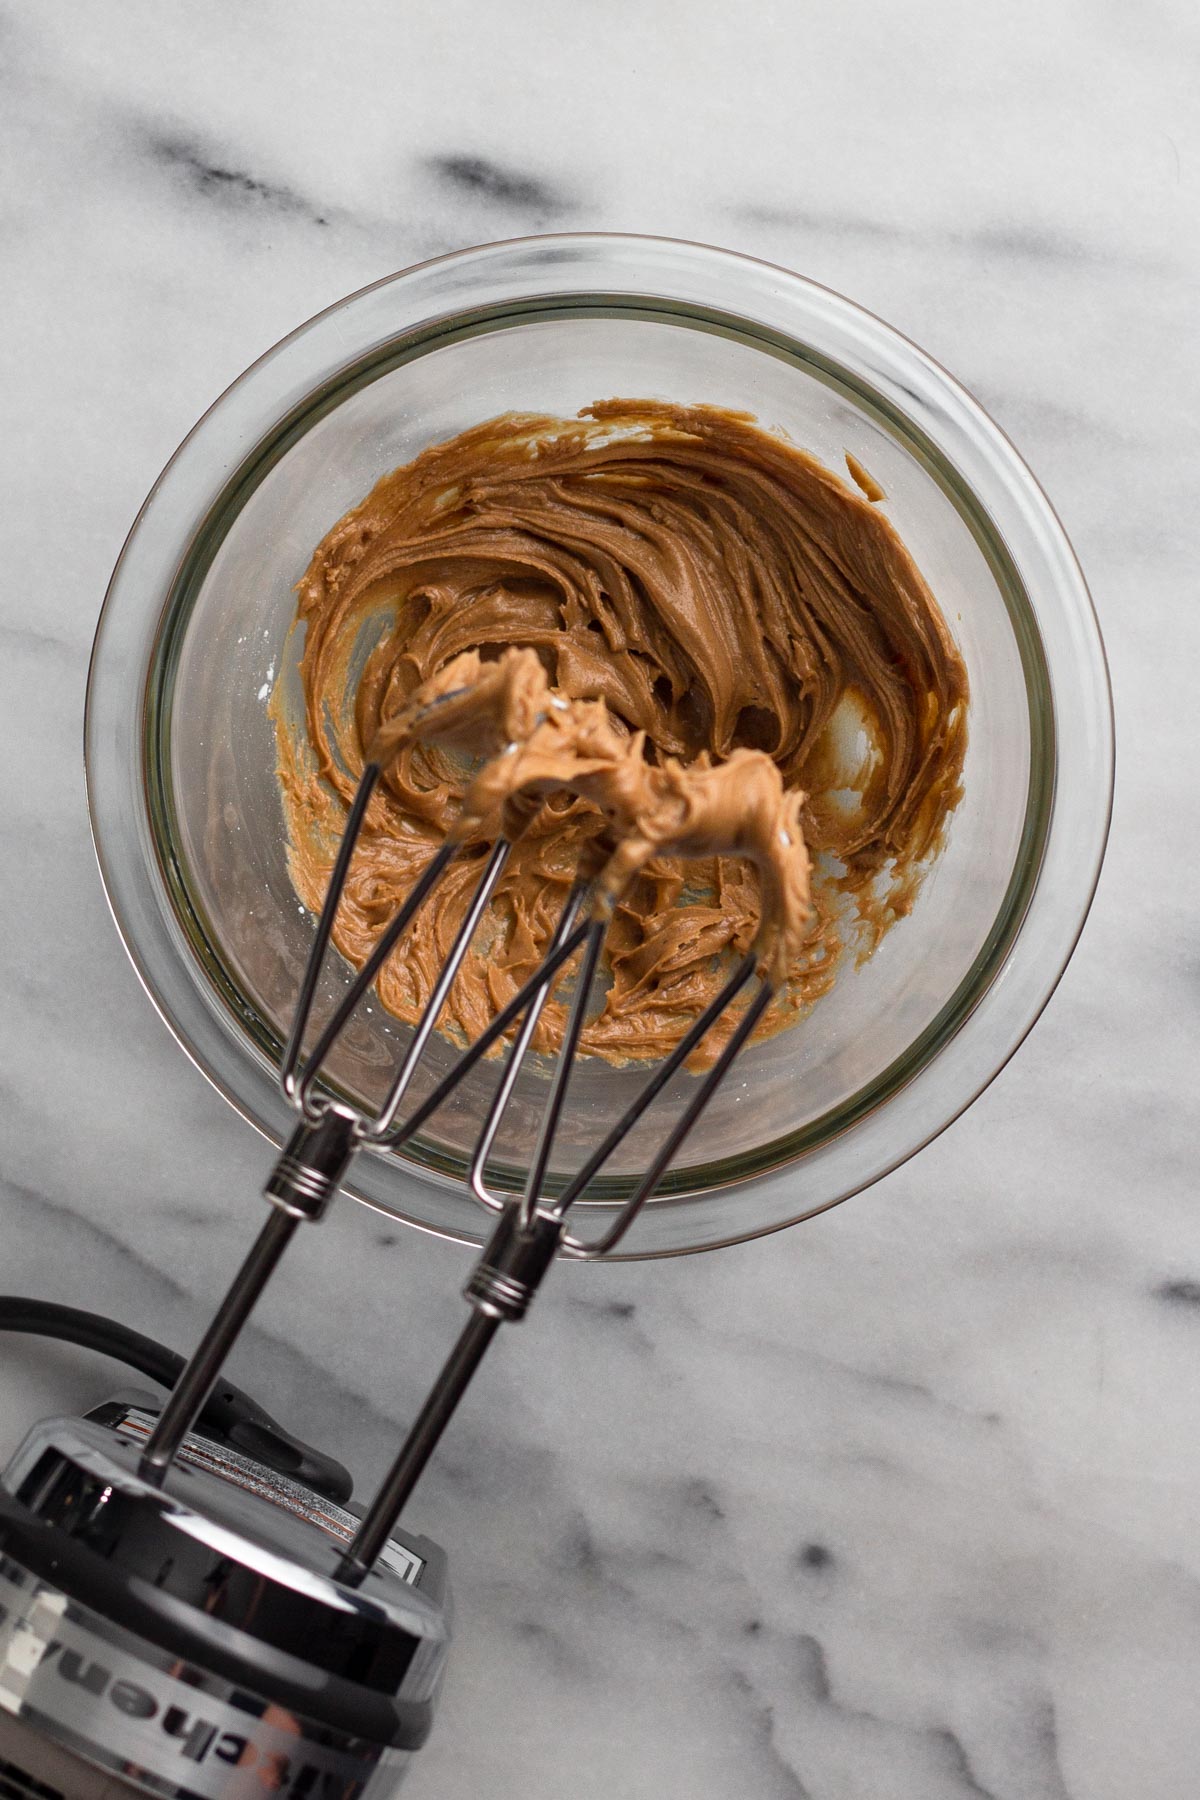
Step #5: Make the peanut butter filling. In a small bowl, add peanut butter, confectioners' sugar, and vanilla (A). Use a handheld electric mixer to beat the mixture on medium speed until well blended (B). Set aside. Add the peanut butter mixture to a small piping bag (either fitted with a medium round tip or simply with the end of the bag cup open in a small circle) and set aside.
Step #6: Prep the graham crackers. Break graham cracker cookies into 1 inch square pieces and set aside. (If using store-bought graham crackers that come in rectangular sheets each made up of 4 smaller rectangles, breaking each of the smaller rectangles in half will yield the correct size pieces. You should get 8 squares per rectangular graham cracker sheet.)
Step #7: Prep the marshmallow creme. Add marshmallow creme to a small piping bag (either fitted with a medium round tip or simply with the end of the bag cup open in a small circle).
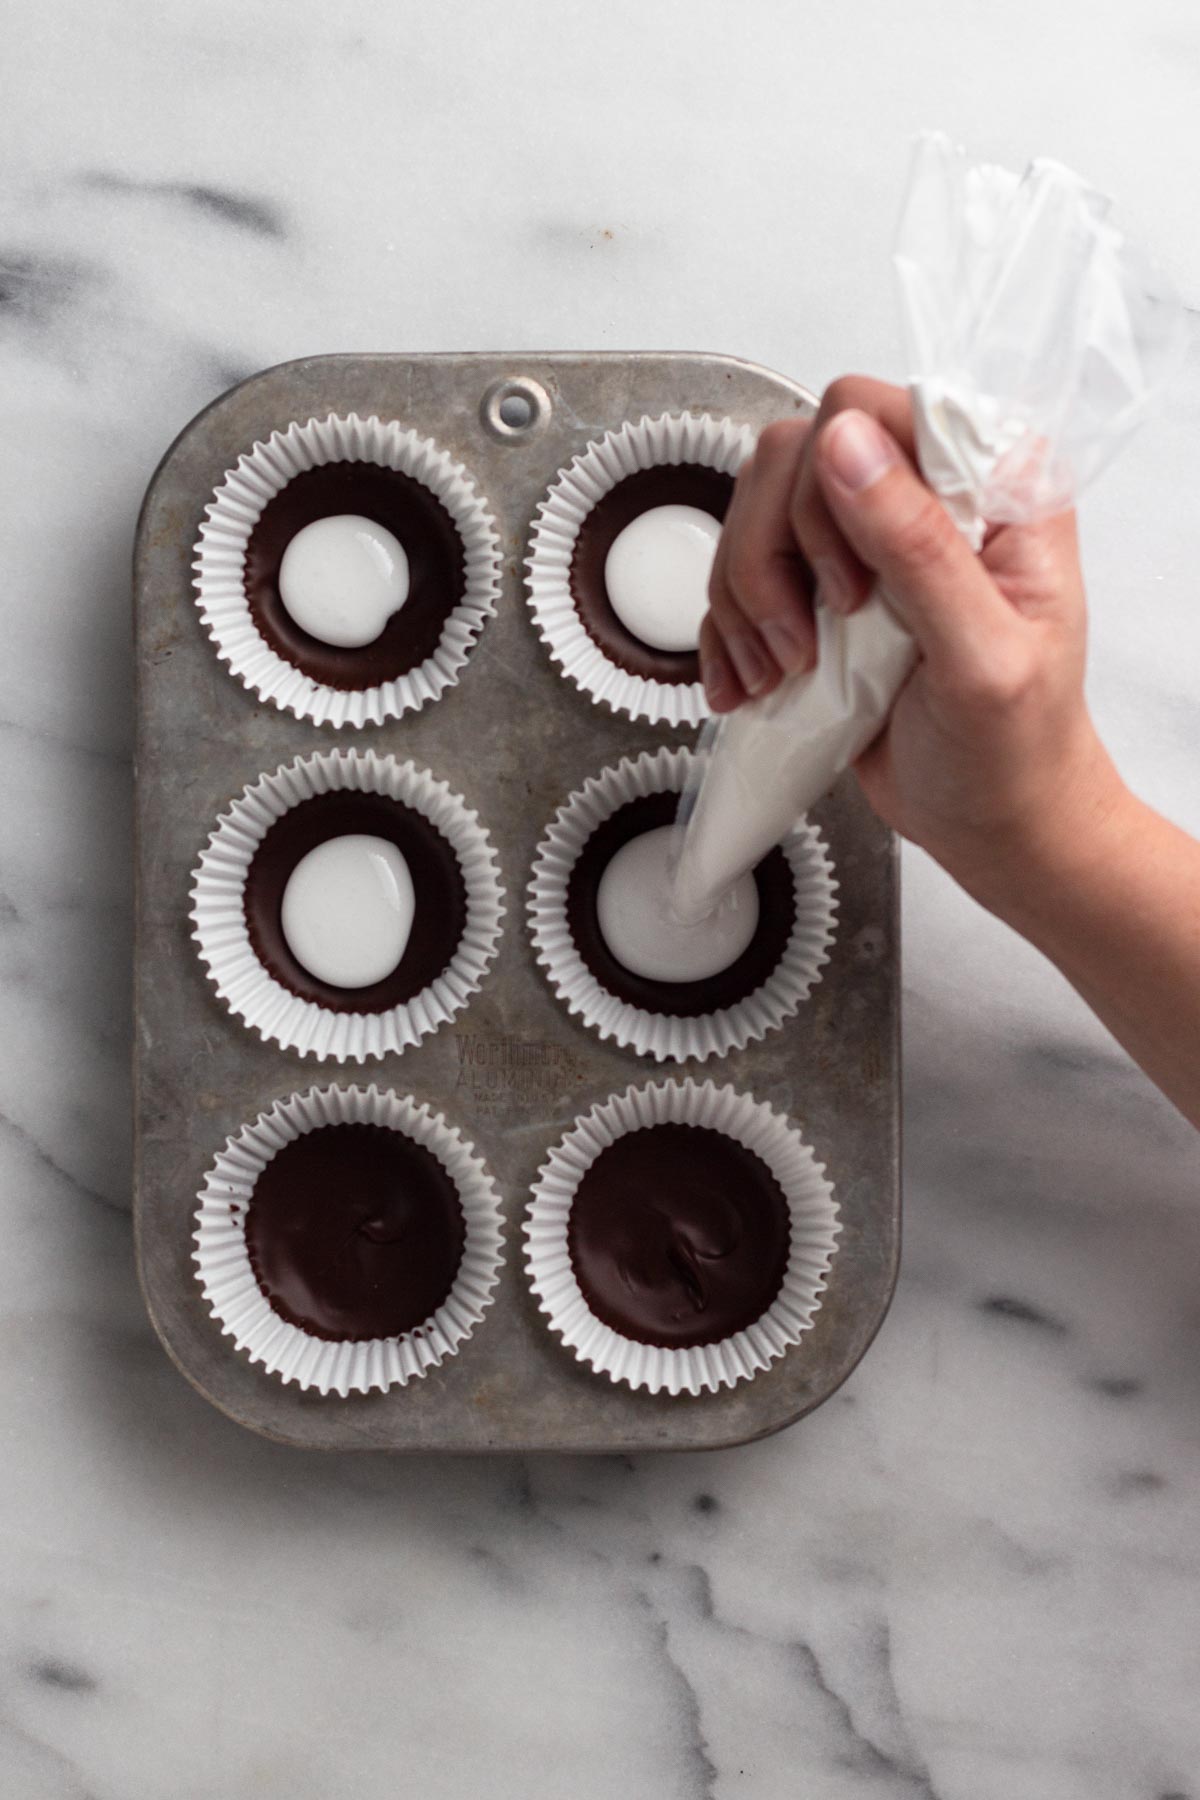
Step #8: Assemble the peanut butter cups. Pipe a circle of marshmallow creme onto the center of the chocolate in each of the paper liners, leaving ¼ inch of chocolate exposed around the edge.
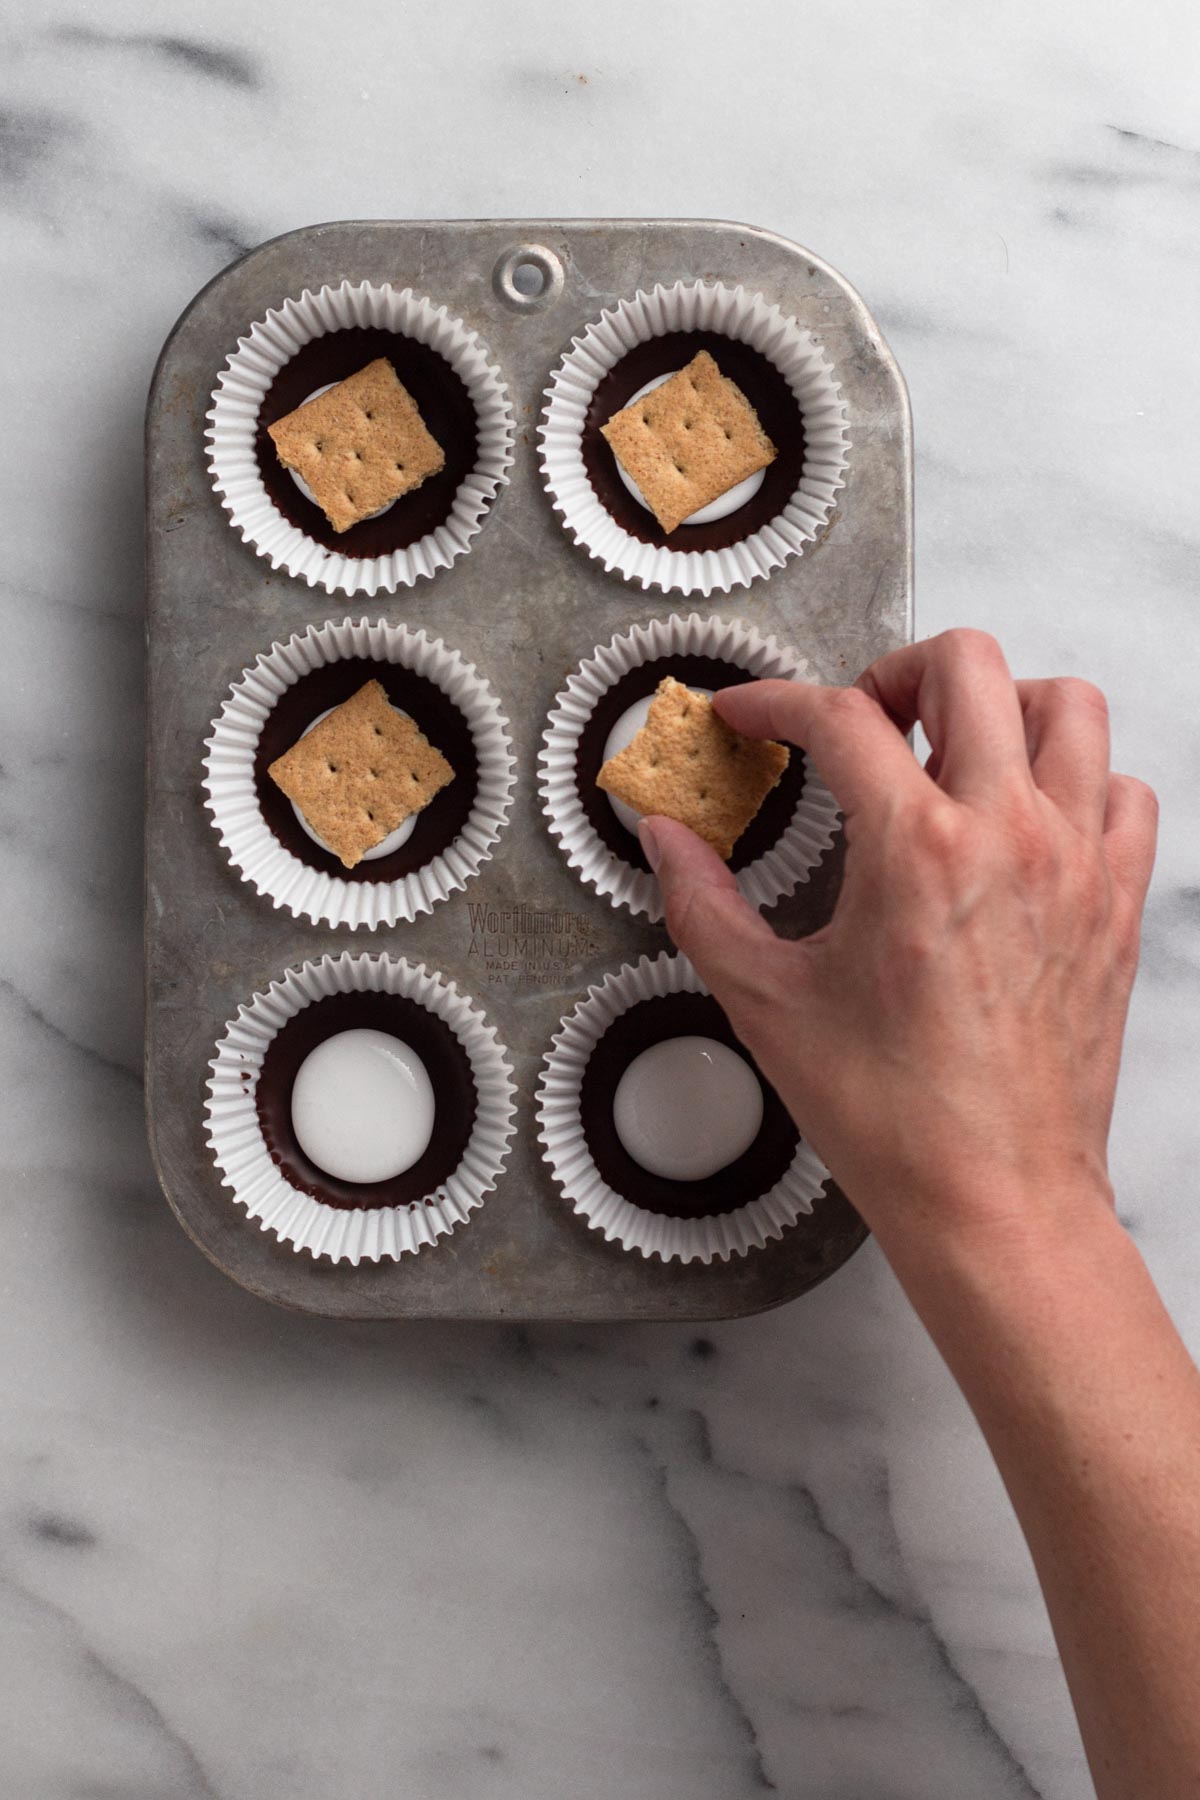
Step #9: Place a graham cracker square onto the marshmallow creme in each cup.
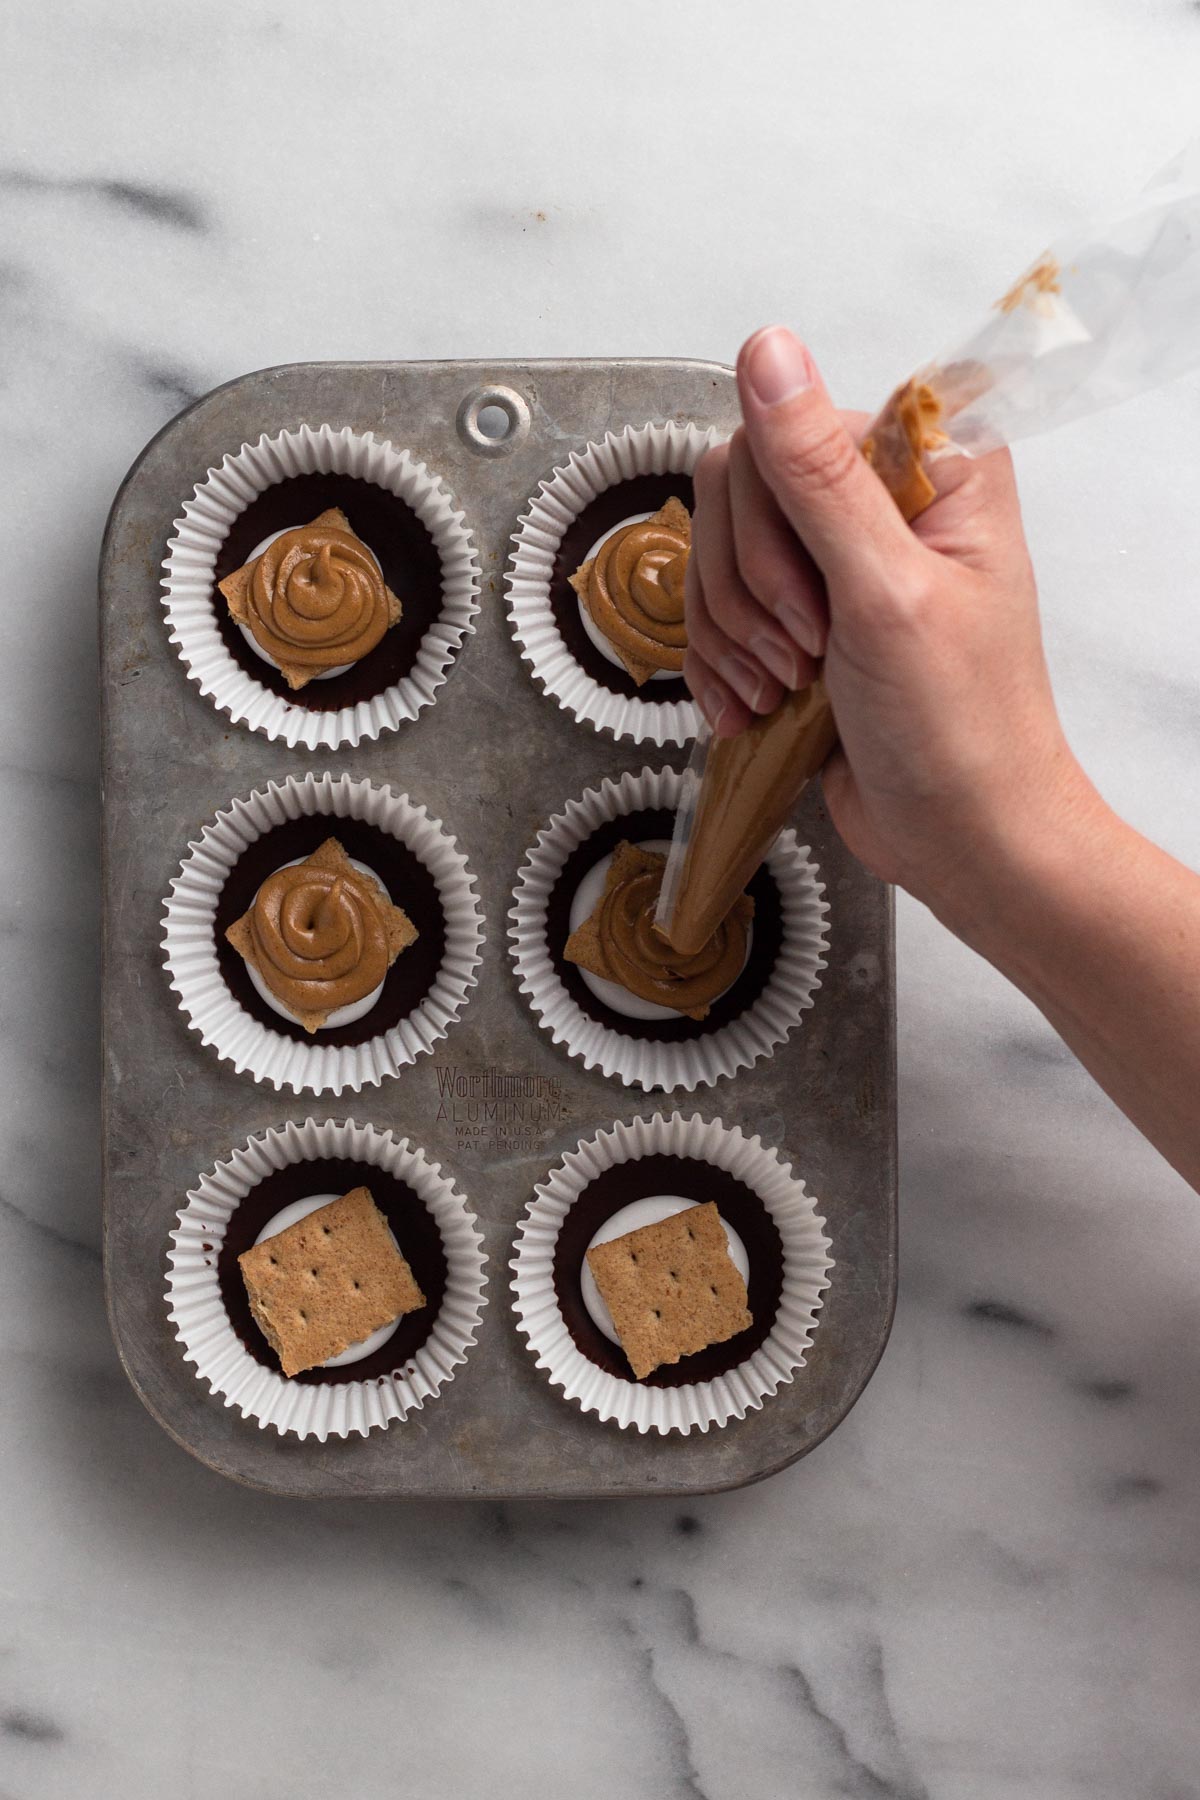
Step #10: Pipe a circle of peanut butter filling on top of each graham cracker square, again leaving ¼ inch around the edge.
Step #11: Spoon a heaping Tablespoon of melted chocolate onto each peanut butter cup and use the back of the measuring spoon or a small spatula to gently spread the chocolate over the top of the filling and down the sides so it meets the chocolate at the bottom of the liner, sealing the filling within the chocolate cup.
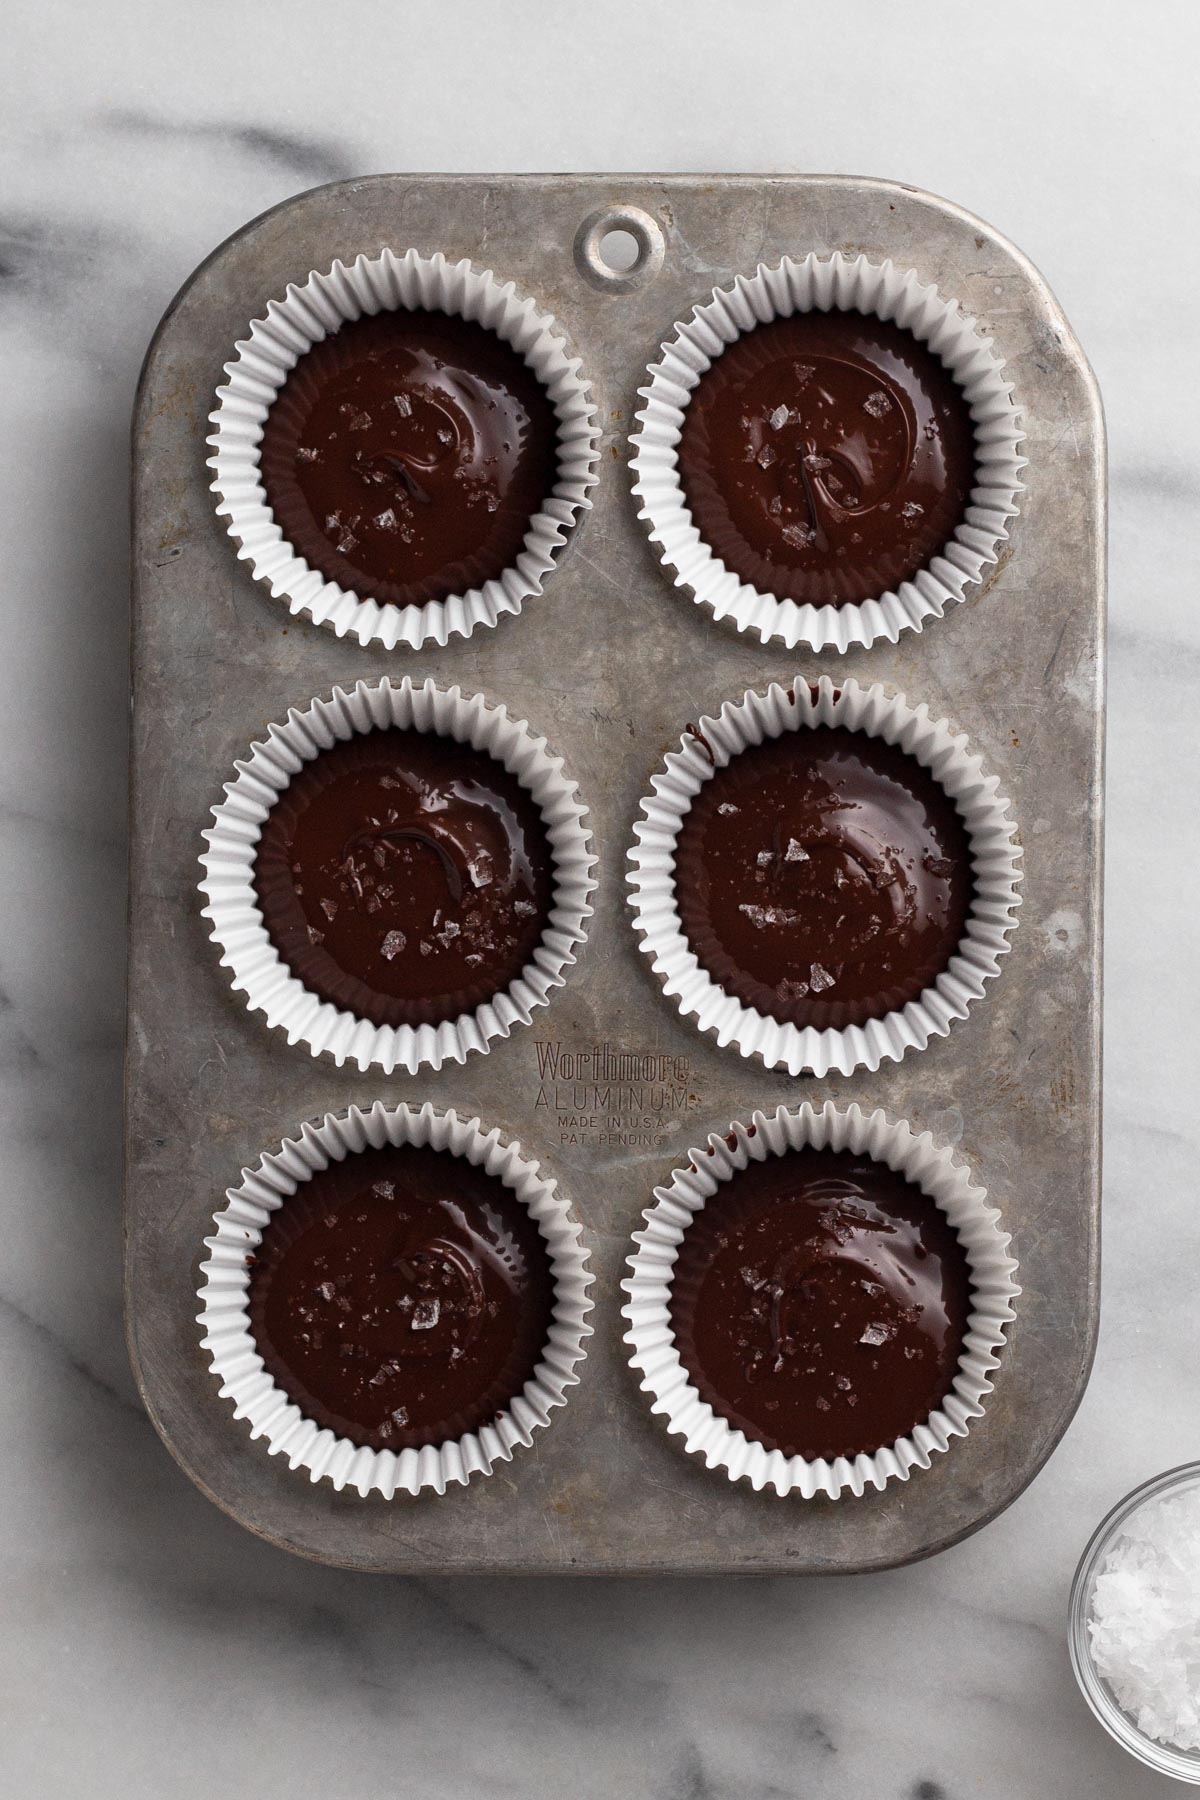
Step #12: Lightly crush flaky sea salt between your fingers and sprinkle a bit over each cup.
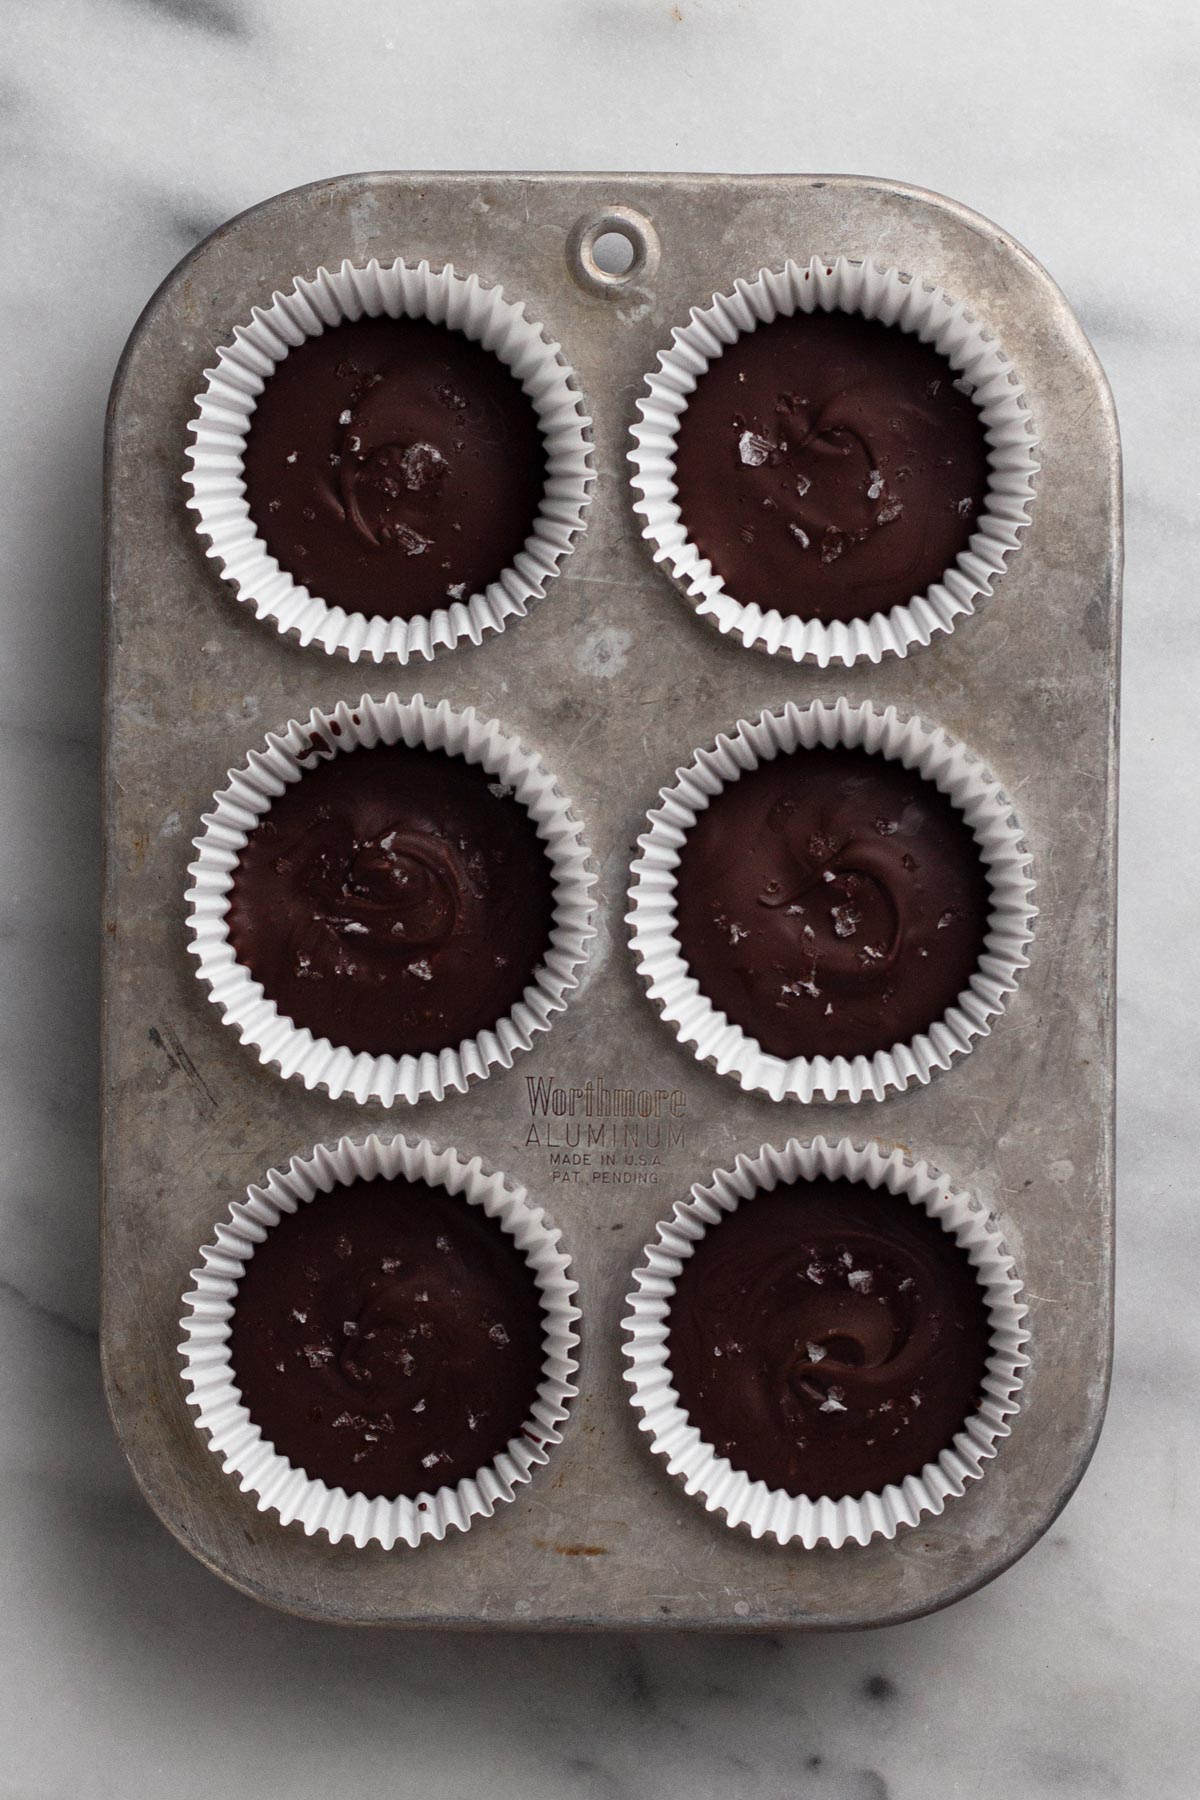
Step #13: Place the muffin pan in the fridge for at least 15 minutes to quickly set the chocolate. Remove the paper liners before serving.
More Chocolate & Peanut Butter Recipes


Love this recipe? Please leave a star rating and review on the recipe below! And don't forget to subscribe to Always Eat Dessert for even more easy dessert recipes and helpful baking tips.
Recipe
S'mores Peanut Butter Cups
Ingredients
- 12 ounces (340 grams) semi-sweet chocolate chips or chopped chocolate baking bar,
- 2 Tablespoons (27 grams) vegetable oil
- ¼ cup (65 grams) creamy peanut butter
- 1 Tablespoon (8 grams) confectioners' sugar
- ½ teaspoon (2 grams) vanilla extract
- 12 small squares of graham cracker (1 ½ rectangles of store-bought graham crackers)
- ½ cup (64 grams) marshmallow creme (homemade or store-bought)
- flaky sea salt
Instructions
- Line a standard muffin pan with paper liners. Set aside.
Melt the chocolate.
- In a large bowl, add chocolate and vegetable oil. Melt the chocolate using a double-boiler or in the microwave on 50% power in 30 second increments, stirring the mixture between each stint in the microwave. The chocolate should be completely melted and smooth.
- Add 1 heaping teaspoon of melted chocolate to each paper liner and use the back of the measuring spoon or a small spatula to spread the chocolate up the sides of the liner about ½ inch.
- Place the muffin pan in the fridge to quickly set the chocolate while you prep the fillings.
Make the peanut butter filling.
- In a small bowl, add peanut butter, confectioners' sugar, and vanilla. Use a handheld electric mixer to beat the mixture on medium speed until well blended. Set aside. Add the peanut butter mixture to a small piping bag (either fitted with a medium round tip or simply with the end of the bag cup open in a small circle) and set aside.
Prep the graham crackers.
- Break graham cracker cookies into 1 inch square pieces and set aside. (If using store-bought graham crackers that come in rectangular sheets each made up of 4 smaller rectangles, breaking each of the smaller rectangles in half will yield the correct size pieces. You should get 8 squares per rectangular graham cracker sheet.)
Prep the marshmallow creme.
- Add marshmallow creme to a small piping bag (either fitted with a medium round tip or simply with the end of the bag cup open in a small circle).
Assemble the peanut butter cups.
- Pipe a circle of marshmallow creme onto the center of the chocolate in each of the paper liners, leaving ¼ inch of chocolate exposed around the edge.
- Place a graham cracker square onto the marshmallow creme in each cup.
- Pipe a circle of peanut butter filling on top of each graham cracker square, again leaving ¼ inch around the edge.
- Spoon a heaping Tablespoon of melted chocolate onto each peanut butter cup and use the back of the measuring spoon or a small spatula to gently spread the chocolate over the top of the filling and down the sides so it meets the chocolate at the bottom of the liner, sealing the filling within the chocolate cup.
- Lightly crush flaky sea salt between your fingers and sprinkle a bit over each cup.
- Place the muffin pan in the fridge for at least 15 minutes to quickly set the chocolate. Remove the paper liners before serving.
Callan says
I couldn’t love these more! Super easy to make (I went for a double batch) and they’re SO tasty. I love the chocolate and sea salt combo!
JoAnn Buchanan says
I've made these a couple of times, to rave reviews! As with all of Allison's recipes, her directions are very well written. This recipe comes together in a short time and the results are 5 star!. Mine looked just like the pictures and tasted amazing! This recipe is sure to impress and makes a great treat to share!