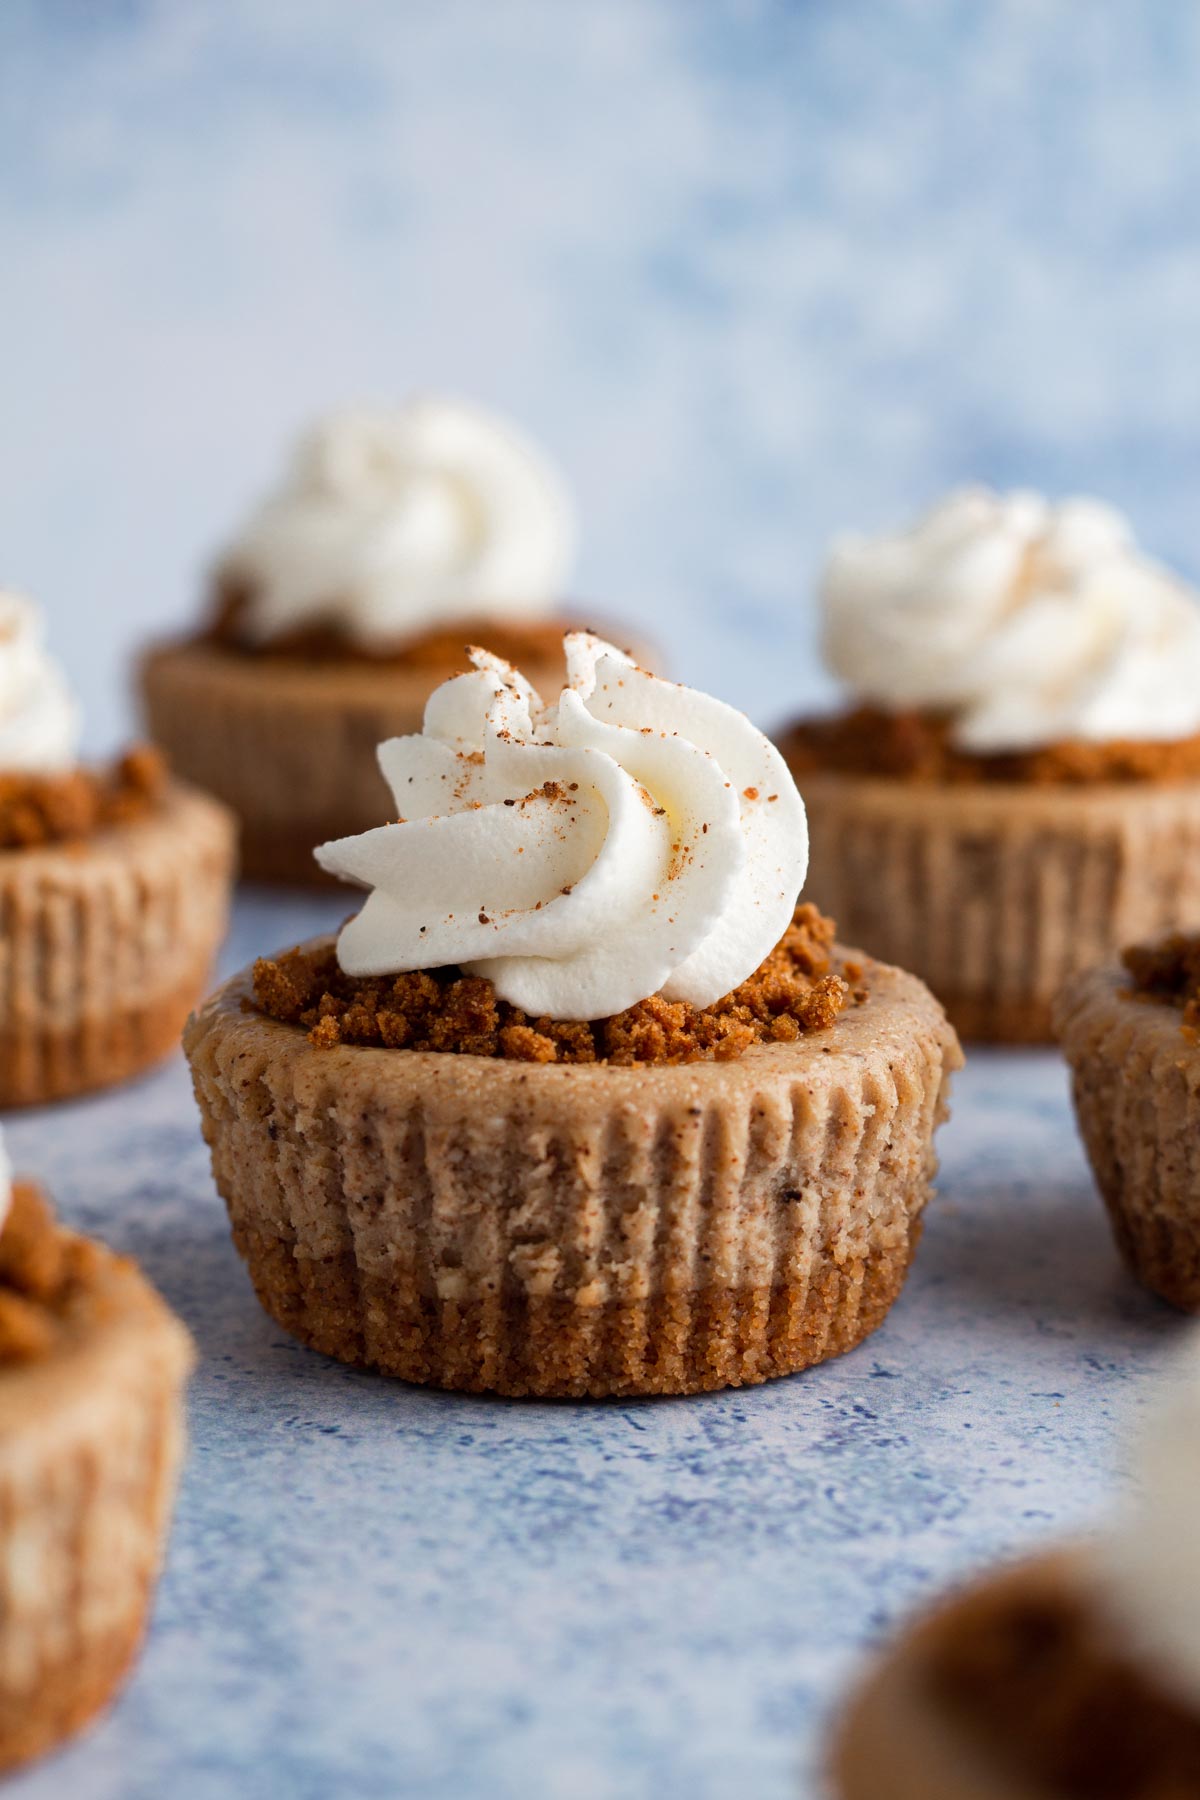
Mini gingerbread cheesecakes pair ultra-creamy spiced cheesecake with a pecan and graham cracker crust for a festive and indulgent holiday treat that's picture perfect when topped with gingersnap crumbs, whipped cream, and a dusting of nutmeg. Serve these perfectly-portioned mini desserts at Christmas to secure your spot at the top of the nice list!
Jump to:
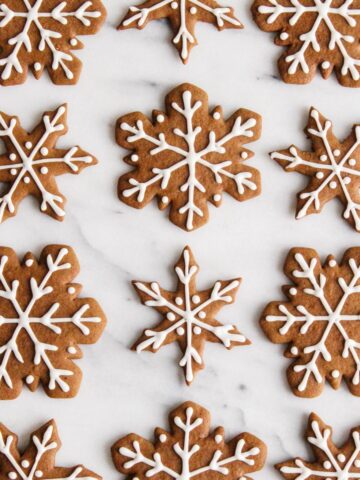
When you transform the holiday season's most quintessential cookie into a mouth-watering and perfectly-portioned indulgent dessert, you know you've struck gold! My gingerbread snowflake cookies have been one of the most popular recipes here at Always Eat Dessert for years - and for good reason - so I decided it was time for a new gingerbread treat. This time, we're swapping soft and chewy cookies for creamy and decadent cheesecake!
Why This Recipe Works
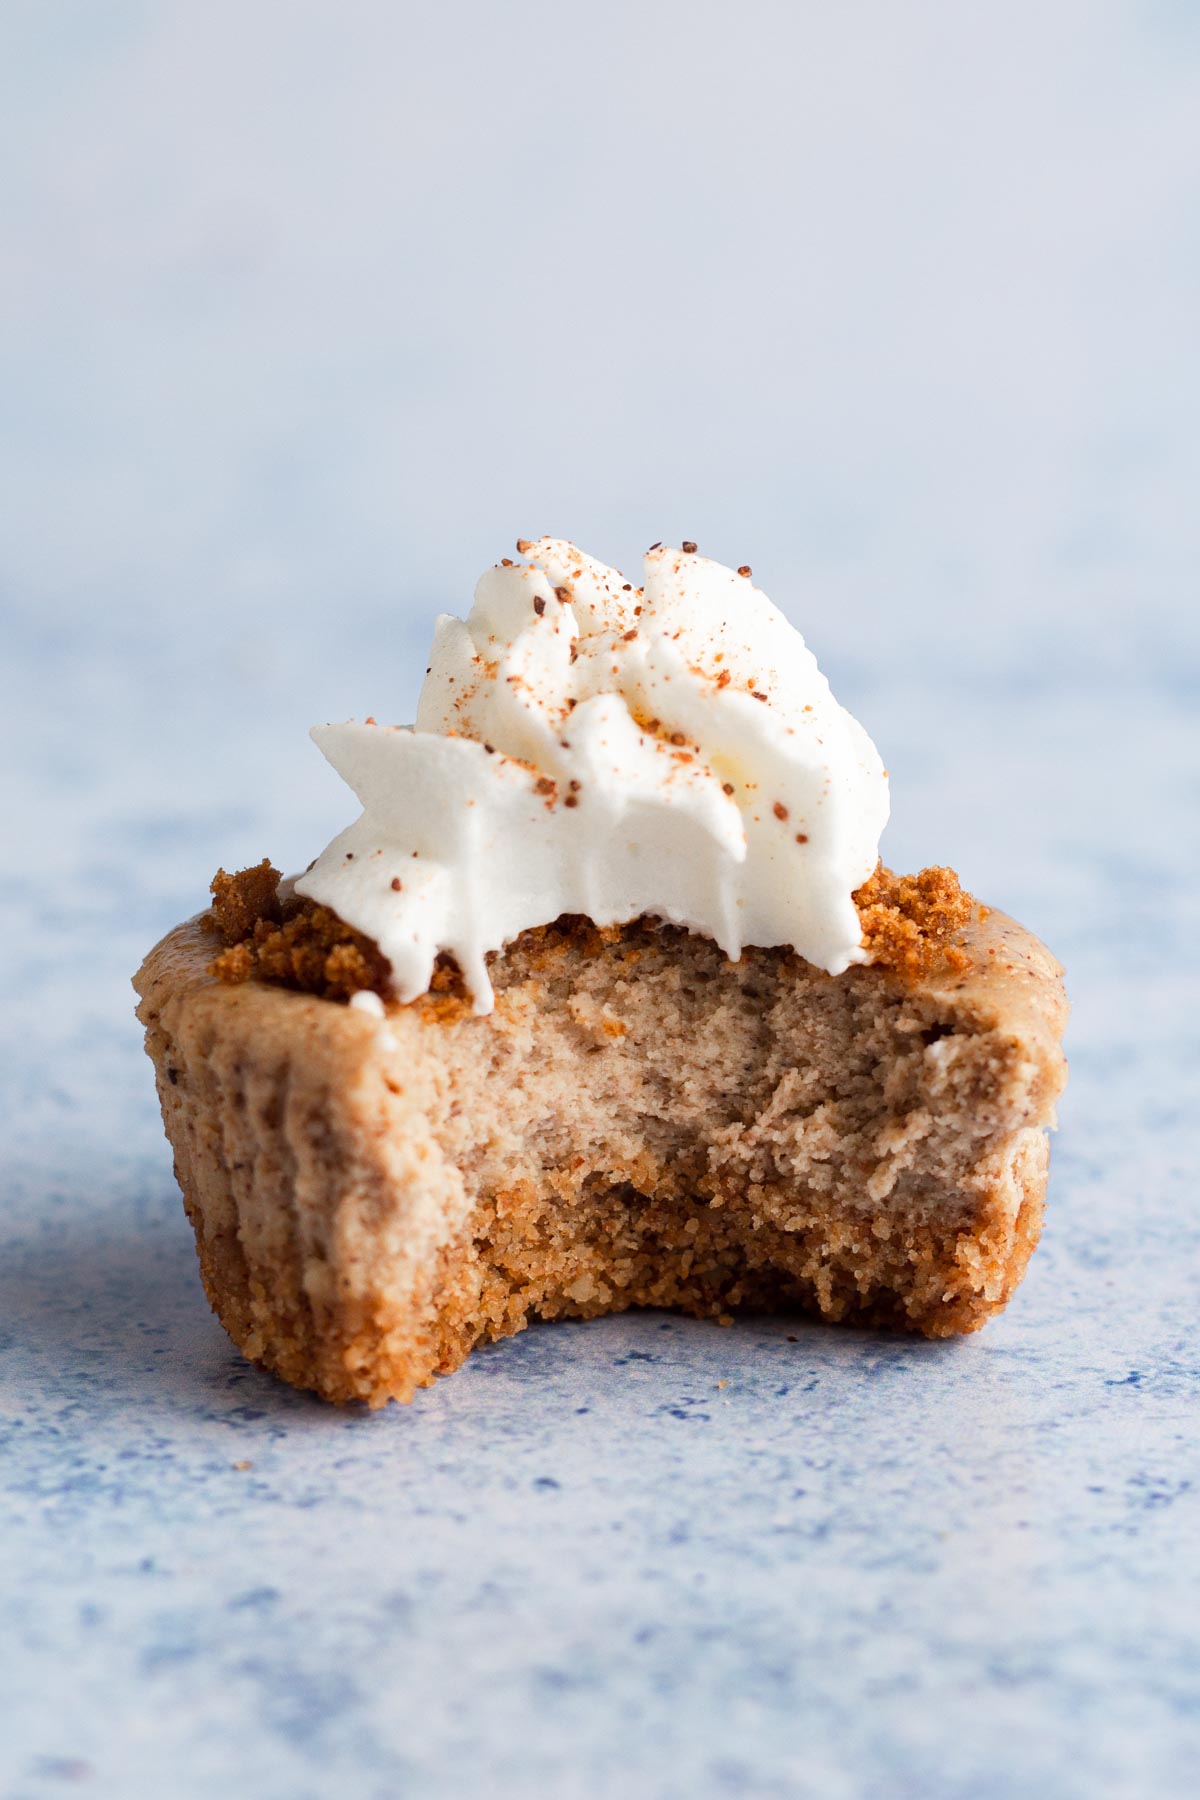
These mini gingerbread cheesecakes are what holiday dessert dreams are made of! A graham cracker crust made more flavorful with the addition of chopped pecans and a bit of brown sugar provides the base for the ultra-indulgent and perfectly spiced gingerbread cheesecake. A sprinkling of crushed gingersnap cookies adds a welcome bit of crunch. Topped off with a dollop of whipped cream and a dusting of nutmeg, these mini desserts will delight your friends and family when you serve them up on Christmas!
And unlike a traditional cheesecake, these mini cheesecakes don't require uncommon equipment or tedious extra steps. Instead of a springform pan, we'll bake these in a standard muffin pan. And the water bath that's recommended when baking a full-size cheesecake? Not necessary! With mini cheesecakes we get all the benefits of a rich and creamy dessert but without the fuss!
Ingredient Notes & Substitutions
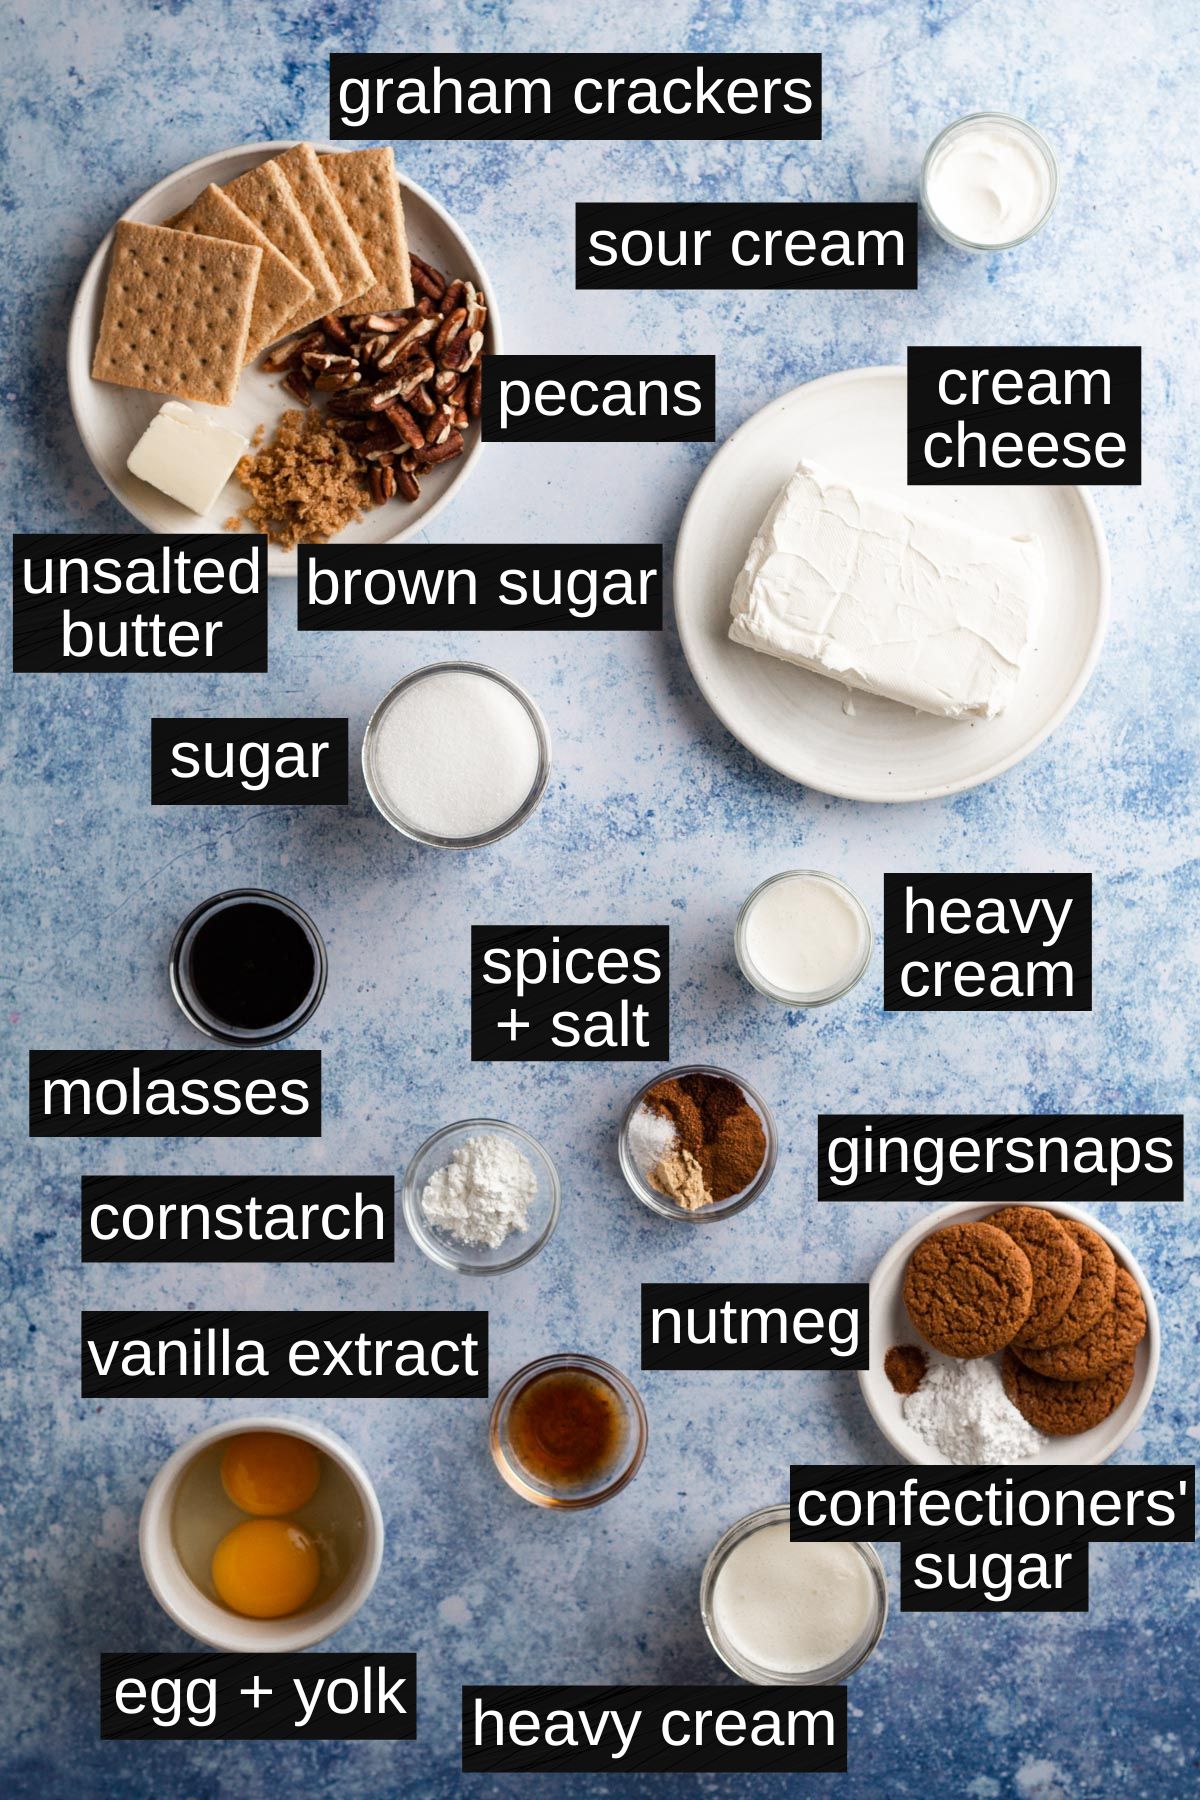
Pecans - Pecans give the crust an extra hint of flavor when ground together with the graham crackers and sugar. If you prefer, you can substitute with an equal measure of walnuts, or you can use 25 grams of graham crackers (about 2 full sheets) or gingersnaps (about 3.5 cookies) to create a nut-free cheesecake.
Brown Sugar - Along with the pecans, brown sugar adds a subtle hint of molasses flavor to the crust, but feel free to substitute an equal measure of white sugar if you prefer.
Cream Cheese - To achieve the proper texture, be sure to use full-fat block cream cheese that's room temperature when mixing the cheesecake.
Molasses - Be sure to use an unsulfured molasses for baking (most molasses you'll find at the grocery store is unsulfured, so this will be easy). I like a more robust molasses flavor, so I used a dark molasses (Brer Rabbit Full Flavor Molasses) when making this recipe. If you prefer a molasses that's more mild and sweet, Grandma's Molasses Original is a great choice. And if you're interested in learning more about the types of molasses used in baking, check out my gingerbread snowflake cookies recipe post.
Cornstarch - Since it's a thickener, adding a tiny bit of cornstarch to our cheesecake will help to ensure that it sets up properly after baking and helps to avoid cracks in our cakes.
Gingersnap Cookies - Crushed gingersnap cookies on top of the cheesecakes adds an extra hit of ginger flavor and a tiny hit of crunch. If you prefer you can omit these altogether or or substitute some chopped pecans.
See recipe card at the bottom of this post for full ingredient list and measurements.
Special Equipment
In addition to essential baking equipment (like a mixing bowl and spatula), I recommend some special tools for making this recipe.
- A standard muffin pan for baking the cheesecakes.
- 12 muffin liners for lining the muffin pan.
- A food processor for blending the crust. If you don't have a food processor you could use a knife to finely chop the ingredients before mixing together in a bowl, but a food processor will make this step much easier.
- An electric hand mixer for mixing the cheesecake. A stand mixer with the paddle attachment can be used instead.
Step-By-Step Recipe Instructions
Step 1: Preheat oven to 375°F. Place 12 muffin liners into a standard muffin pan and set aside.
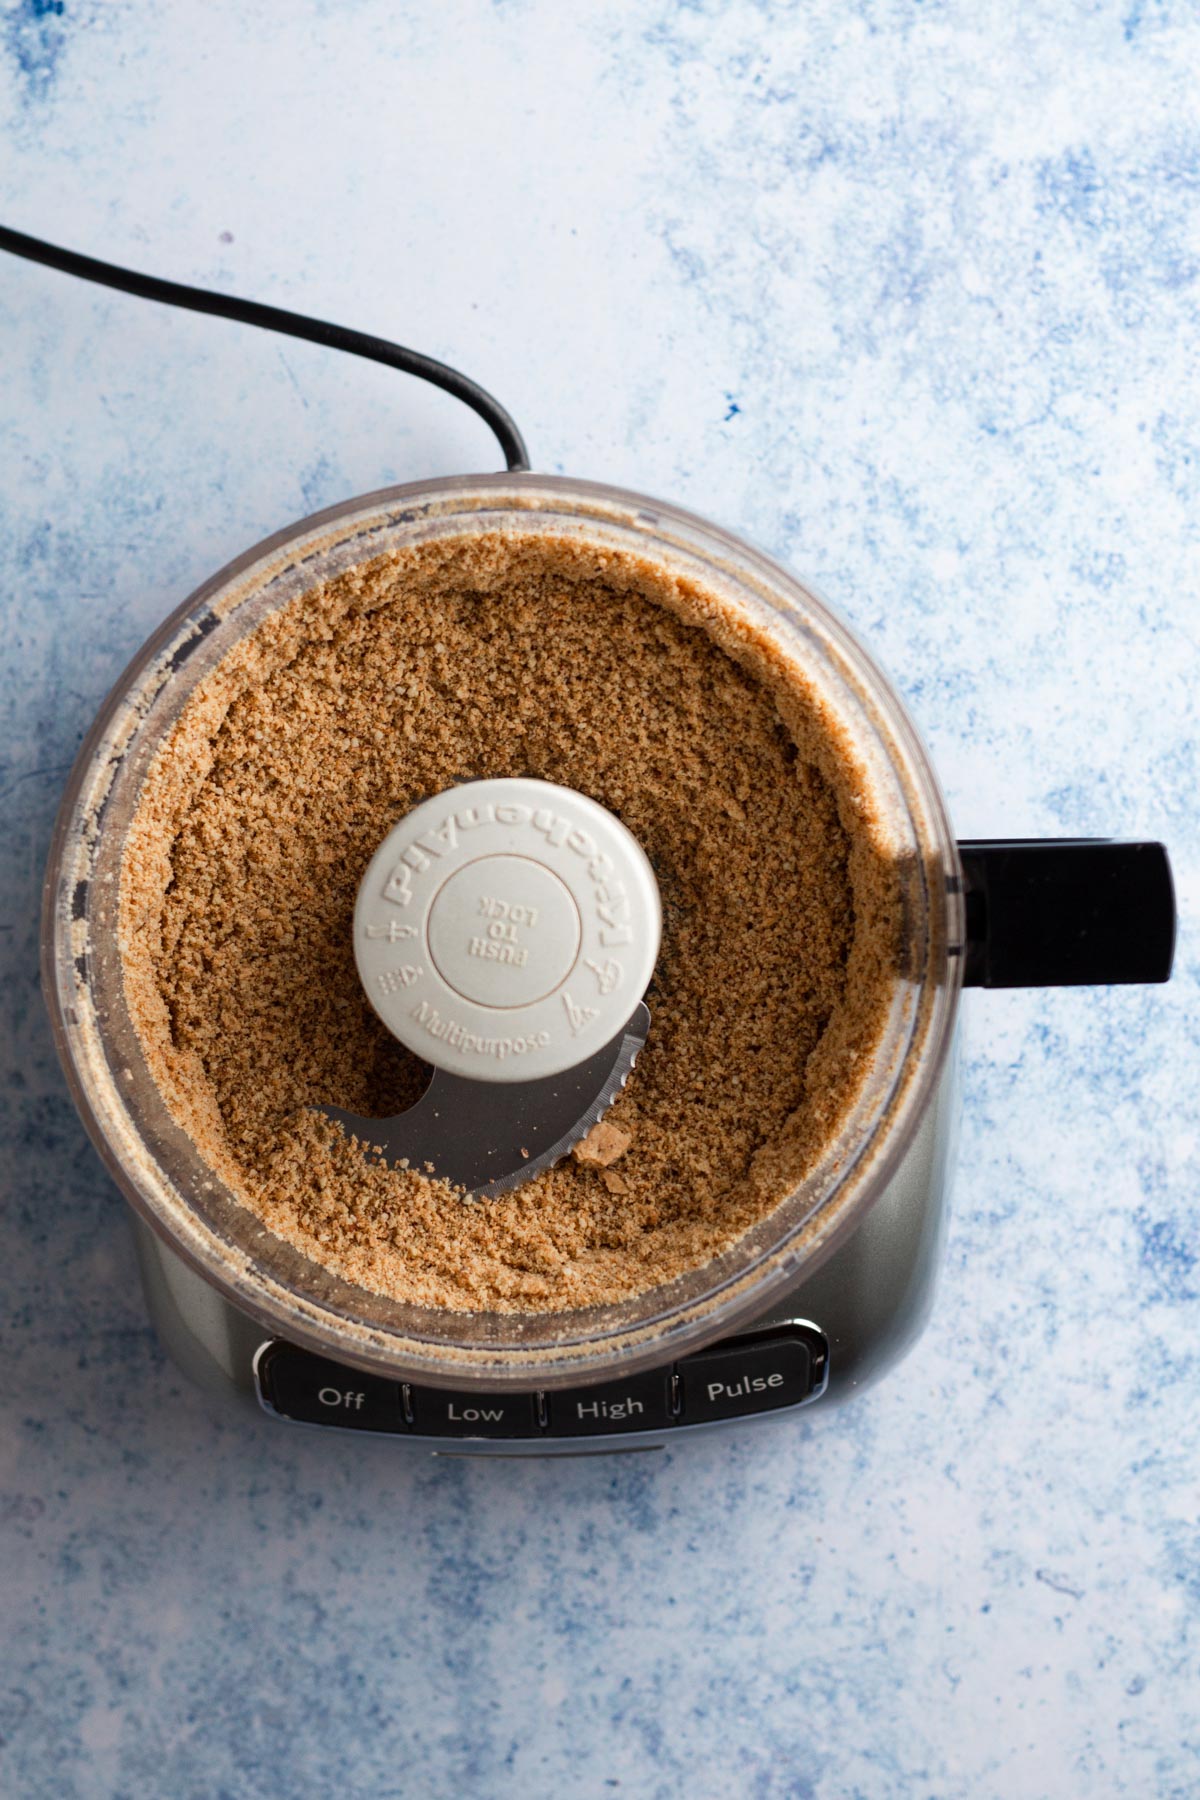
Step 2: Make the crust. Add graham crackers, pecans, and sugar to the bowl of a food processor. Pulse until there are fine crumbs with no large chunks remaining.
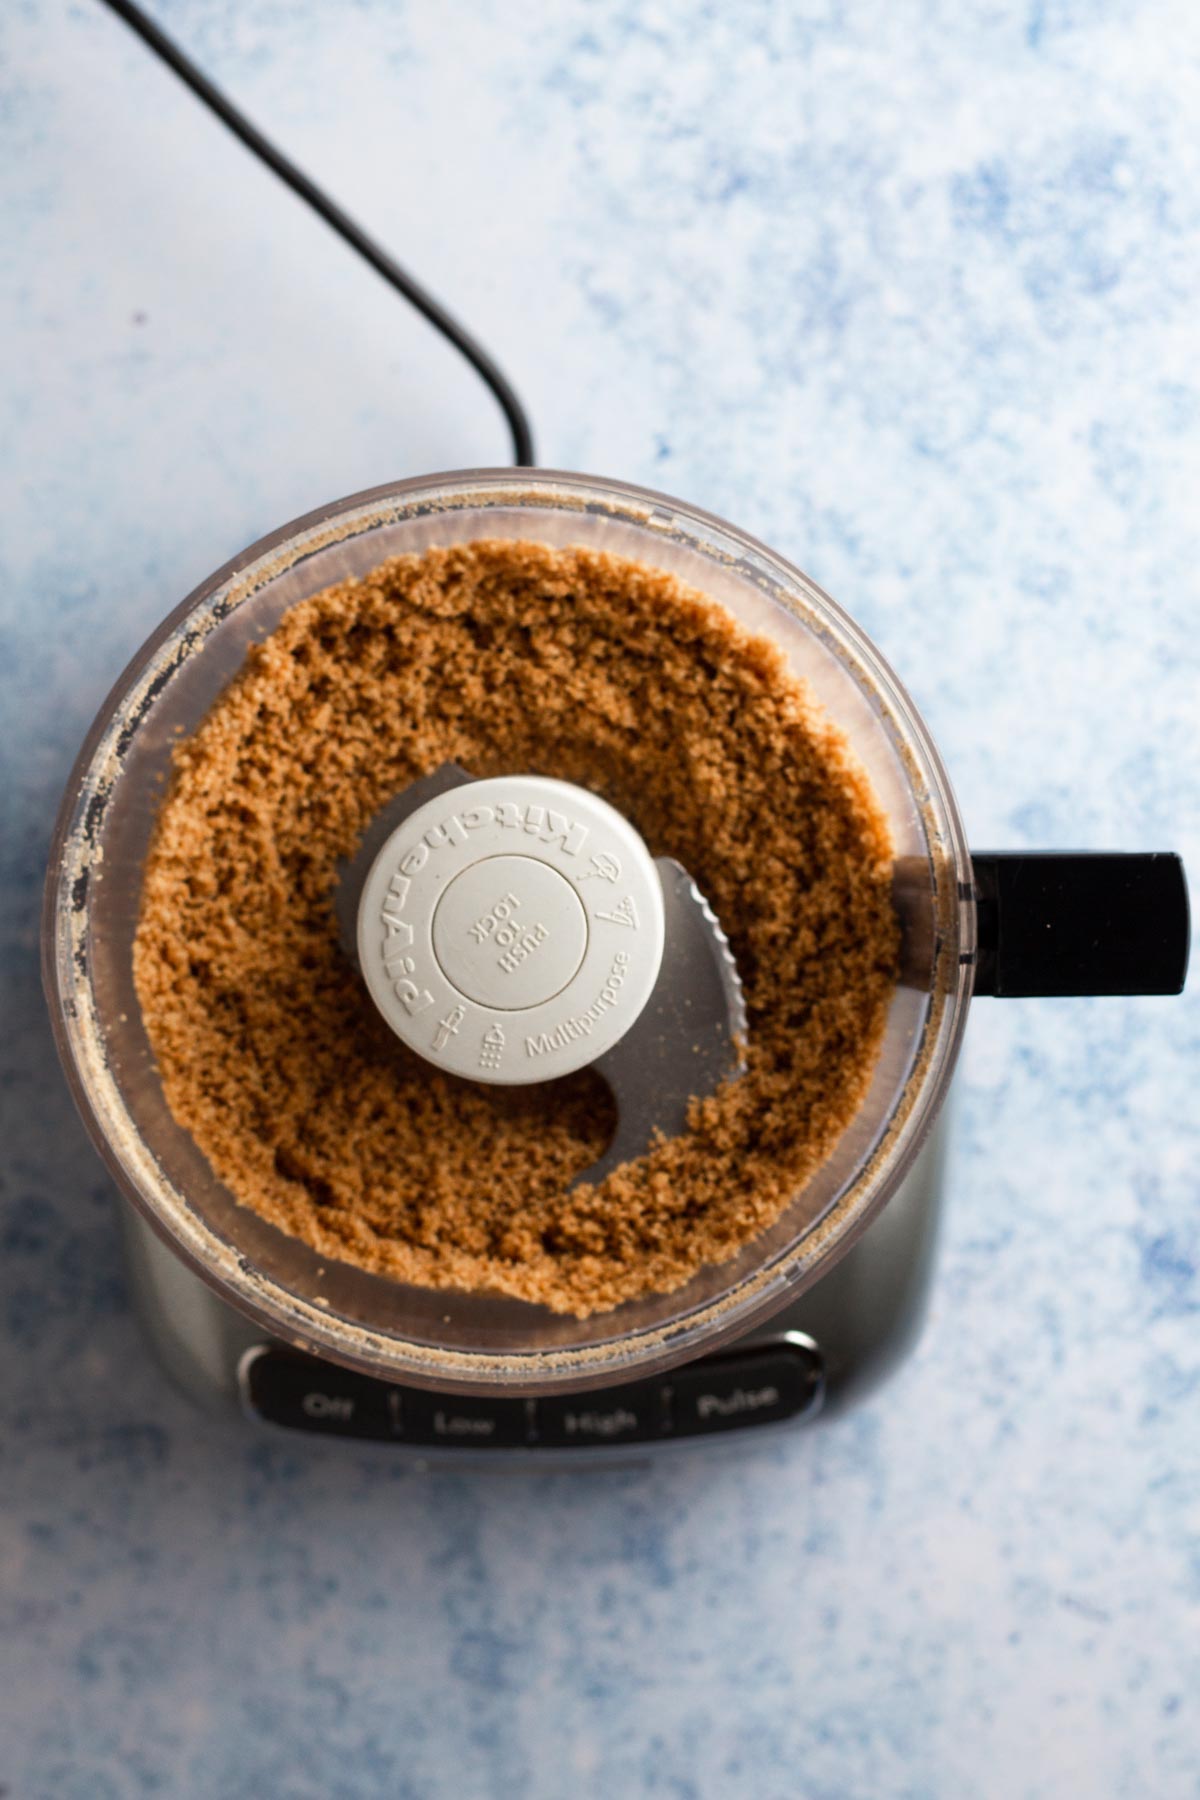
Step 3: Add melted butter and pulse until combined and the crumbs begin to stick together.
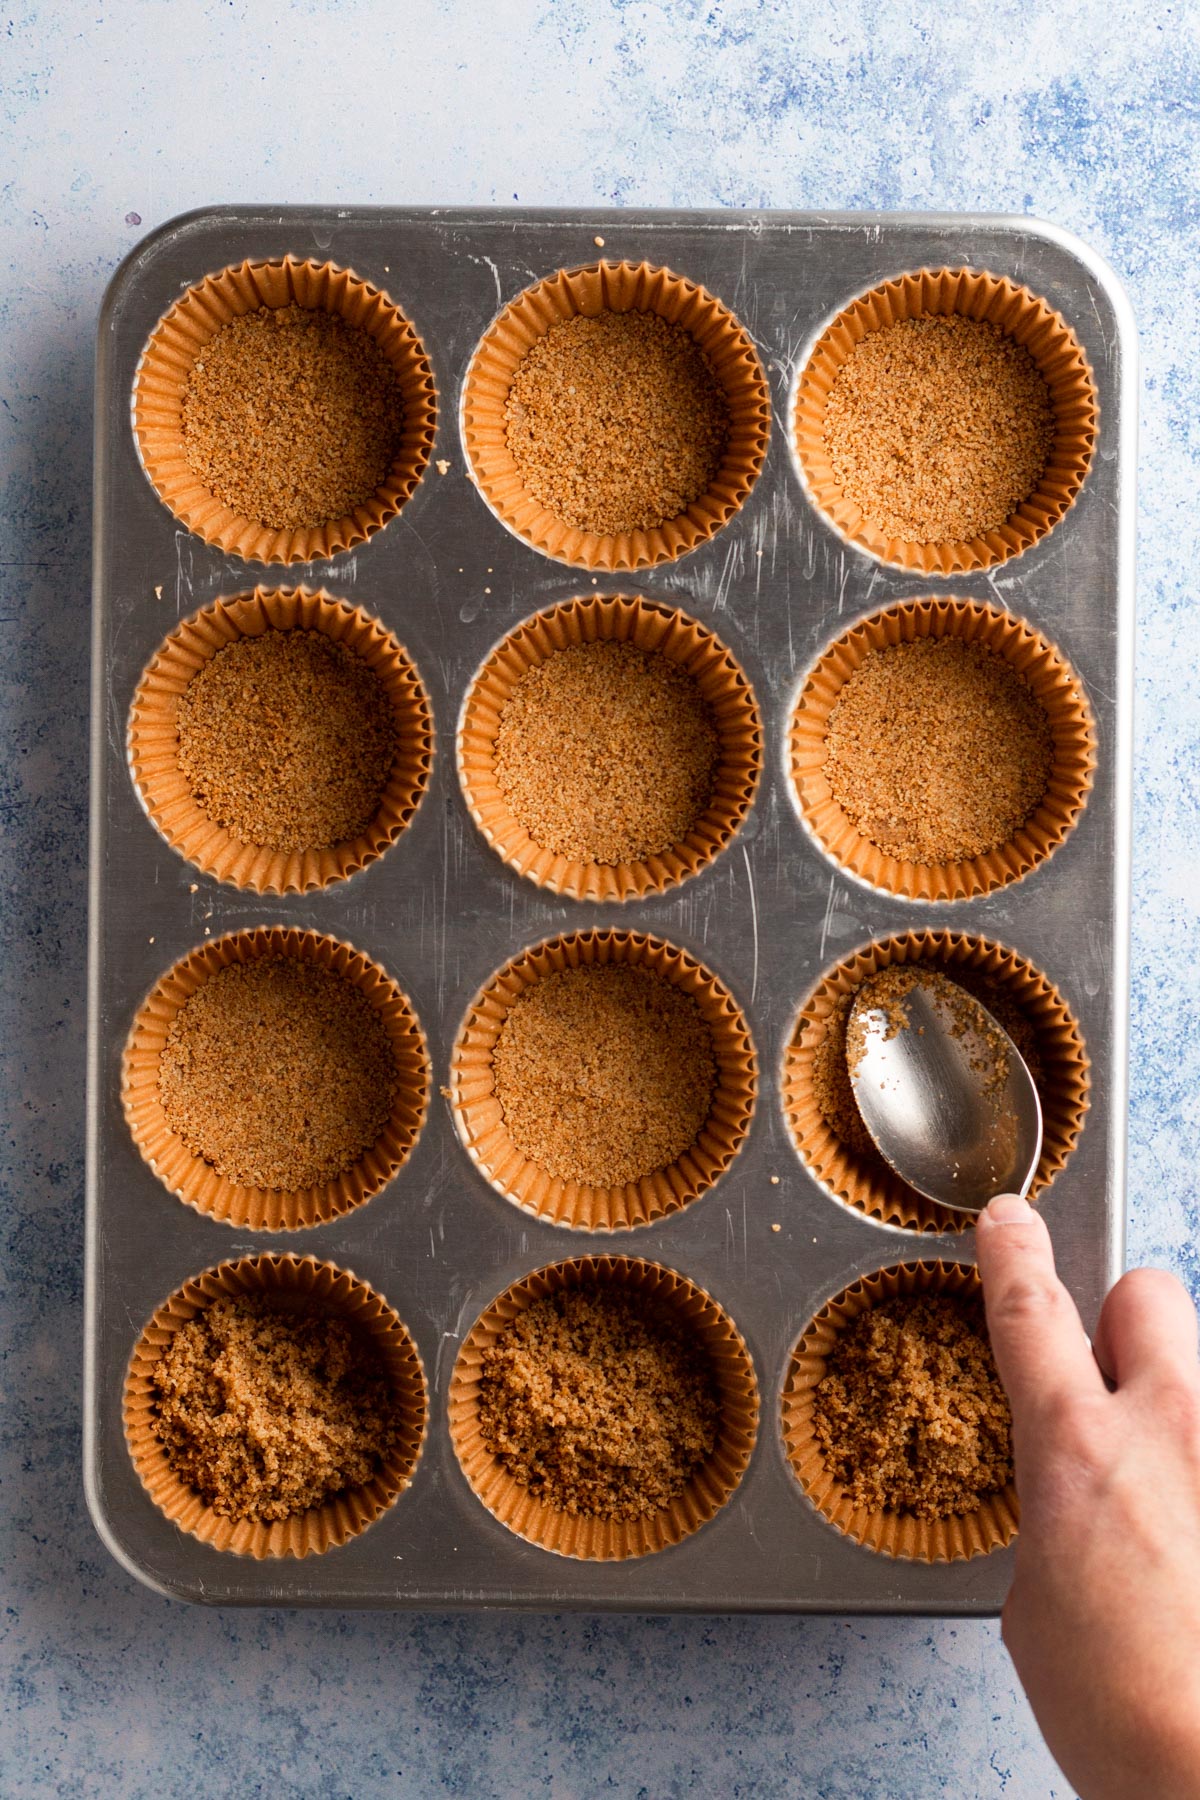
Step 4: Divide the crust among the 12 muffin liners and press the crumbs into a solid crust using the back of a spoon.
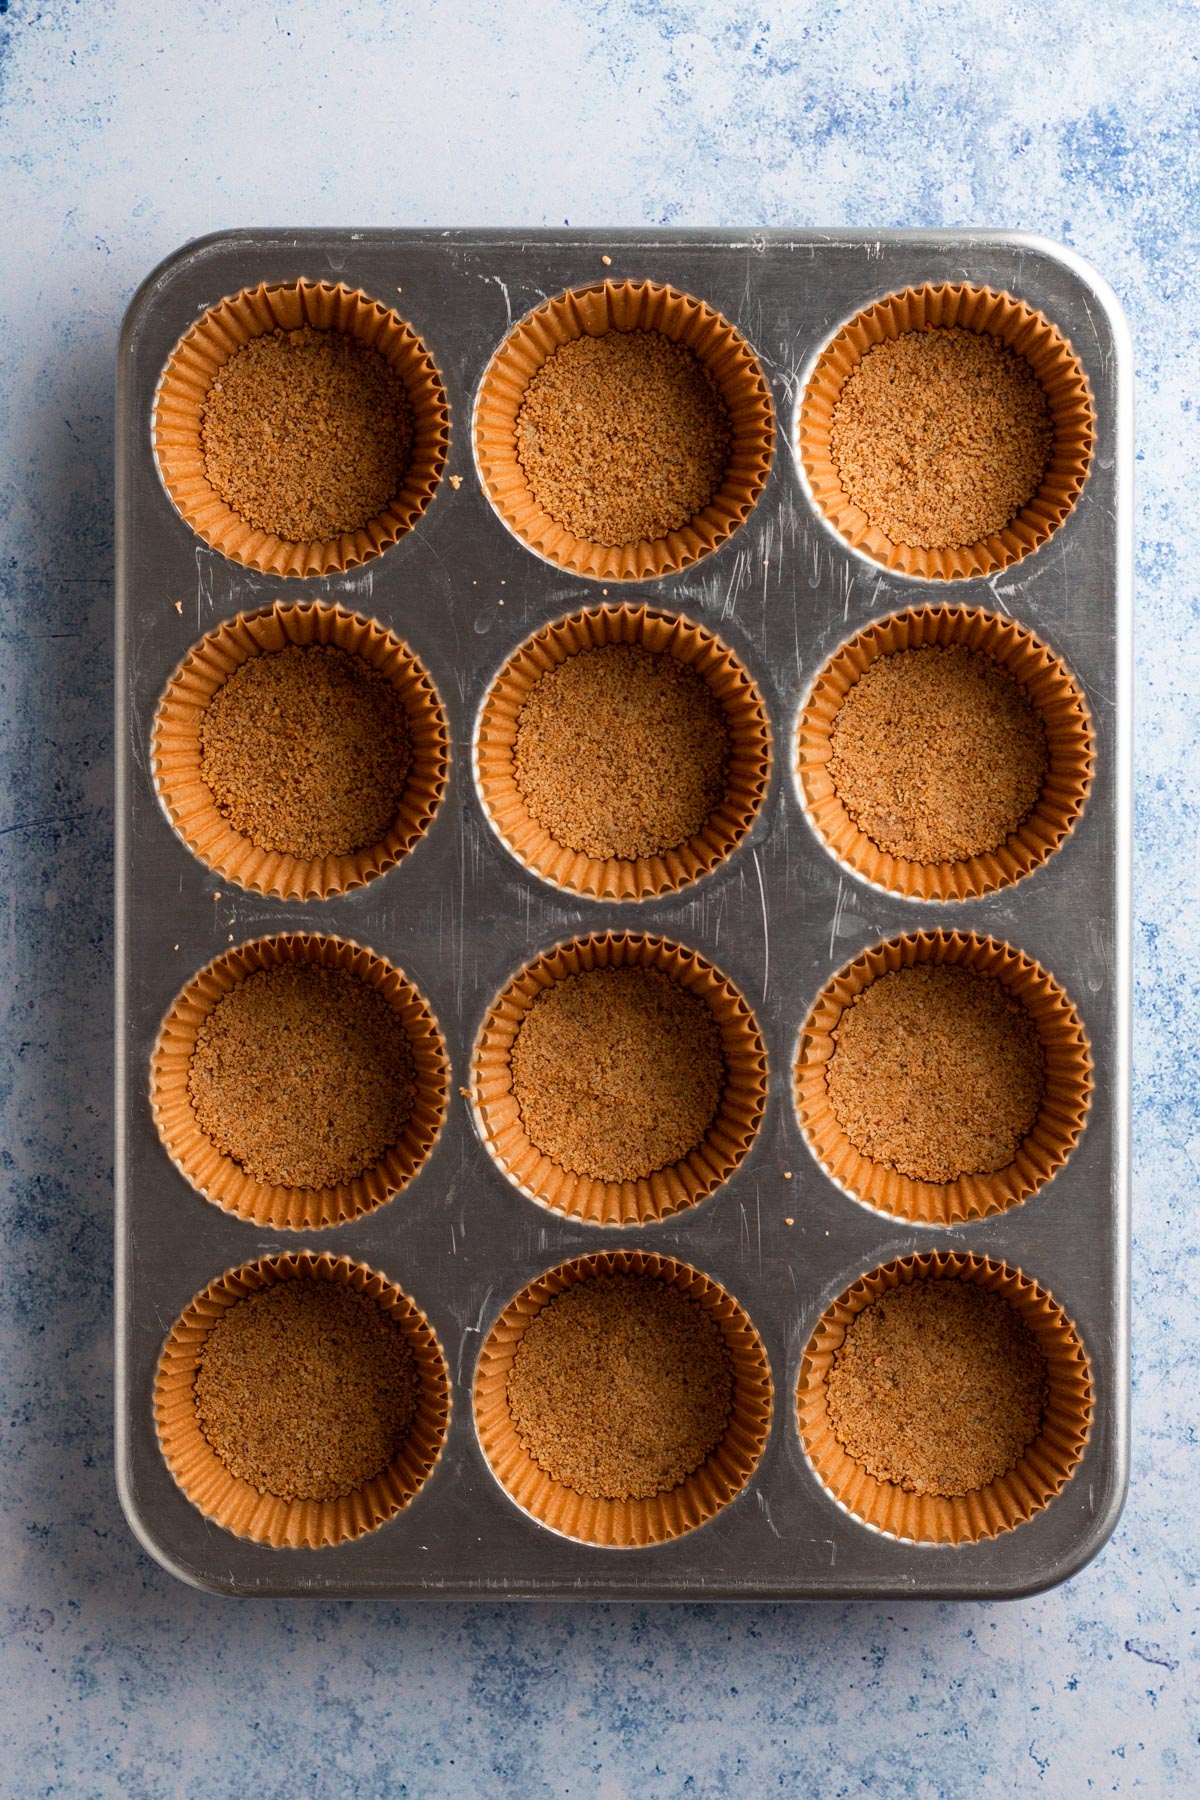
Step 5: Bake the crusts for 5 minutes, then remove the pan from the oven and turn the oven down to 325°F. Let the crusts cool while you prepare the cheesecake.
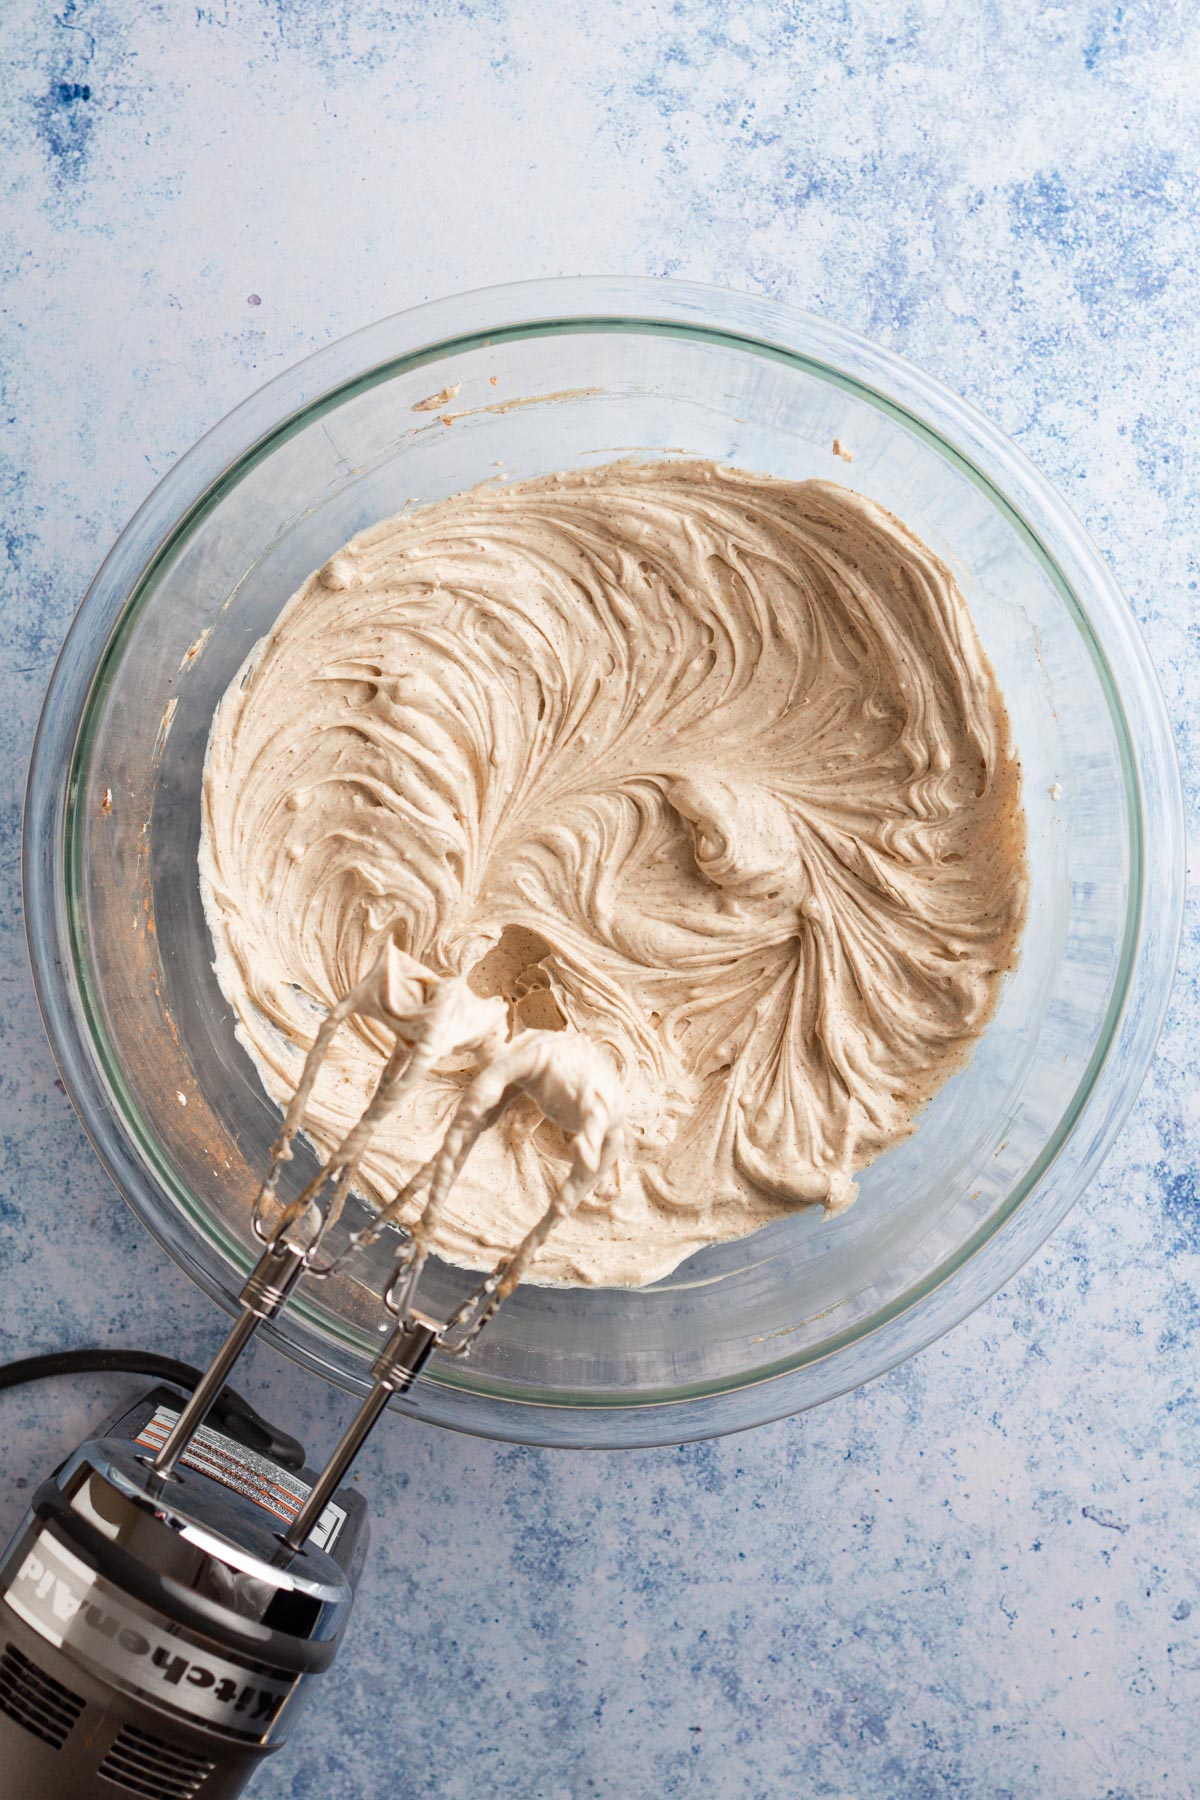
Step 6: Make the cheesecake. In a large bowl, add cream cheese, sour cream, heavy cream, sugar, molasses, cornstarch, spices, and salt. Using an electric handheld mixer, beat on medium speed until smooth. Add vanilla and beat until combined.
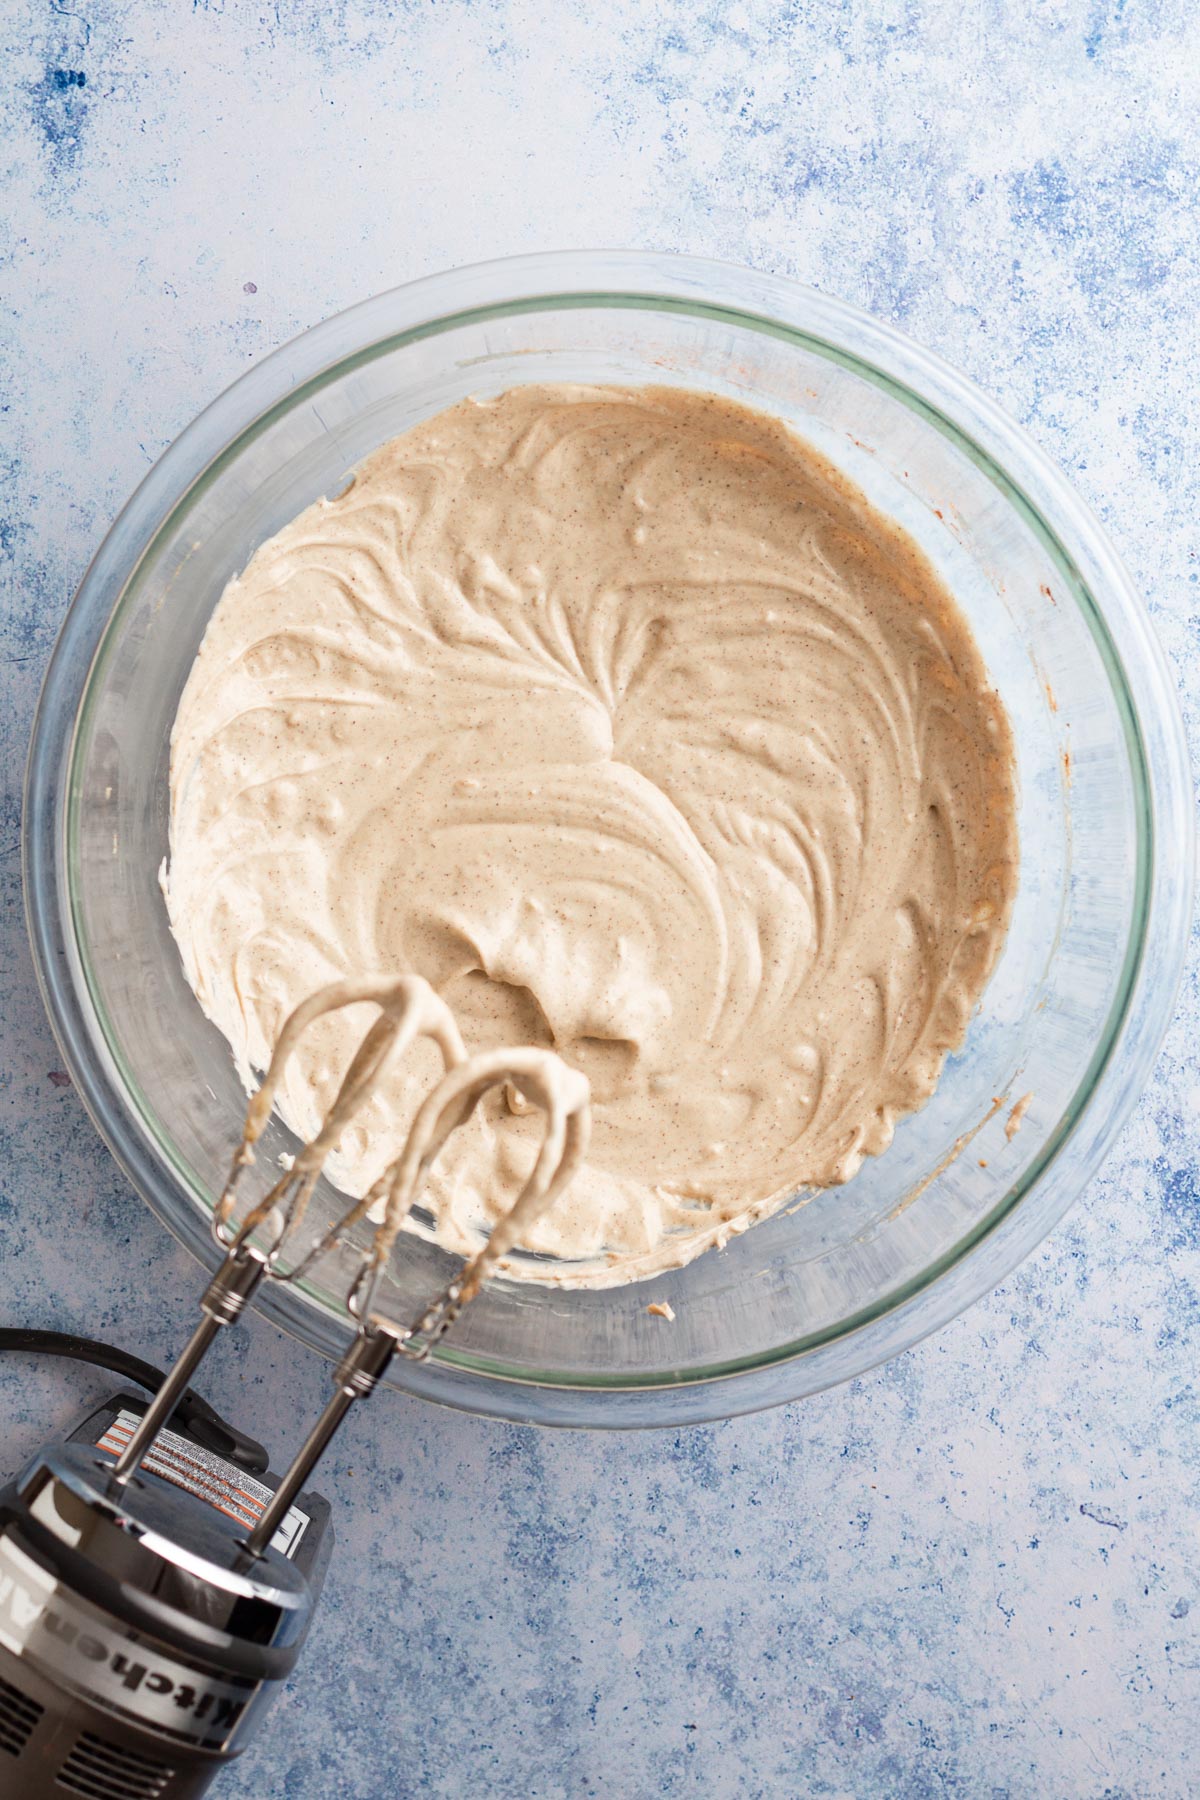
Step 7: Add egg and yolk and beat on low speed just until combined.
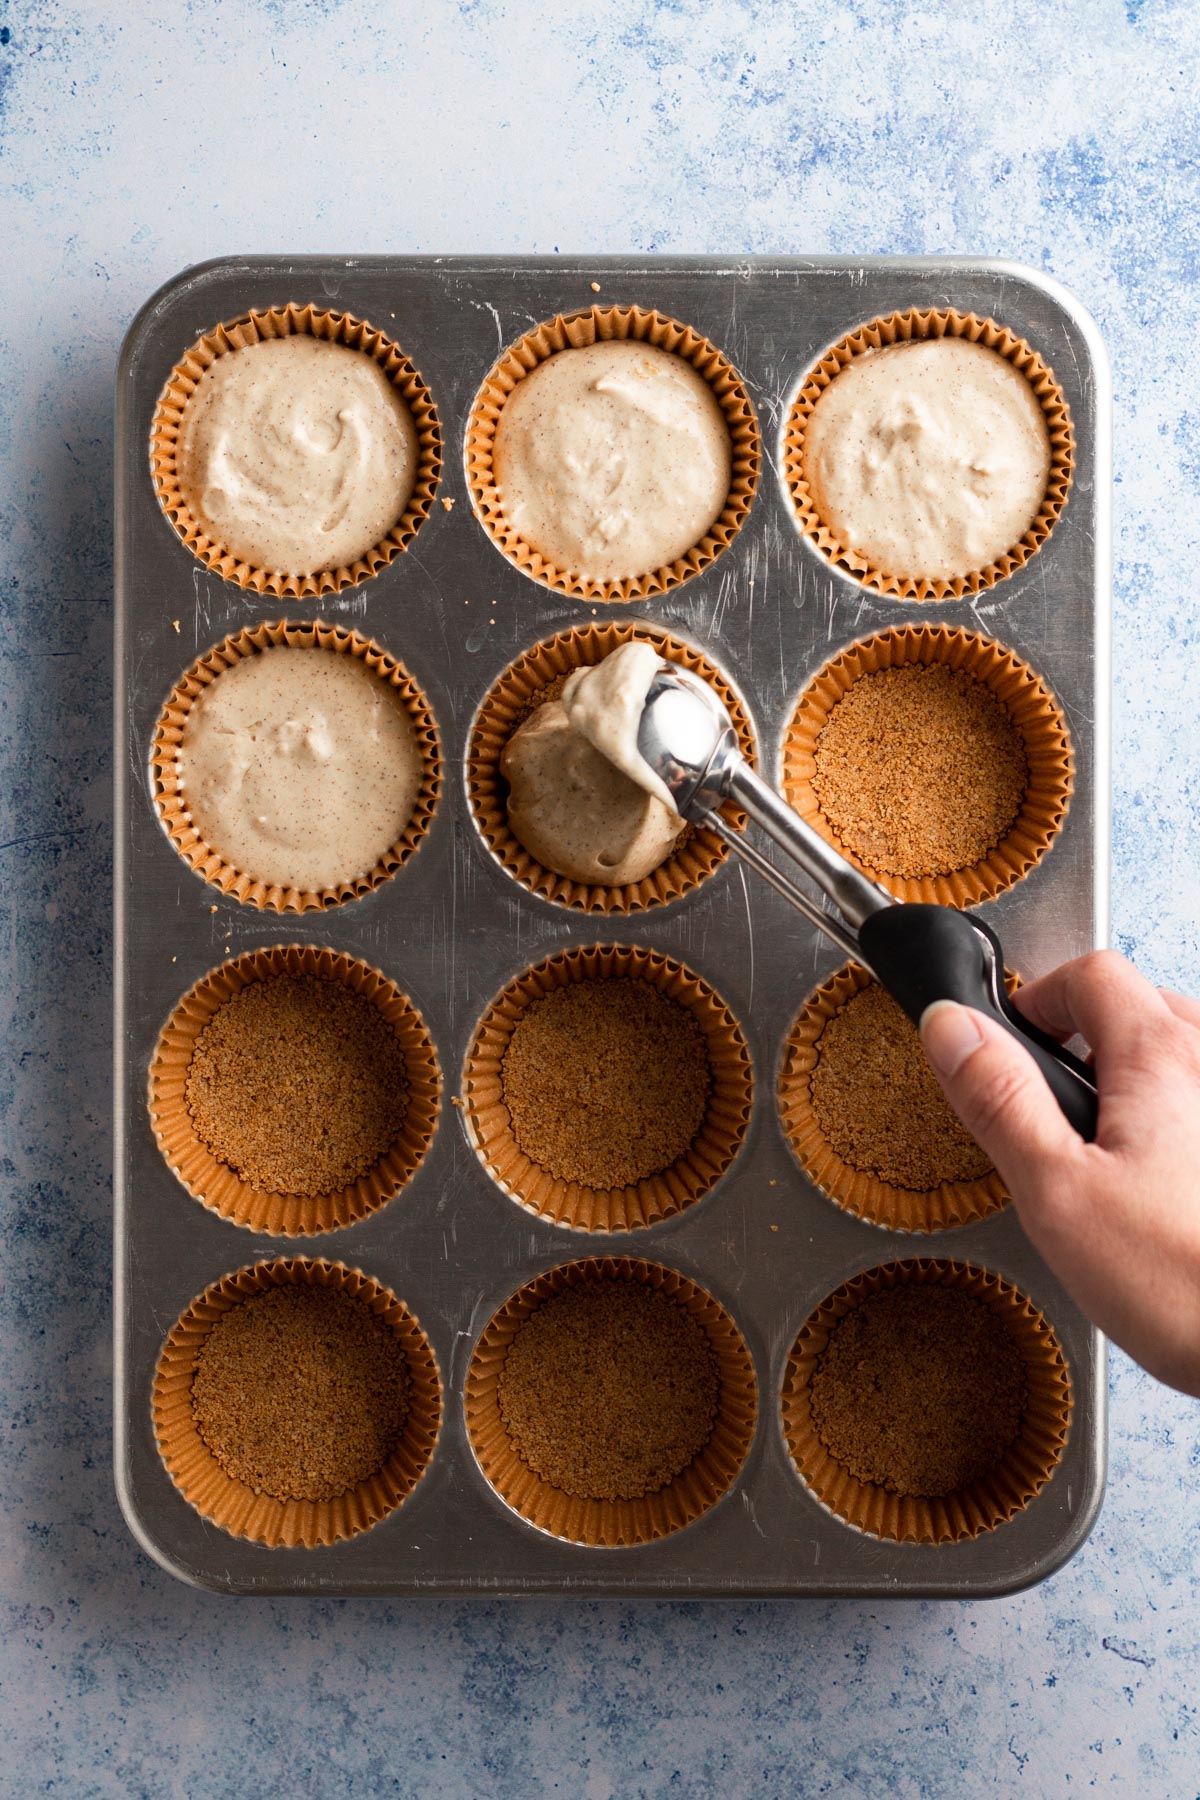
Step 8: Spoon cheesecake onto the crusts so that muffin liners are ¾ filled.
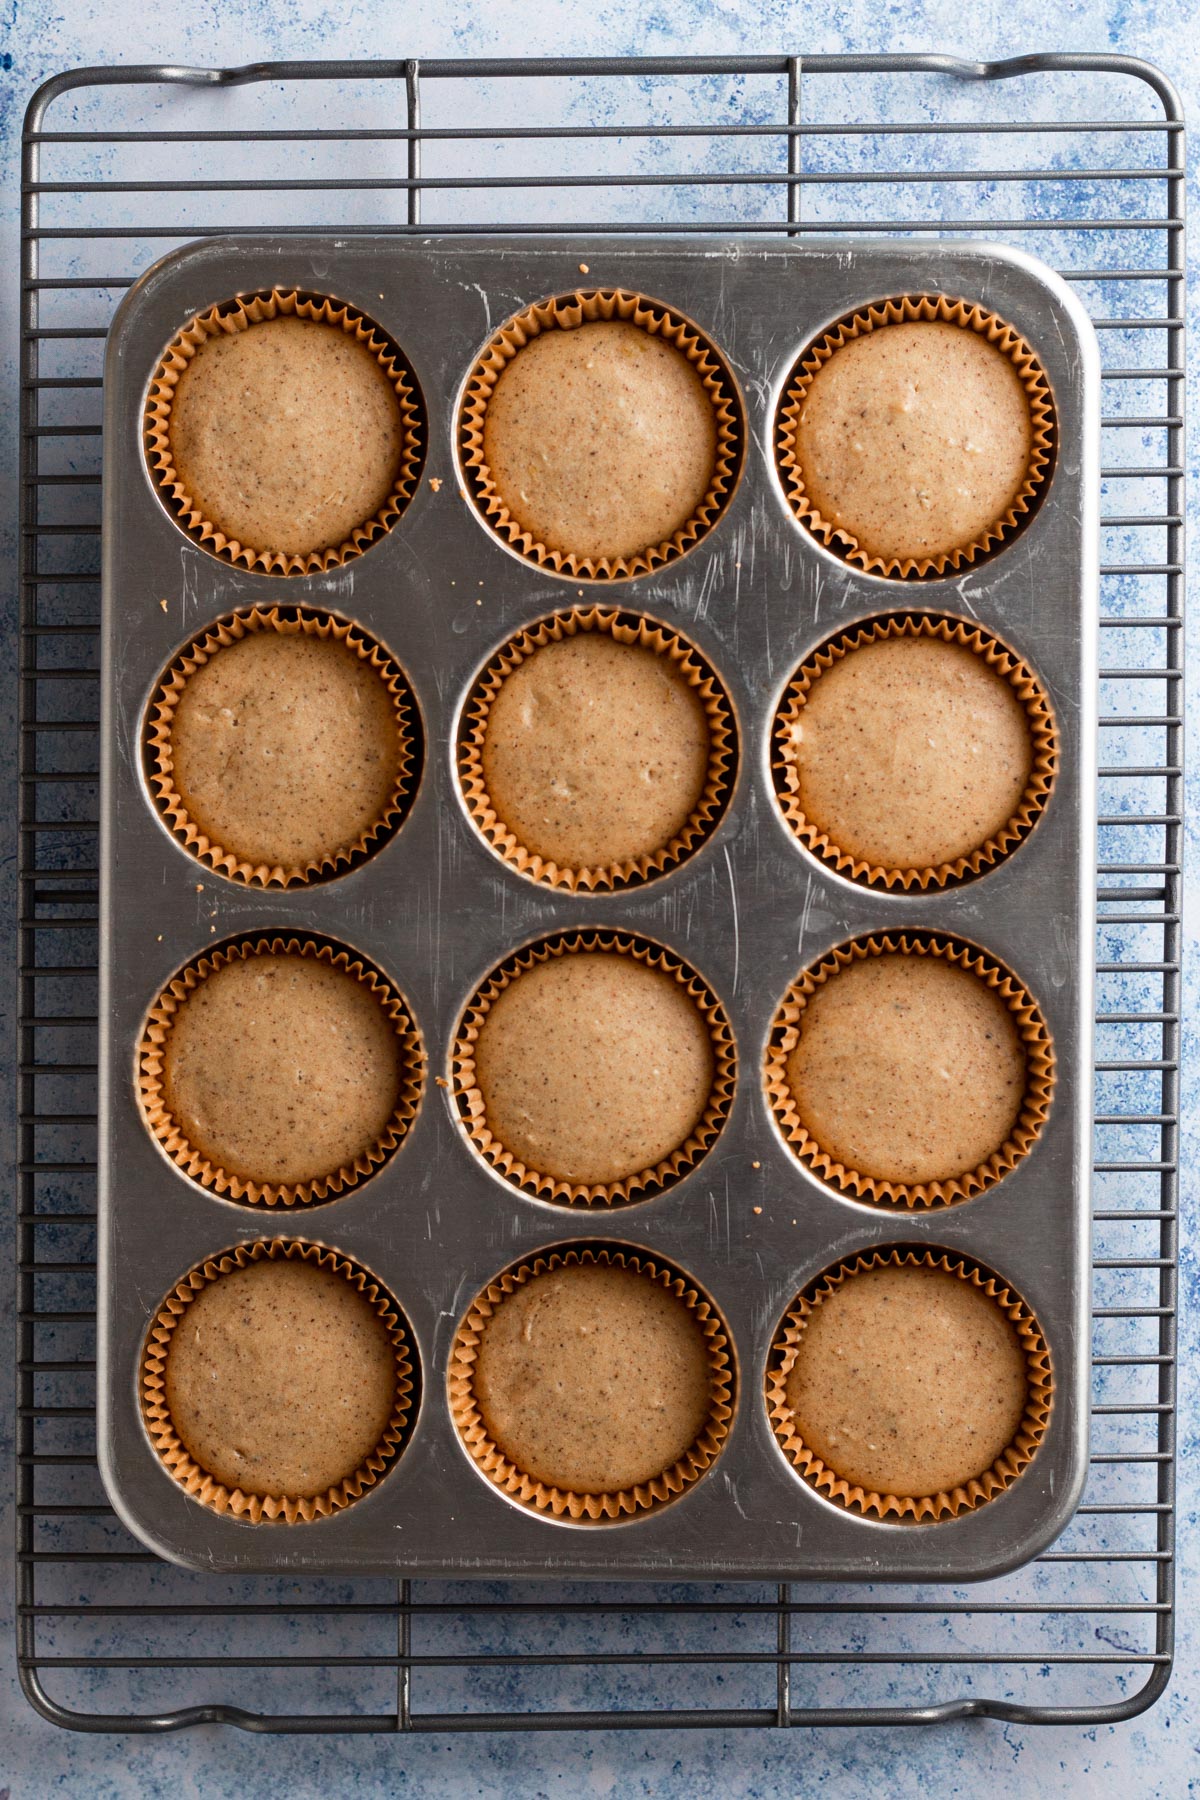
Step 9: Return the pan to the 325°F oven and bake for 20 minutes or until the edges of each cheesecake are set but the centers still wobble slightly when you jiggle the pan.
Cooling & Chilling: Turn off the oven and let the cheesecakes sit in the warm oven with the door closed for 10 minutes. Then crack the oven door open and let the cheesecakes sit for another 10 minutes. Next transfer the pan to a wire rack and allow the cheesecakes to cool completely (about 1 hour). Finally, transfer the pan to the fridge and chill the cheesecakes for at least 2 hours and up to overnight.
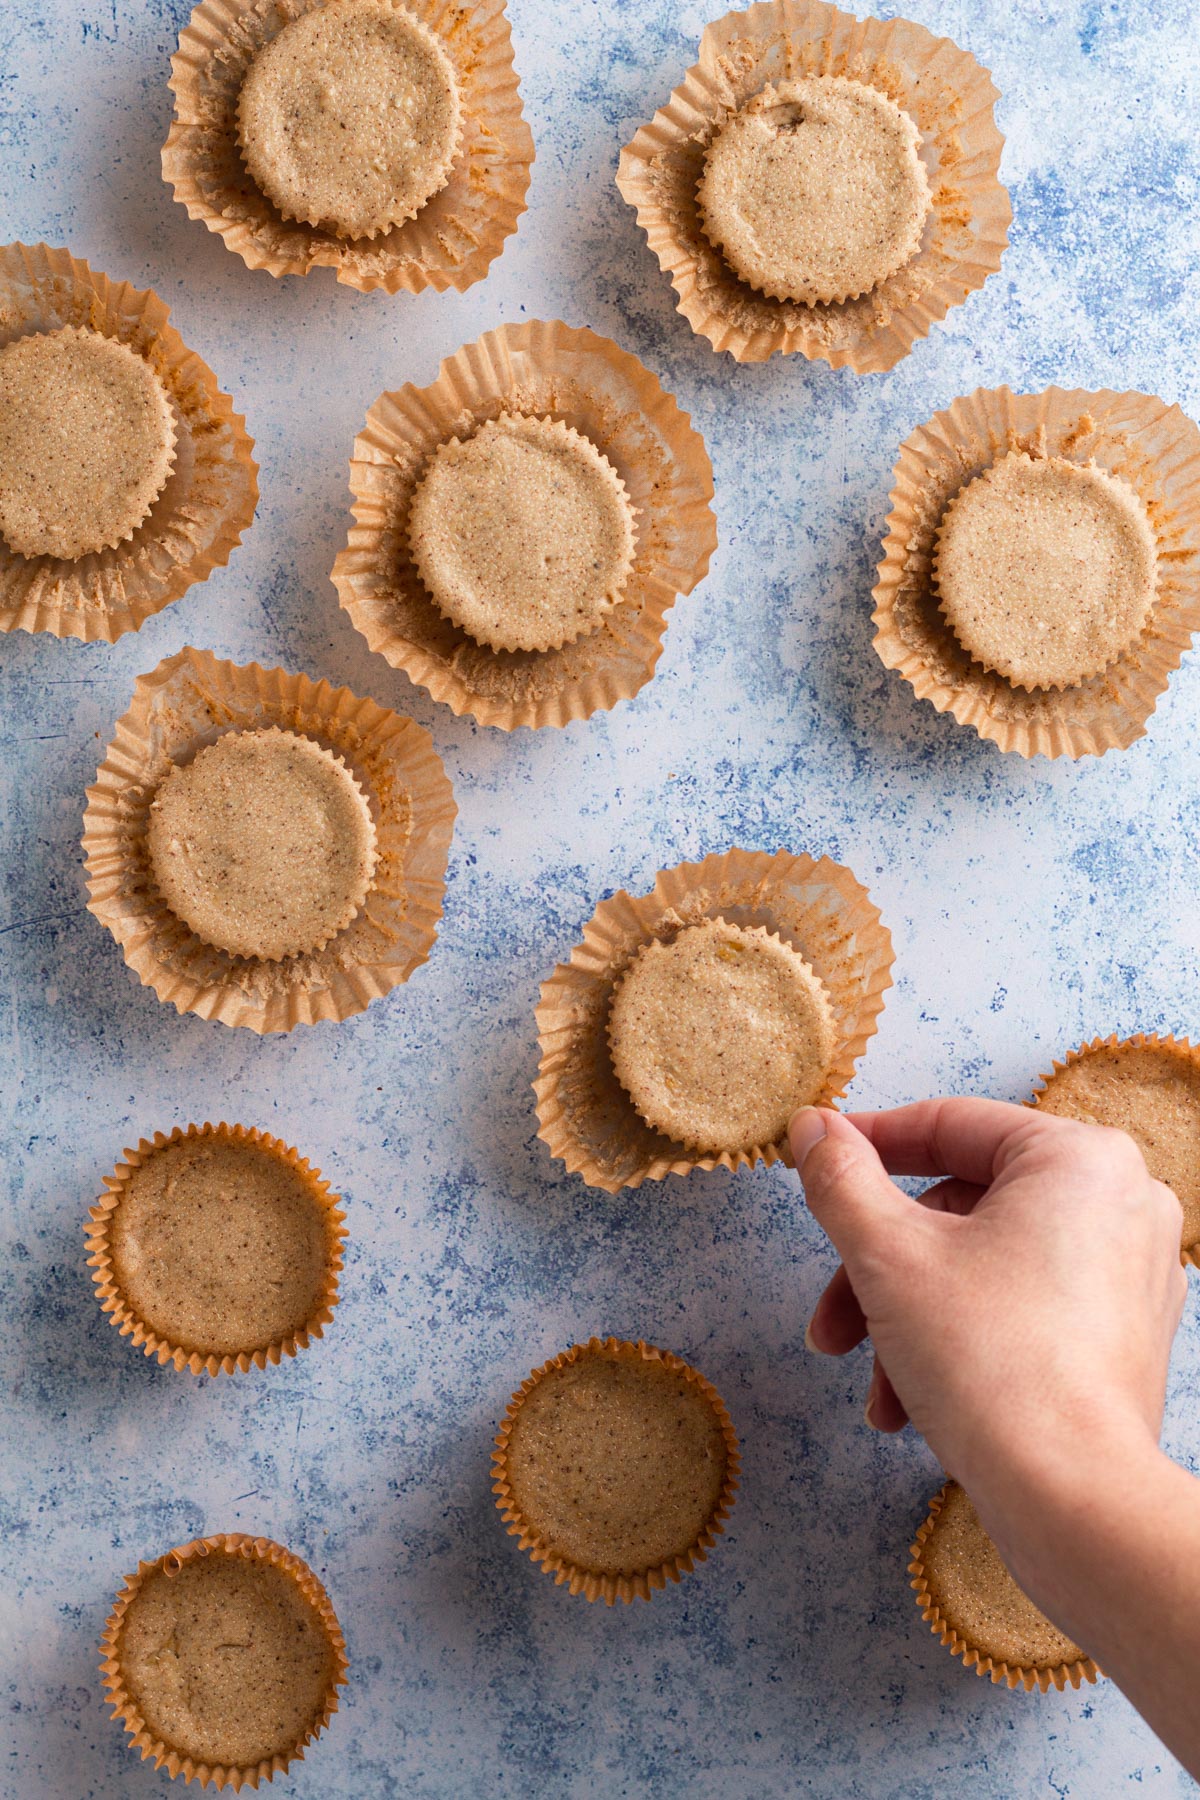
Step 10: Once the cheesecakes have cooled, remove the cheesecakes from the muffin liners.
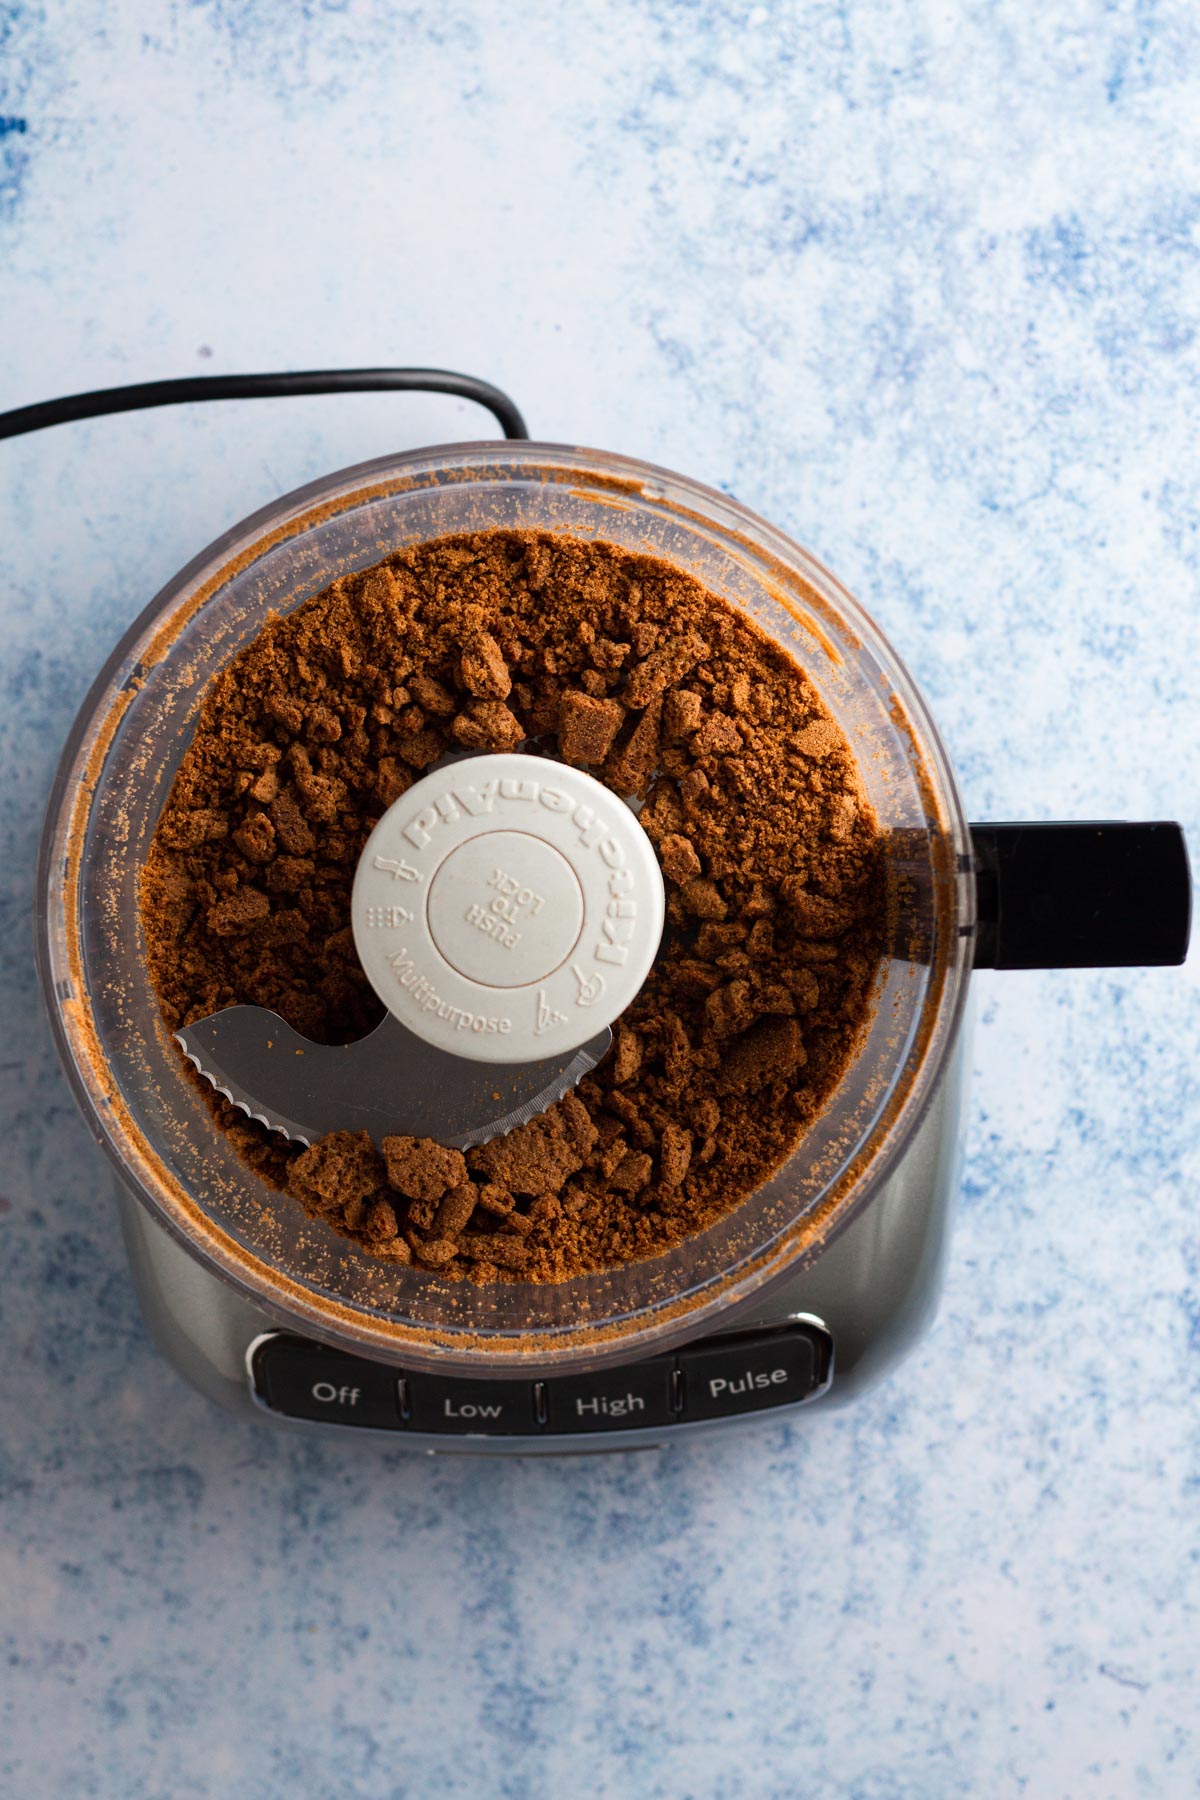
Step 11: Add gingersnap cookies to the bowl of a food processor and pulse until they become small crumbs.
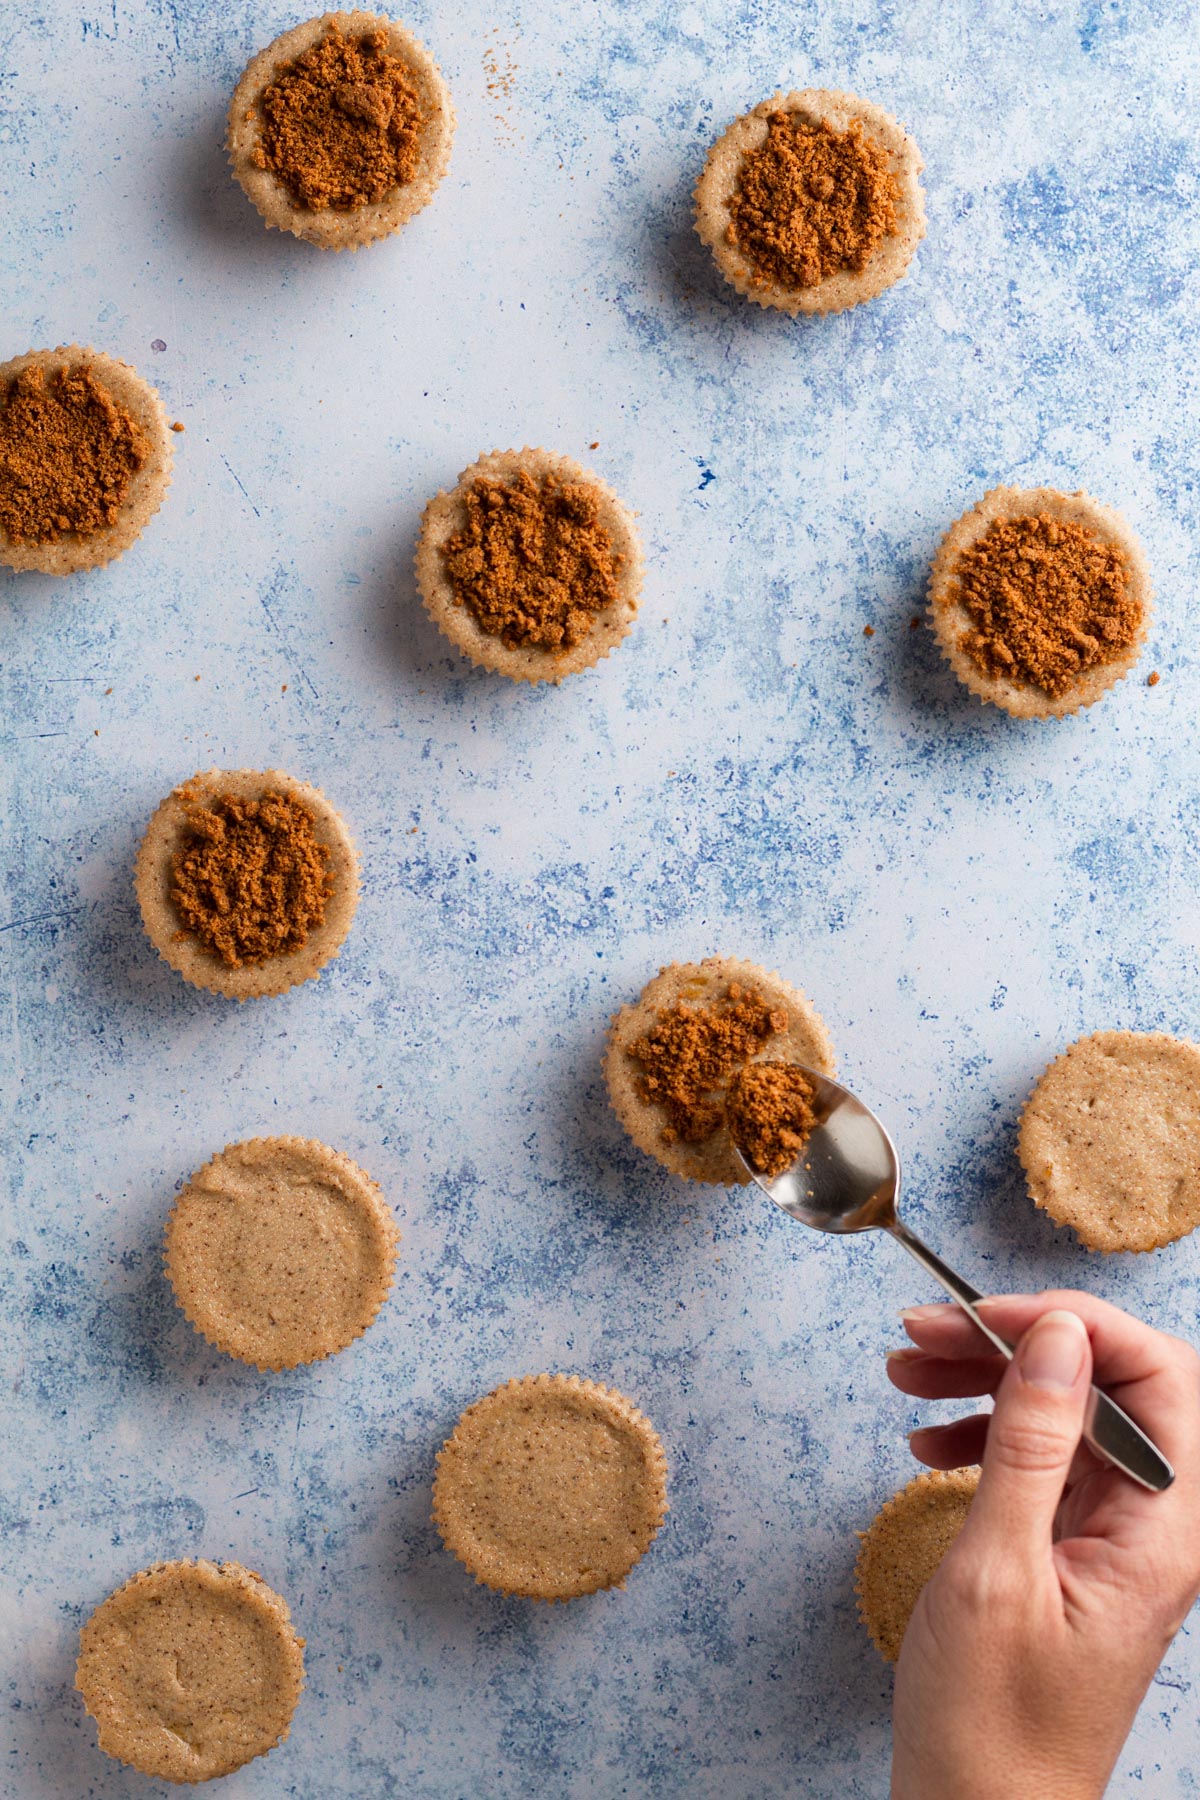
Step 12: Spoon cookie crumbs onto the top of each cheesecake.
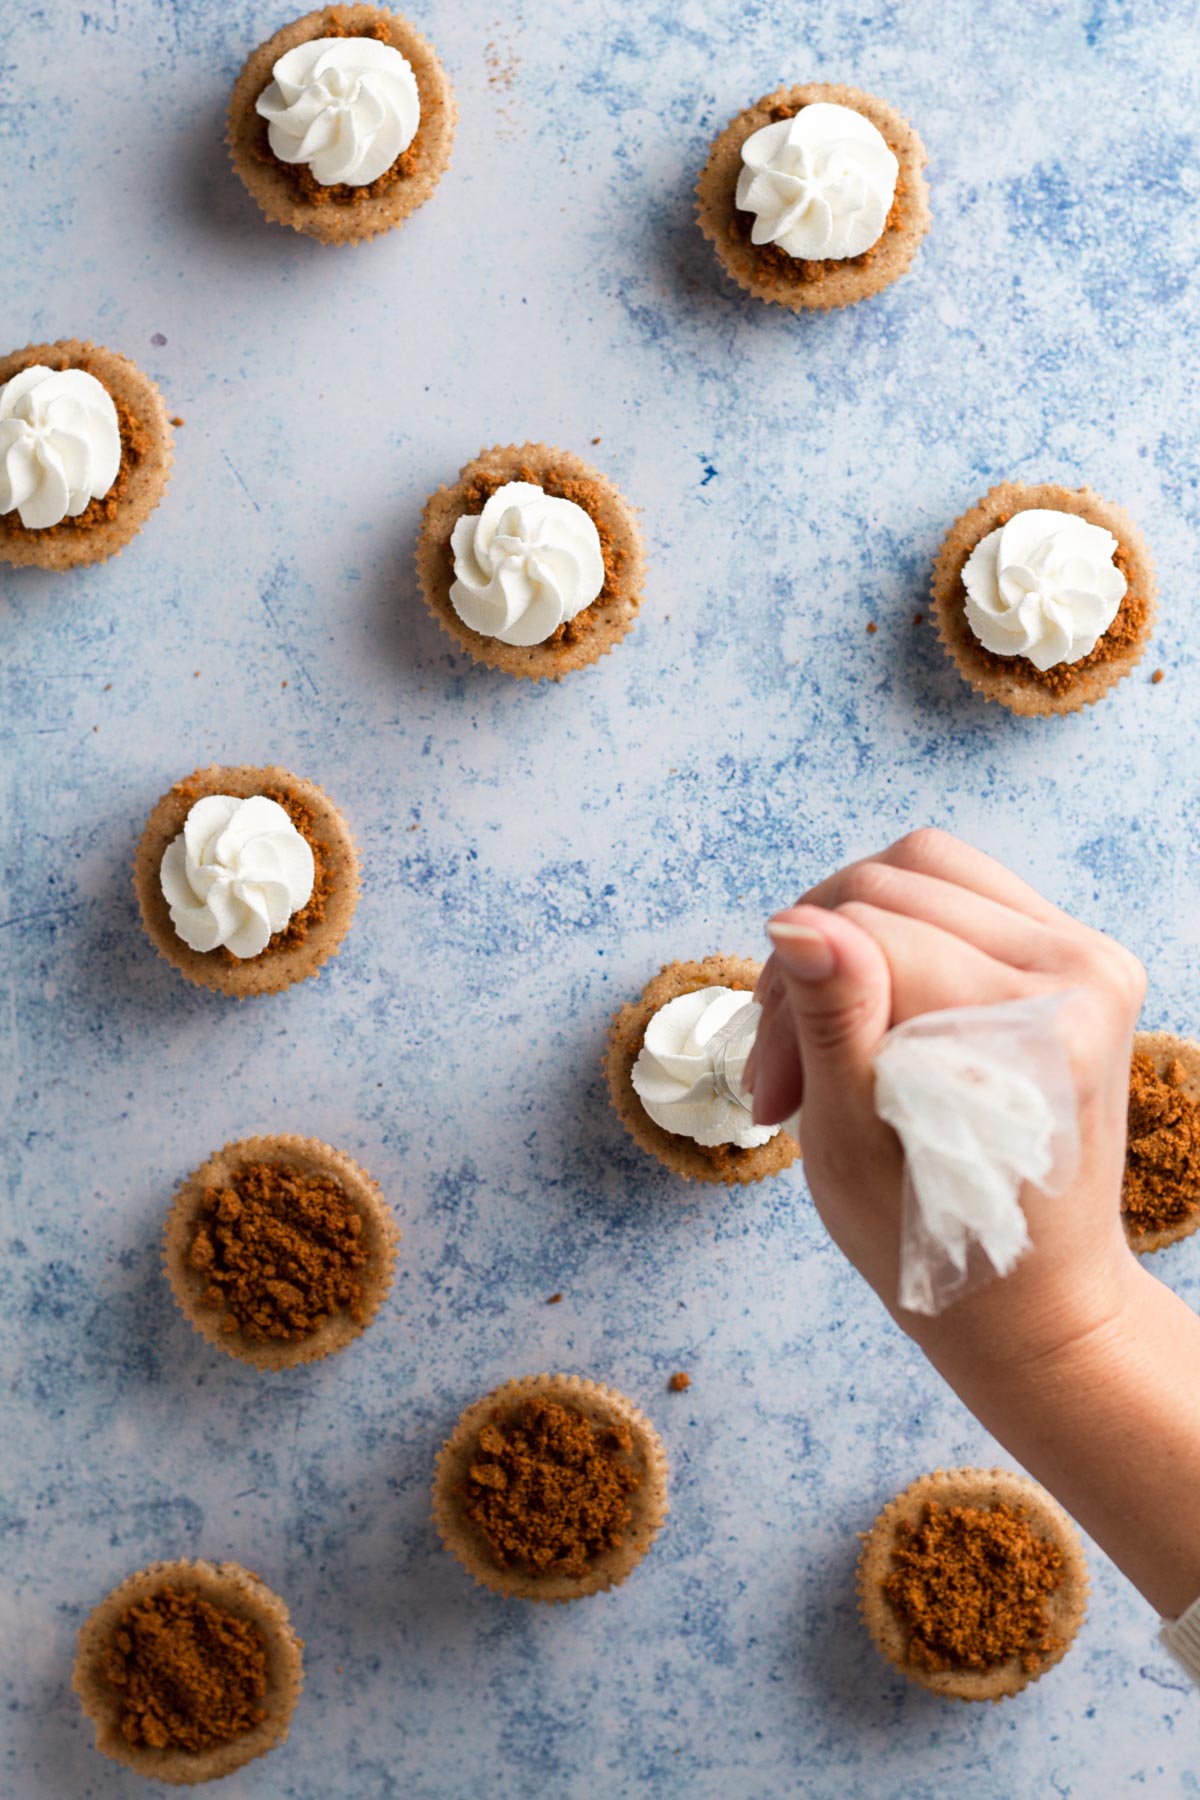
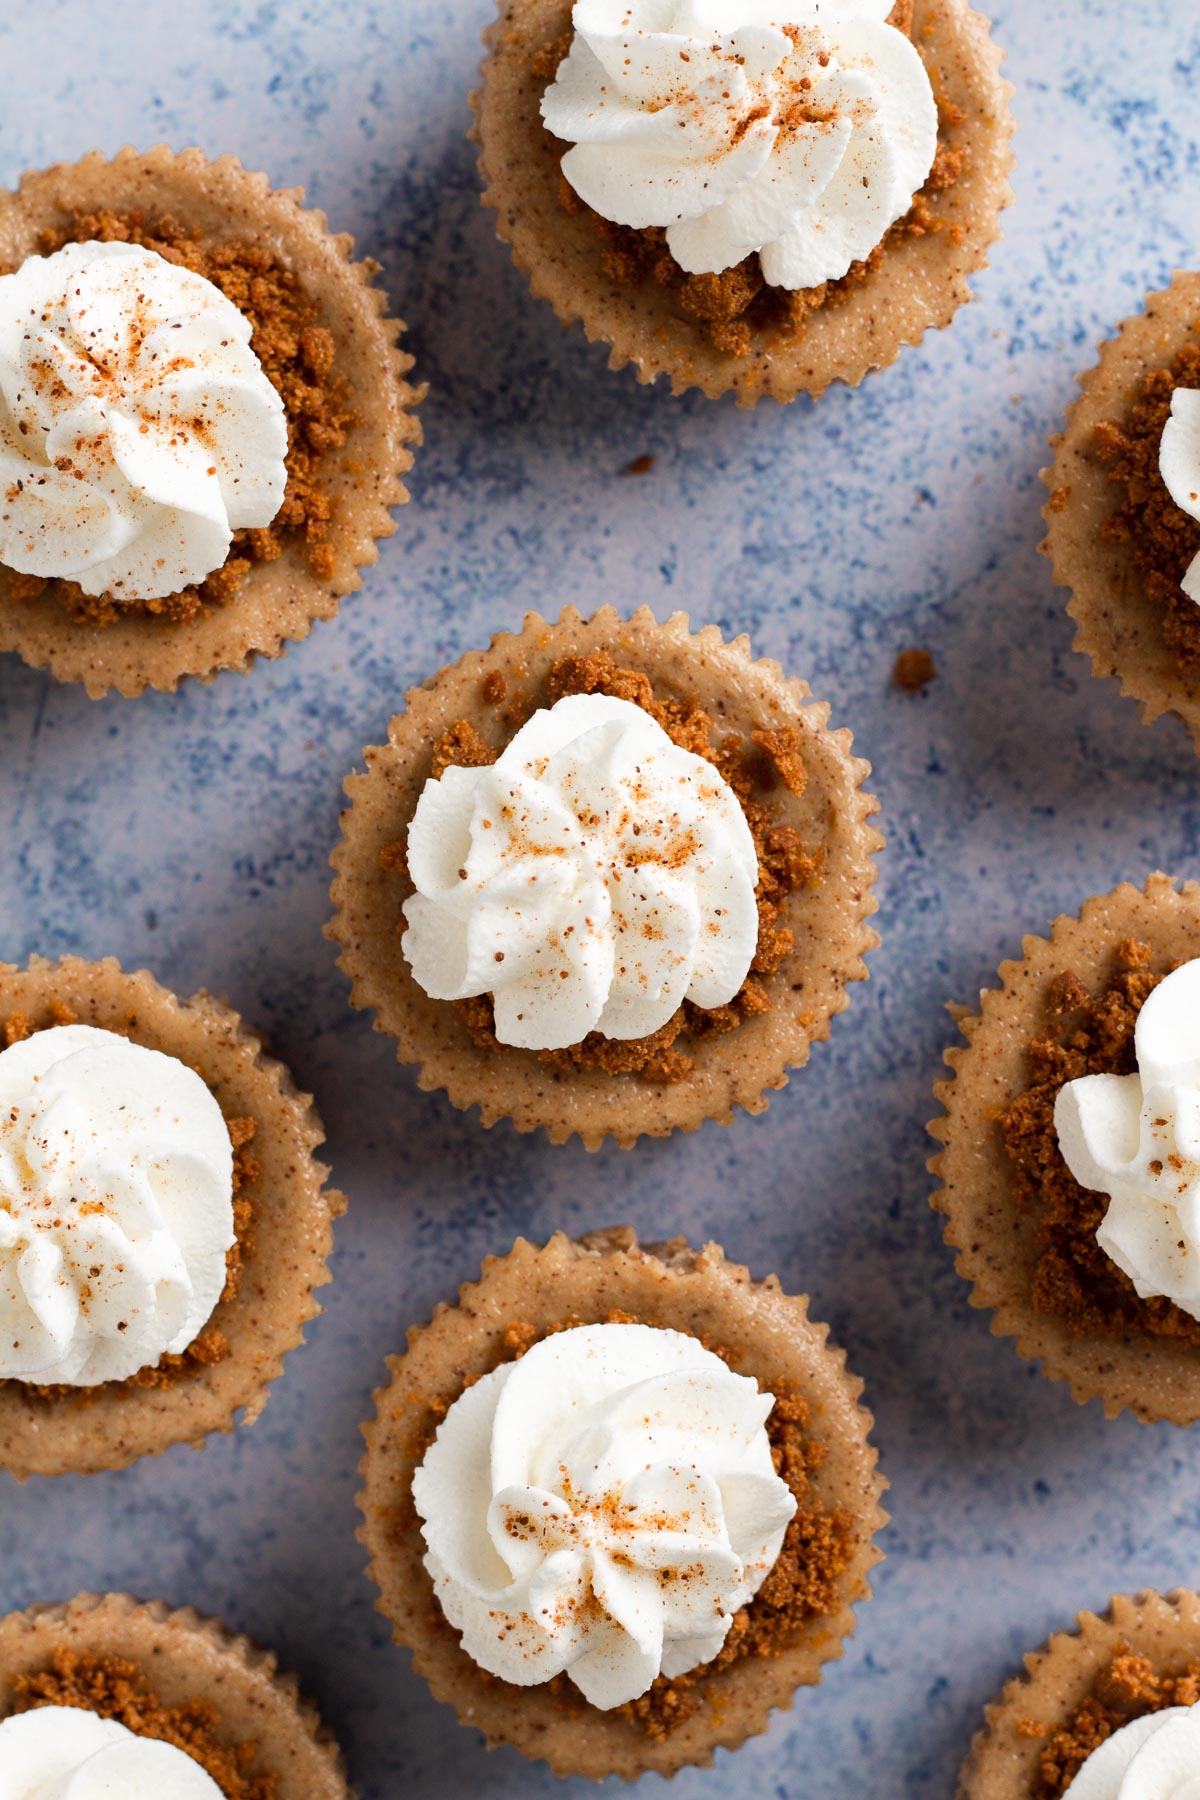
Step 13: In a large bowl, add heavy cream and confectioners' sugar. Using an electric handheld mixer, whip until stiff peaks form. Pipe or spoon the whipped cream over the cookie crumbs on each cheesecake. Sprinkle a bit of ground nutmeg over the whipped cream. Serve immediately.
Recipe Tips
Be sure to let the cream cheese (along with the sour cream, heavy cream, and eggs) come to room temperature before making the cheesecake. It will be impossible to beat the cream cheese smooth if it's cold, and you'll be left with lumps in your cheesecake. For more information, check out my article all about baking with room temperature ingredients, which includes tips for how to quickly "room up" your ingredients.
To avoid cracks in the mini cheesecakes (as best as possible without using a water bath):
- Be sure to blend the cream cheese well on medium high speed until smooth.
- Mix on low speed after adding the eggs to avoid adding too much air to the eggs.
- Let the cheesecakes cool gradually by first letting them sit in the oven after turning it off, then cracking the oven door, then moving them to a cooling rack at room temperature.
If you have them, cookie scoops are great for portioning the cheesecake into the muffin liners.
Recipe FAQs
If the center of the cheesecakes appear wet, they are not yet finished baking. To check for doneness, gently jiggle the pan; the edges should be set and not move, and the centers should wobble just slightly.
Yes, mini cheesecakes can be frozen, sealed in an airtight container, for up to one month. I do not recommend freezing cheesecake for longer than a month, since its texture can begin to degrade in the freezer over time. When you're ready to serve, let them thaw overnight in the fridge before topping and serving.
Cheesecake is prone to cracking on top when baking, and these cracks cause the centers to sink as it cools since there's not enough structure to hold it up. This is why baking cheesecakes with a water bath it recommended, since the water bath helps the cheesecake to bake more gently and slowly in the oven, avoiding cracking. But a water bath is too fussy for mini cheesecakes, so we're skipping it. The way that the cheesecake is mixed - mixing the cream cheese mixture well but being careful not to over mix once the eggs are added - will also help to avoid cracking and sinking. If your cheesecakes do end up cracking and sinking don't sweat it, since the toppings will help to cover it up anyway.
Storage Instructions
For food safety reasons, cheesecake must be stored chilled. Do not store cheesecake at room temperature or leave out at room temperature for more than 2 hours.
Refrigerator: Cheesecakes can be stored in the fridge for up to 3 days, sealed in an airtight container. It's best to refrigerate them without the toppings, adding them just before serving. Let the cheesecakes sit at room temperature for 10 minutes before serving.
Freezing: Mini cheesecakes can be frozen, sealed in an airtight container, for up to one month. Let them thaw overnight in the fridge before topping and serving.
More Gingerbread Recipes
Love this recipe? Please leave a star rating and review on the recipe below! And don't forget to subscribe to Always Eat Dessert for even more simple recipes, baking tips, and inspiration.
Recipe
Mini Gingerbread Cheesecakes
Special Equipment
- 1 standard muffin pan
- 12 muffin liners
- 1 food processor
- 1 electric hand mixer
Ingredients
Crust:
- 3 ounces graham crackers (about 6 full graham cracker sheets)
- ¼ cup pecans
- 1 teaspoon dark brown sugar
- 2 Tablespoons unsalted butter, melted
Cheesecake:
- 12 ounces full-fat block cream cheese, room temperature
- 2 Tablespoons plus 2 tsp. sour cream, room temperature
- 2 Tablespoons plus 2 tsp. heavy cream, room temperature
- ⅜ cup granulated sugar
- 1 Tablespoon molasses
- 1 ½ teaspoons cornstarch
- 1 teaspoon ground ginger
- 1 teaspoon ground cinnamon
- ½ teaspoon ground cloves
- ½ teaspoon ground nutmeg
- ⅛ teaspoon salt
- 2 teaspoons vanilla extract
- 1 large egg plus 1 large egg yolk, room temperature
Topping:
- 2 ounces gingersnap cookies (about 8 cookies)
- ⅓ cup heavy cream, chilled
- 2 teaspoons confectioners' sugar
- ground nutmeg, for sprinkling
Instructions
- Preheat oven to 375°F. Place 12 muffin liners into a standard muffin pan and set aside.
Make the crust.
- Add graham crackers, pecans, and sugar to the bowl of a food processor. Pulse until there are fine crumbs with no large chunks remaining.
- Add melted butter and pulse until combined and the crumbs begin to stick together.
- Divide the crust among the 12 muffin liners and press the crumbs into a solid crust using the back of a spoon.
- Bake the crusts for 5 minutes, then remove the pan from the oven and turn the oven down to 325°F. Let the crusts cool while you prepare the cheesecake.
Make the cheesecake.
- In a large bowl, add cream cheese, sour cream, heavy cream, sugar, molasses, cornstarch, spices, and salt. Using an electric handheld mixer, beat on medium speed until smooth. Add vanilla and beat until combined.
- Add egg and yolk and beat on low speed just until combined.
- Spoon cheesecake onto the crusts so that muffin liners are ¾ filled. (You'll use about 2.5 Tablespoons of cheesecake per liner, and you may have a little bit of cheesecake leftover.)
- Return the pan to the 325°F oven and bake for 20 minutes or until the edges of each cheesecake are set but the centers still wobble slightly when you jiggle the pan. Turn off the oven and let the cheesecakes sit in the warm oven with the door closed for 10 minutes. Then crack the oven door open and let the cheesecakes sit for another 10 minutes. Next transfer the pan to a wire rack and allow the cheesecakes to cool completely (about 1 hour). Finally, transfer the pan to the fridge and chill the cheesecakes for at least 2 hours and up to overnight.
Garnish the cheesecakes.
- Once the cheesecakes have cooled, remove the cheesecakes from the muffin liners and prepare the toppings.
- Add gingersnap cookies to the bowl of a food processor and pulse until they become small crumbs.
- Spoon cookie crumbs onto the top of each cheesecake.
- In a large bowl, add heavy cream and confectioners' sugar. Using an electric handheld mixer, whip until stiff peaks form. Pipe or spoon the whipped cream over the cookie crumbs on each cheesecake. Sprinkle a bit of ground nutmeg over the whipped cream. Serve immediately.


Carol
This is such a lovely recipe! I was wondering if I made these without the liners if they would stick to the pan?. I have this really cute Christmas tree and gingerbread man shaped mold that I cannot figure out what to bake in it. I made muffins but they puffed up too much and the effect was not good. I look at this recipe and think that maybe if I spray the mold with baking spray they will not stick too much? Any ideas if this might work?
Allison Ferraro
Thanks for your kind words, Carol! I haven't tested this recipe without liners, but I am nervous that the cheesecake would stick to the sides of the pan, especially if you're using an intricate pan with nooks and crannies rather than a muffin pan. Your pans sound lovely! Are the cavities muffin-sized? If so I might try baking tiny breads like banana bread. I have mini bundt pans that I like to divide my banana bread batter between for making cute little cakes. Cake batter could be another thing to try. In either case, be sure to spray the pans very well before filling and baking. Best of luck!
- Allison
Betsy W.
I made these for Christmas cookie trays and they were my favorite item on the tray. So tasty and everyone agreed. The spices are perfect. It makes way more than 12 mini cheesecakes though, which is good. Makes enough for12 mini and six+ regular size muffin tin cheesecakes. And probably more. These will now be added to my annual cookie trays and Christmas dinner desserts.
Allison
Hi Betsy! I'm so glad that these gingerbread cheesecakes were a hit! All of my taste testers love the spices, too, and I'm happy to hear that you agree 🙂
Just to clarify the sizing... the recipe makes 12 standard muffin size cheesecakes (not mini muffin size). I called these "mini cheesecakes" relative to a full-size cheesecake. However, you absolutely could make them mini muffin size (which it sounds like you did successfully)! If you go this route, just reduce the baking time.
Thanks for your glowing review and happy baking!
xx Allison