
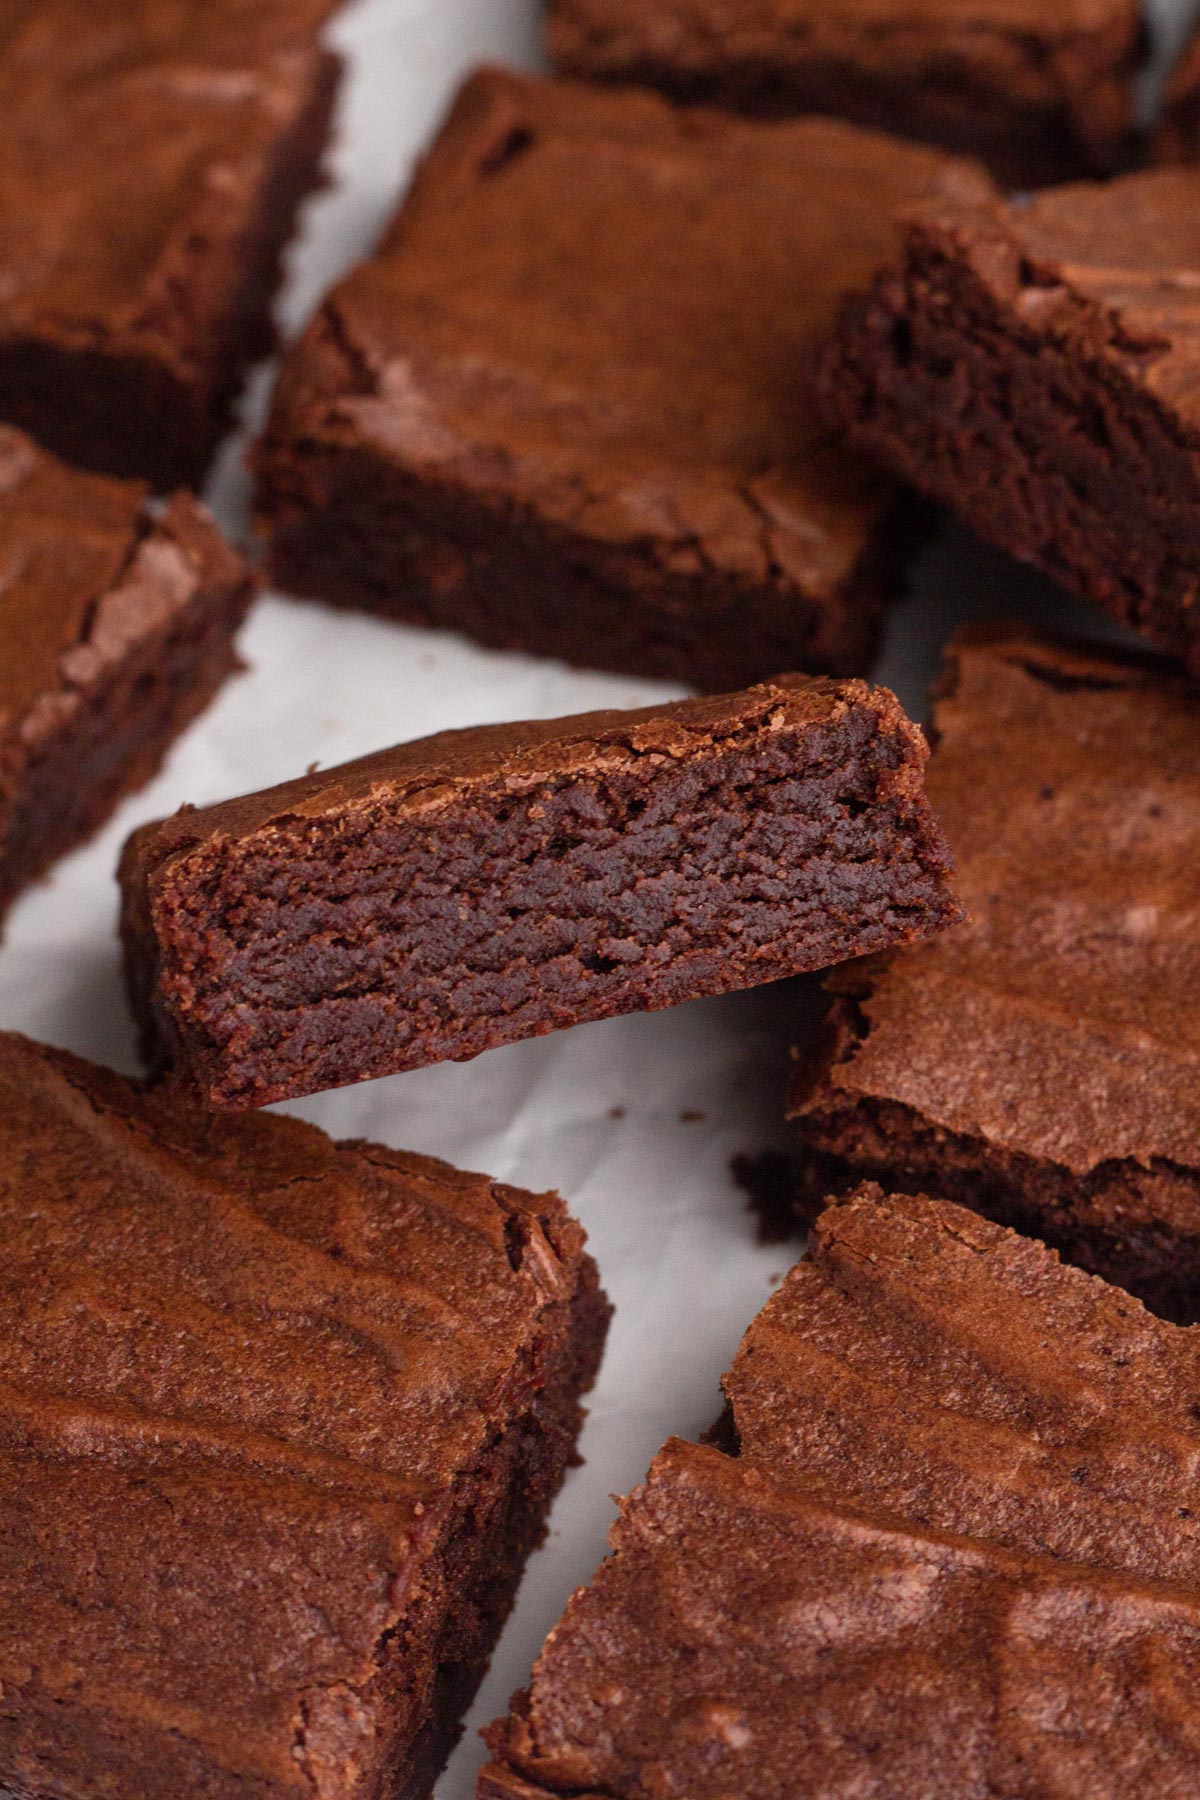
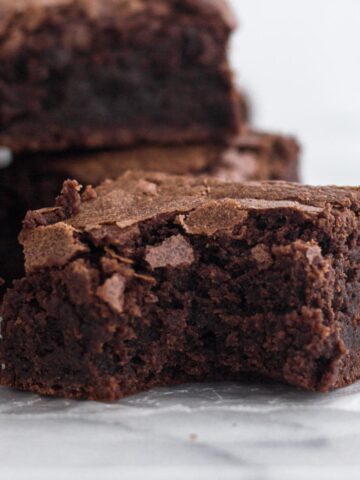
These quick and easy one-bowl brownies are the ultimate fudgy brownies! Made with chopped chocolate AND cocoa powder, nothing beats their thick, fudgy texture and rich chocolate flavor. Best of all, this easy, one-bowl brownie recipe takes just 45 minutes from start to finish (with only 15 minutes of hands-on time)!

Let's talk about brownies. I realize that what makes a brownie perfect is a matter of opinion, but I have really strong opinions on this subject.
Let's start by discussing what brownies should not be:
- Cakey. If I wanted cake, I would make a cake. (Specifically this chocolate cake, because it's the best!) Only fudgy brownies, please!
- Frosted. Again, this is not cake. I like my brownies with a nice, shiny top and no frosting.
- Chunky. I prefer a smooth chocolatey texture. No nuts or chocolate chunks in my brownies.
In my humble opinion, the perfect brownie is simple. Rich, chocolately, and fudgy. No extra frills. And bonus points if the recipe is easy.
Which brings me to this fudgy one-bowl brownie recipe...
Jump to:
Why This Recipe Works
I went on a quest to bake a perfect batch of brownies, and after several test batches I found a winner! These brownies are sheer perfection. They're ultra decadent with thick, fudgy centers and shiny tops. Here's what makes these brownies amazing:
- Two kinds of chocolate! We'll use both melted semi-sweet chocolate and unsweetened cocoa powder for perfectly rich chocolatey flavor.
- Brown sugar. Instead of using just granulated (white) sugar, we'll also use some brown sugar. Brown sugar adds an extra bit of moisture and flavor to the recipe.
- No baking powder or baking soda. We want our brownies to be as dense and fudgy as possible, so we're avoiding ingredients that would make our batter rise up to become more cake-like.
- Oh, and did I mention this is an easy brownie recipe? You can mix them up using just one bowl in only 15 minutes!
Ingredient Notes & Substitutions
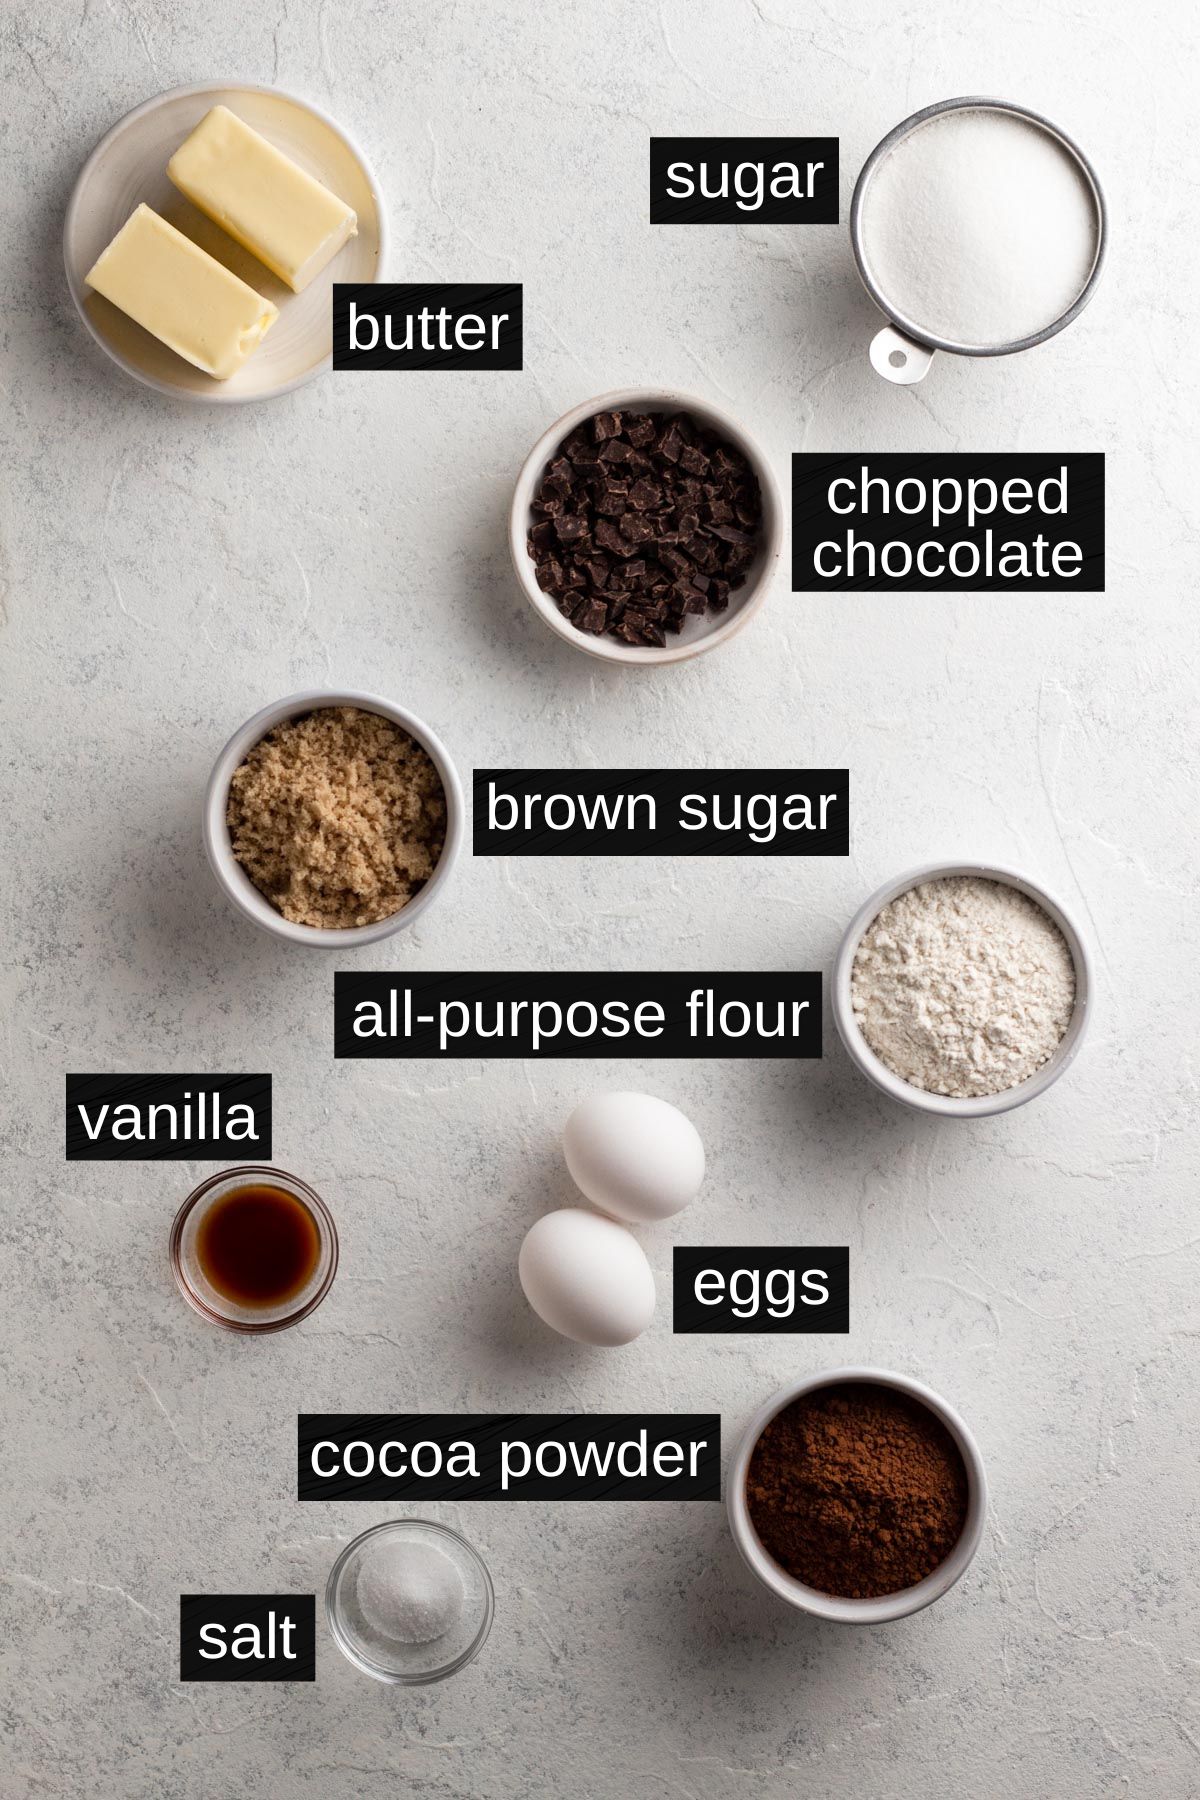
Chopped Chocolate - Choose a chocolate baking bar, which can be found in the baking aisle at your local grocery store. Candy bars and chocolate chips both contain additional ingredients and stabilizers, so they're not ideal for this recipe. I like semi-sweet best for this recipe, but bittersweet will also work if you prefer a darker chocolate flavor.
Natural Unsweetened Cocoa Powder - Natural unsweetened cocoa powder provides works in conjunction with the chopped chocolate to provide a rich, chocolatey flavor.
Sugar & Brown Sugar - Using both sugars adds just the right amount of sweetness, structure, and moisture (thanks to the brown sugar) with just a hint of molasses flavor. I used light brown sugar but dark brown will also work.
See recipe card at the bottom of this post for full ingredient list and measurements.
Special Equipment
There is no special equipment needed for this recipe. Yes, really! If you have a mixing bowl, a whisk, a wooden spoon or rubber spatula, and an 8x8 pan then you're all set.
Step-By-Step Recipe Instructions
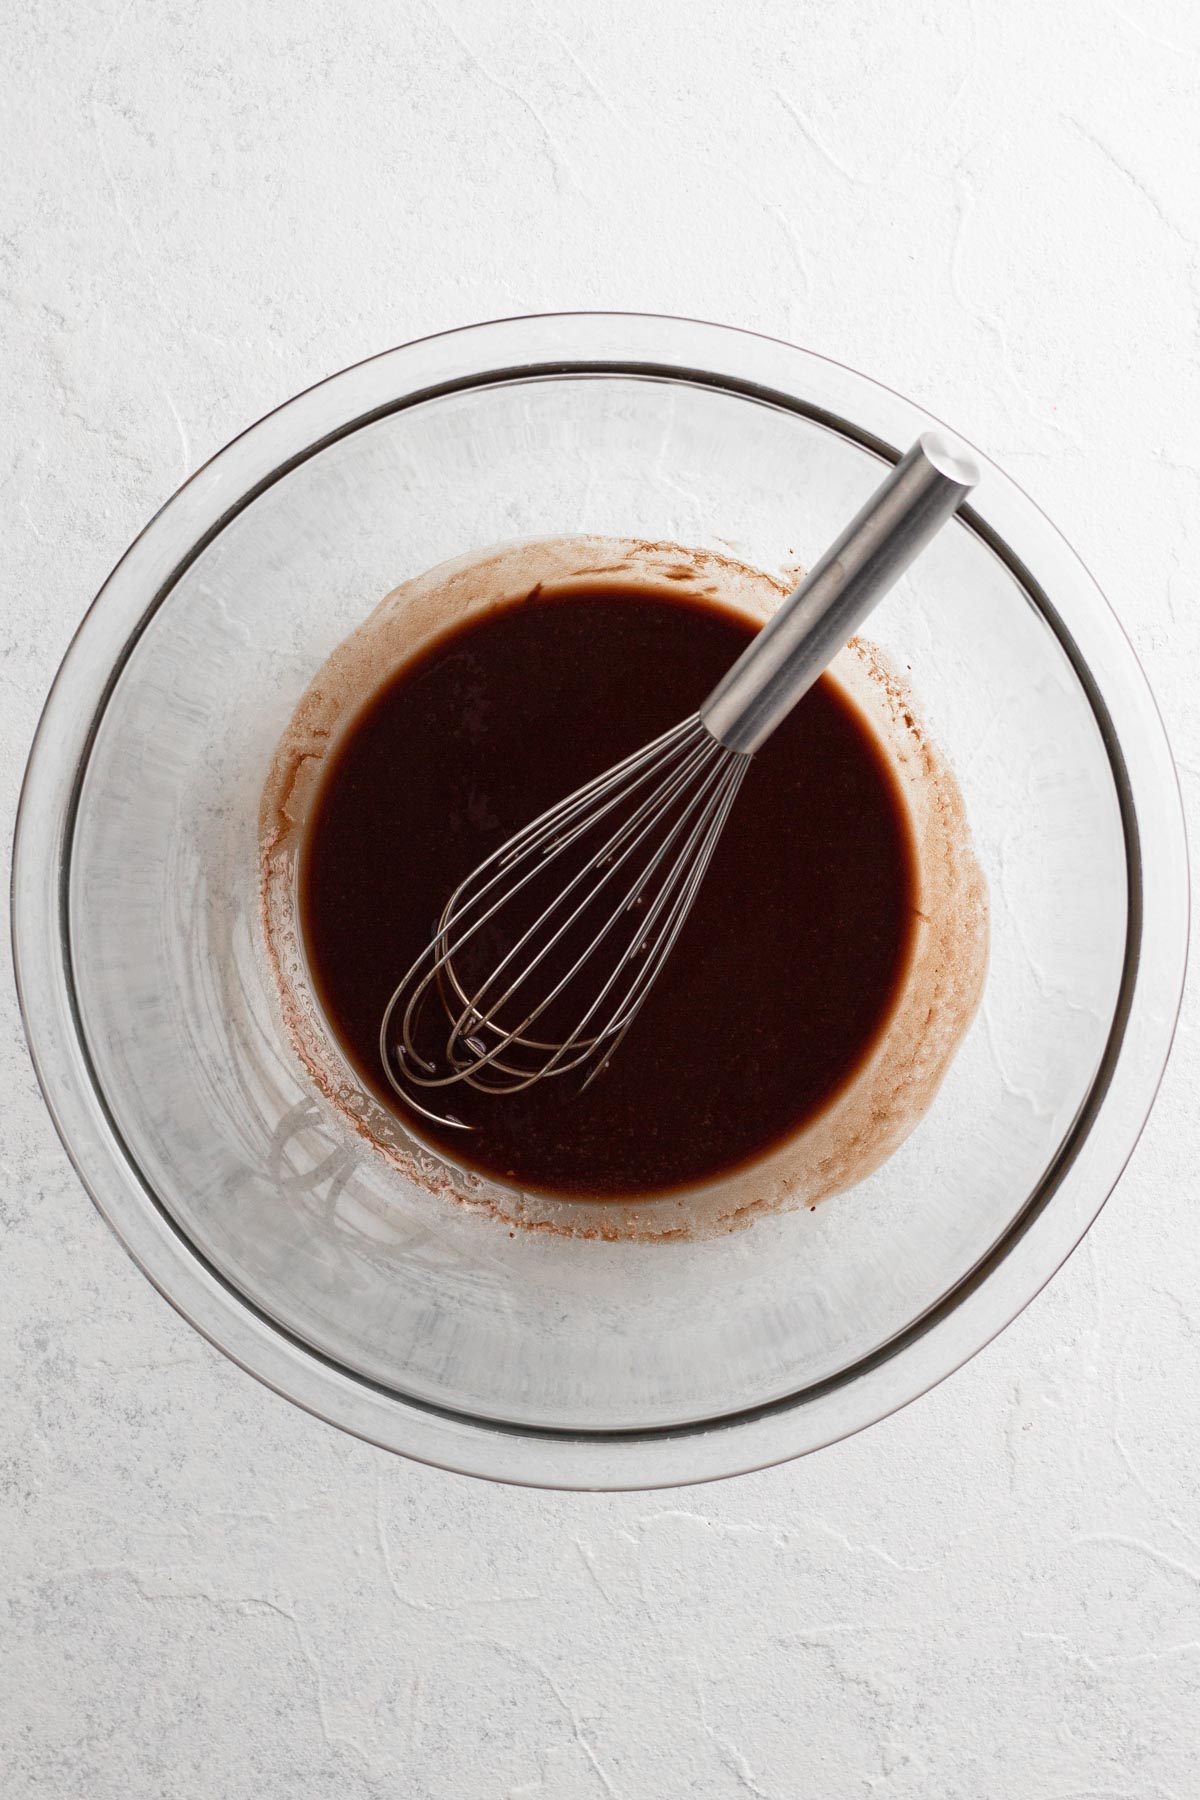
Step 1: Melt butter and chocolate in the microwave in 30 second increments. Whisk until smooth.
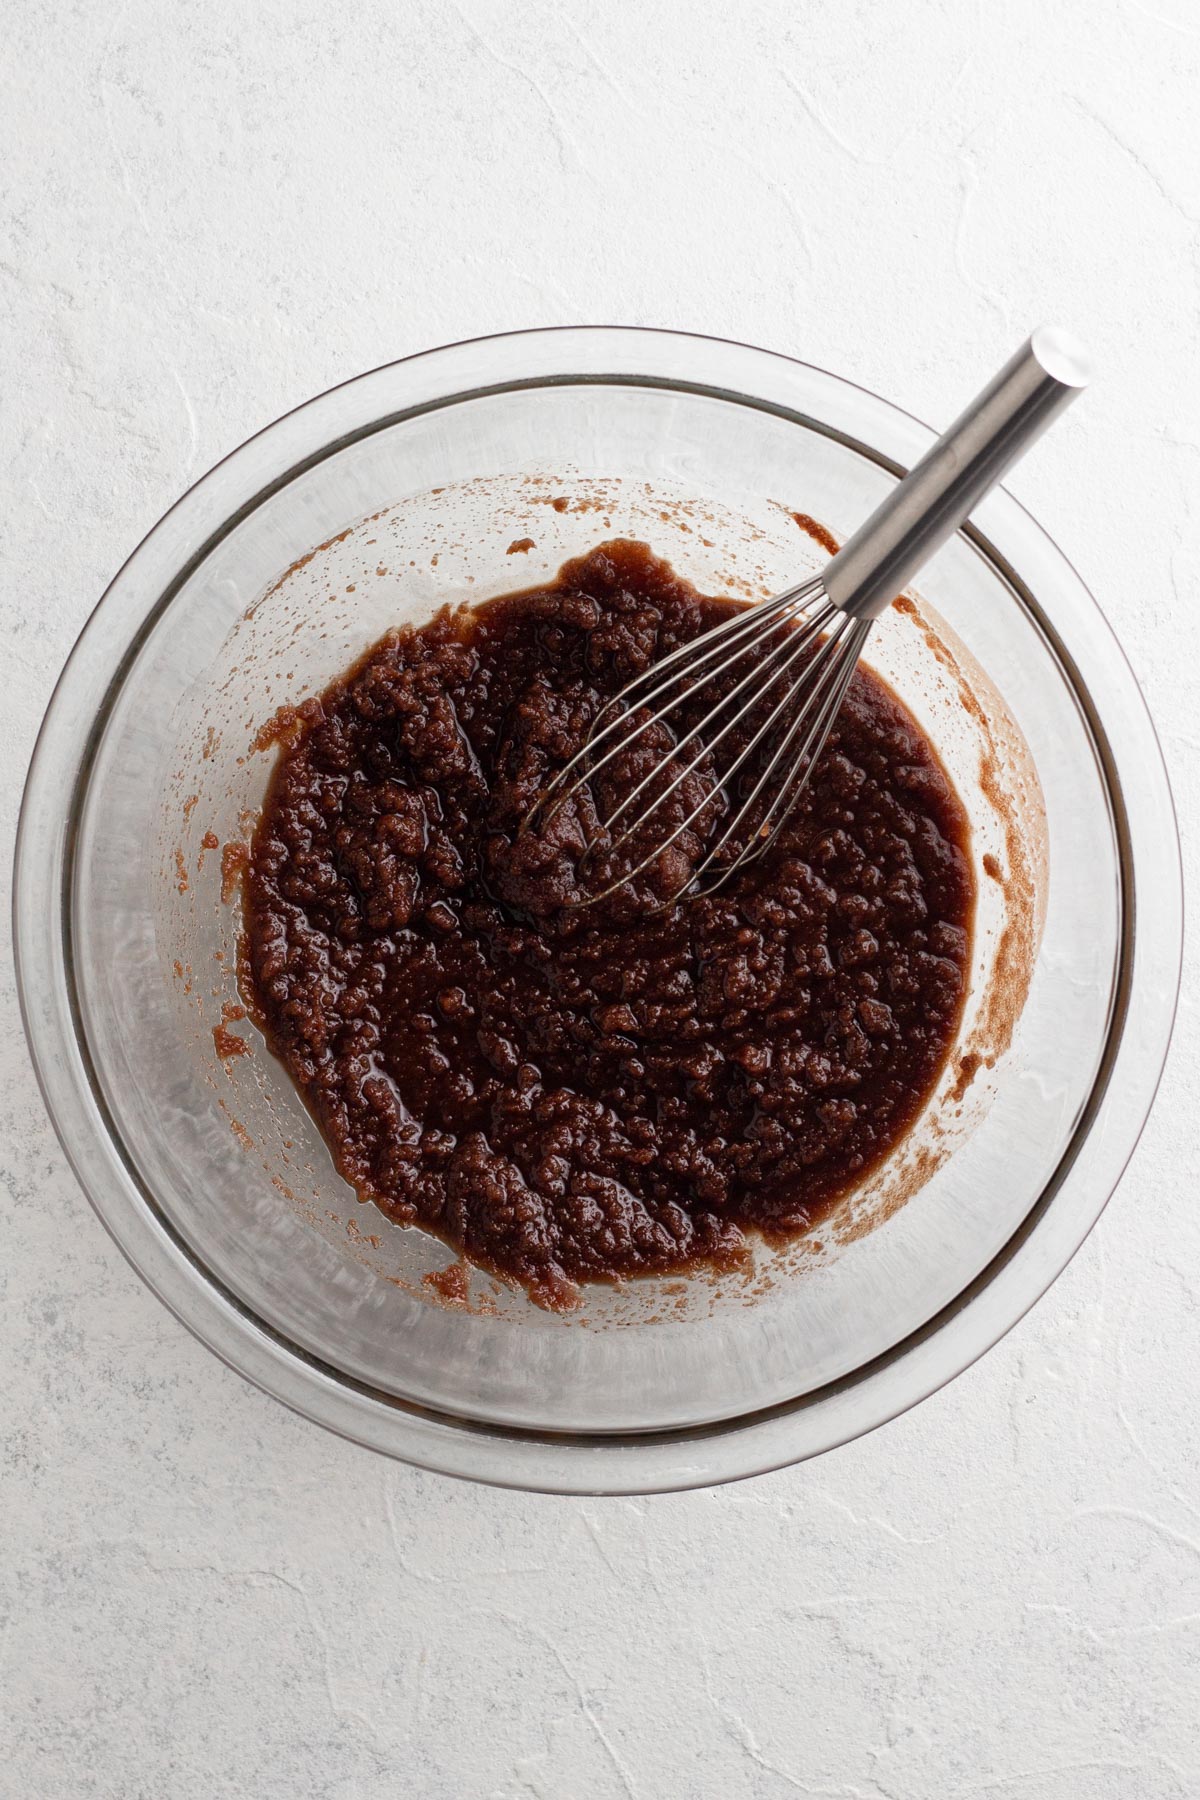
Step 2: Add both sugars and whisk until combined.
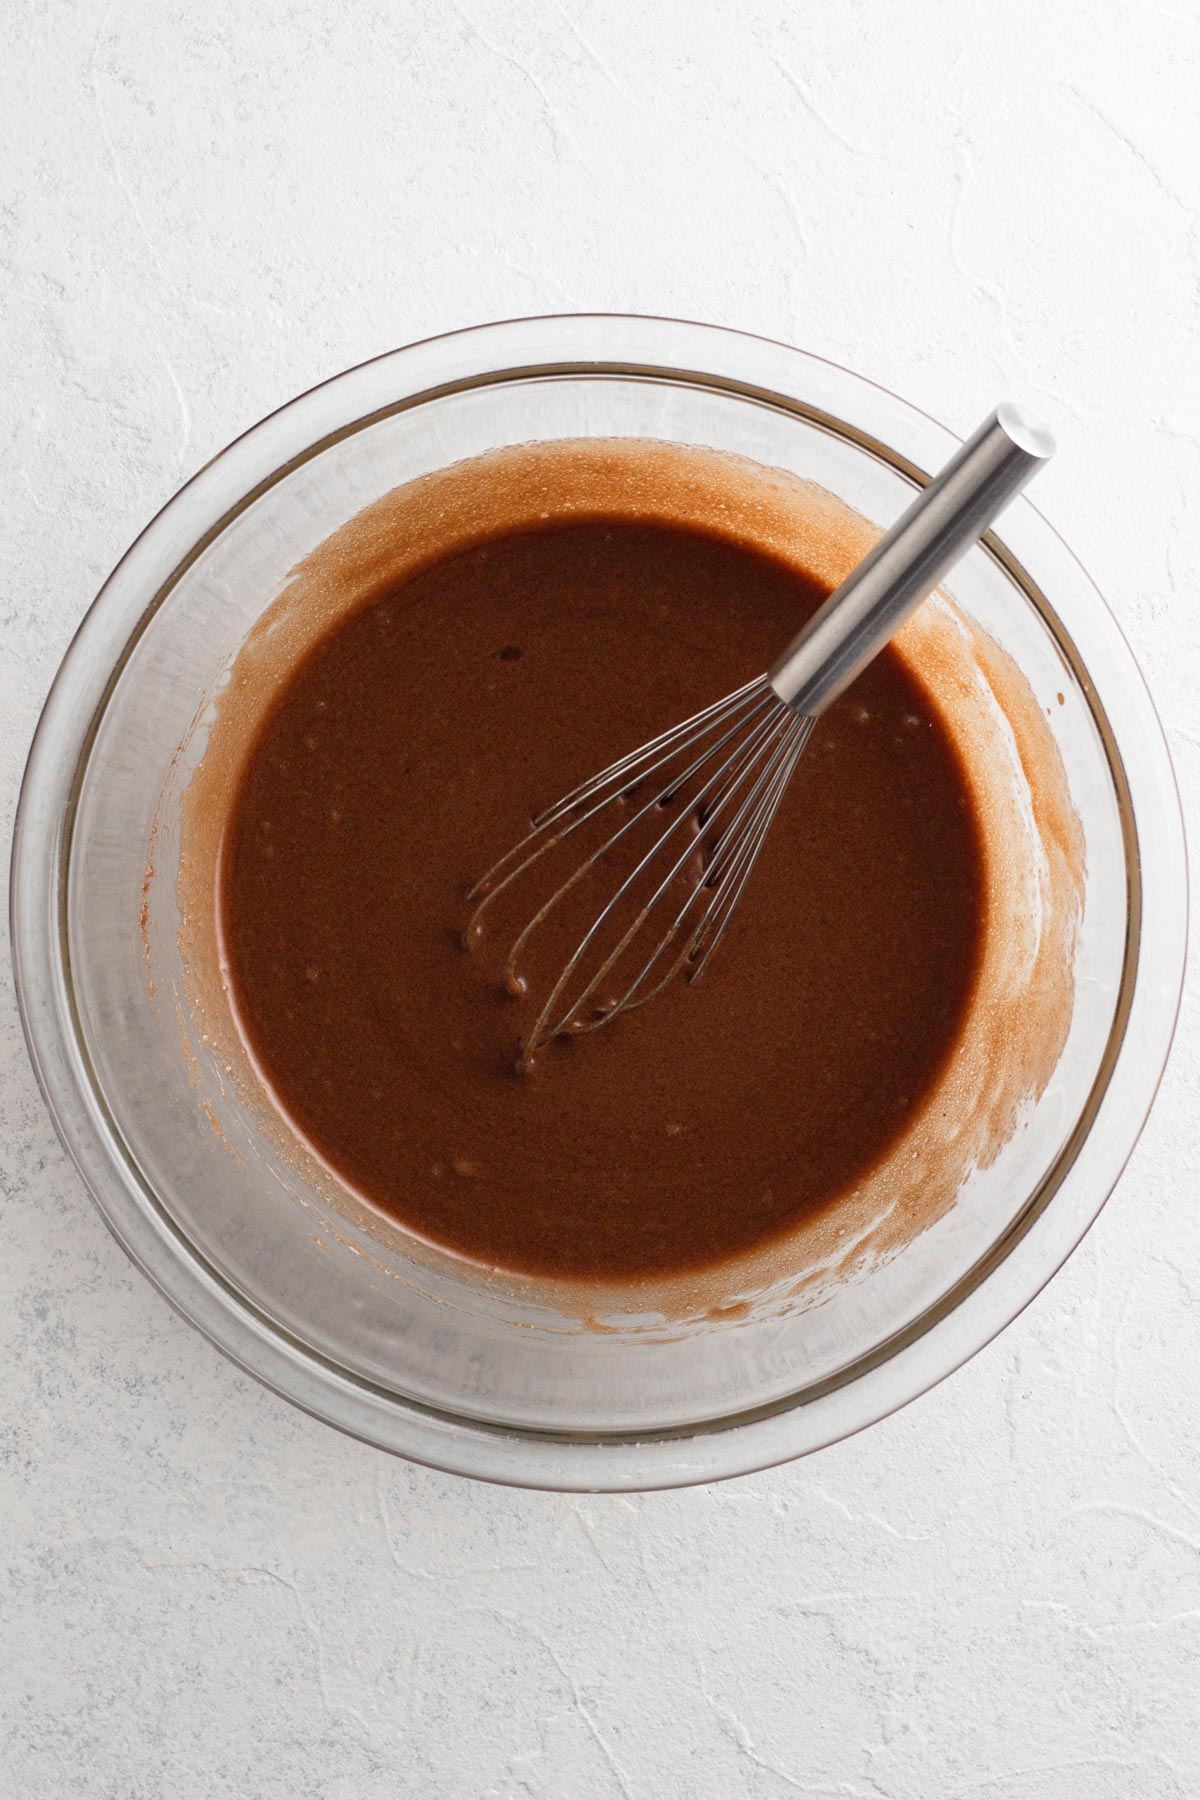
Step 3: Add vanilla and eggs and whisk until combined.
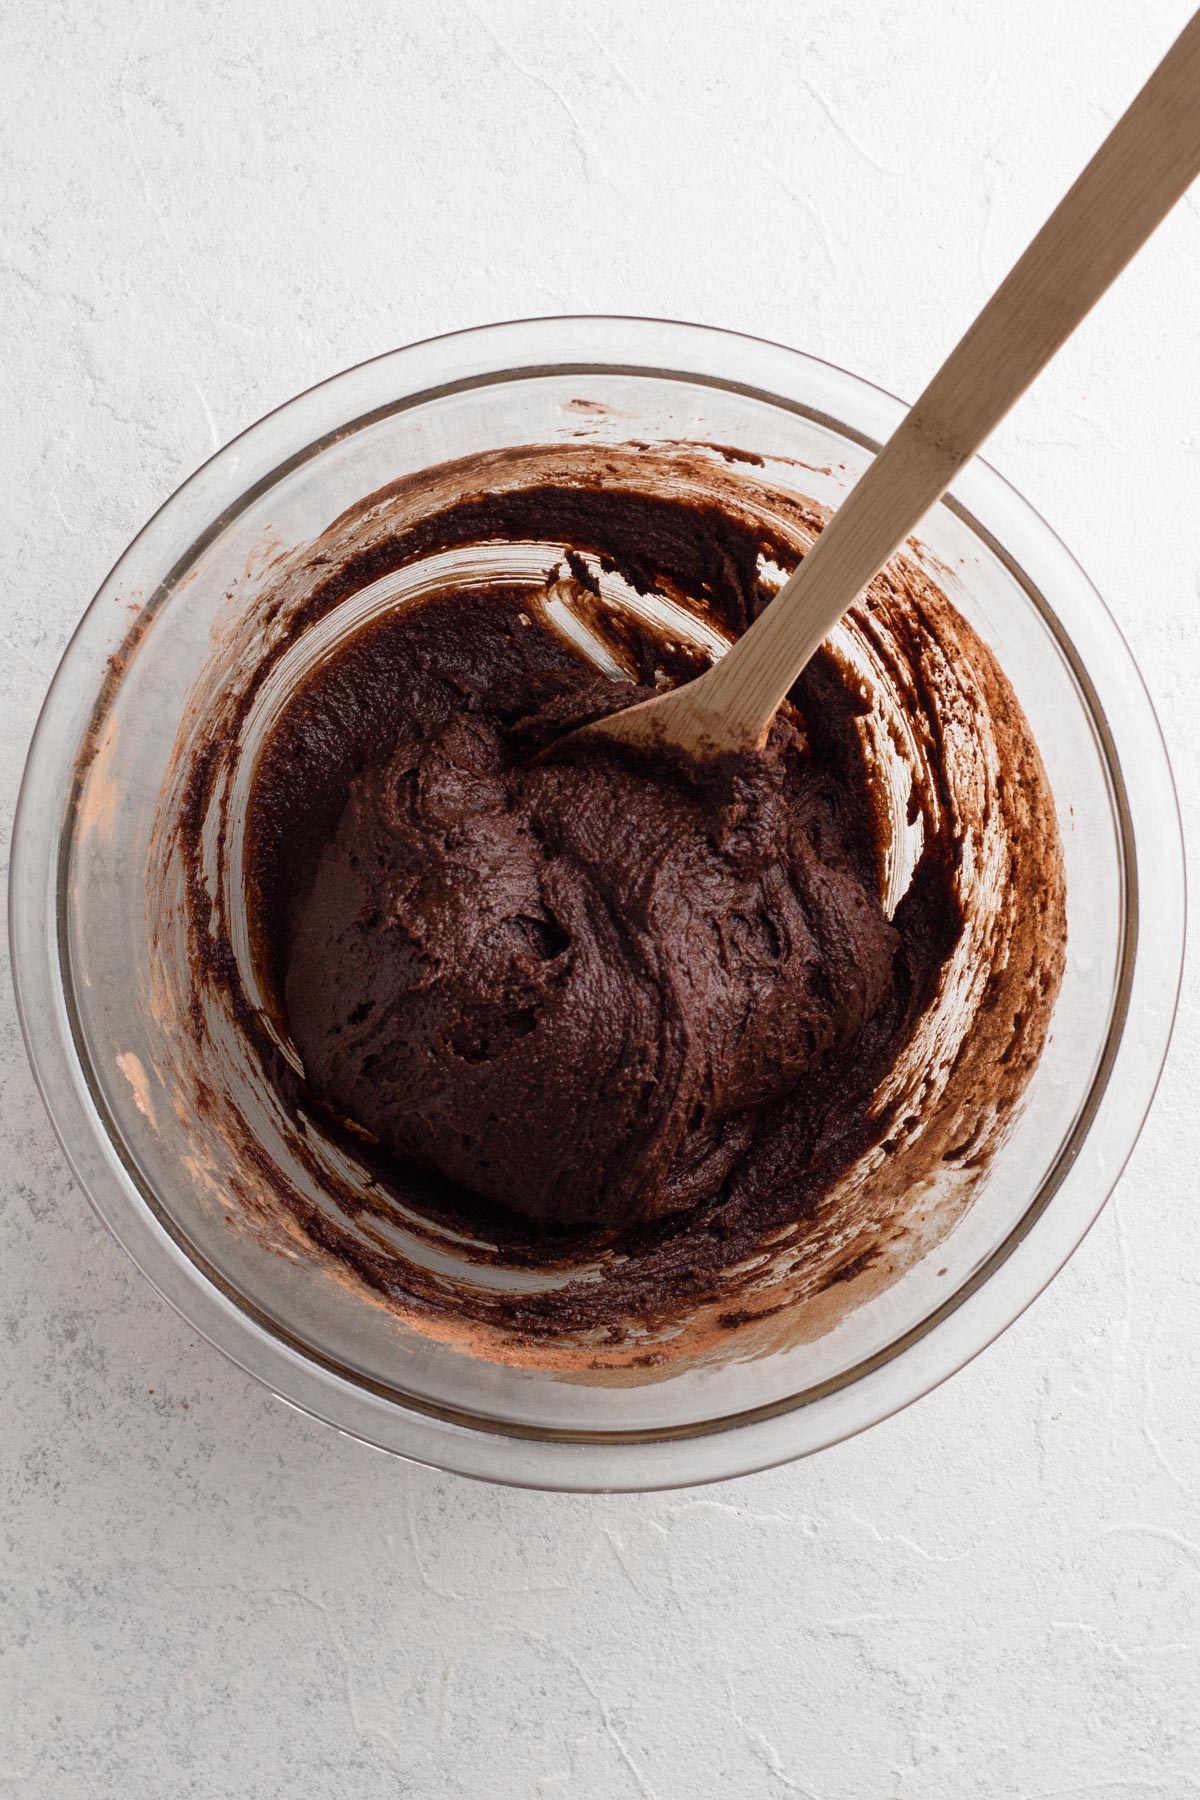
Step 4: Add flour, cocoa powder, espresso powder and salt and fold into the sugar mixture.
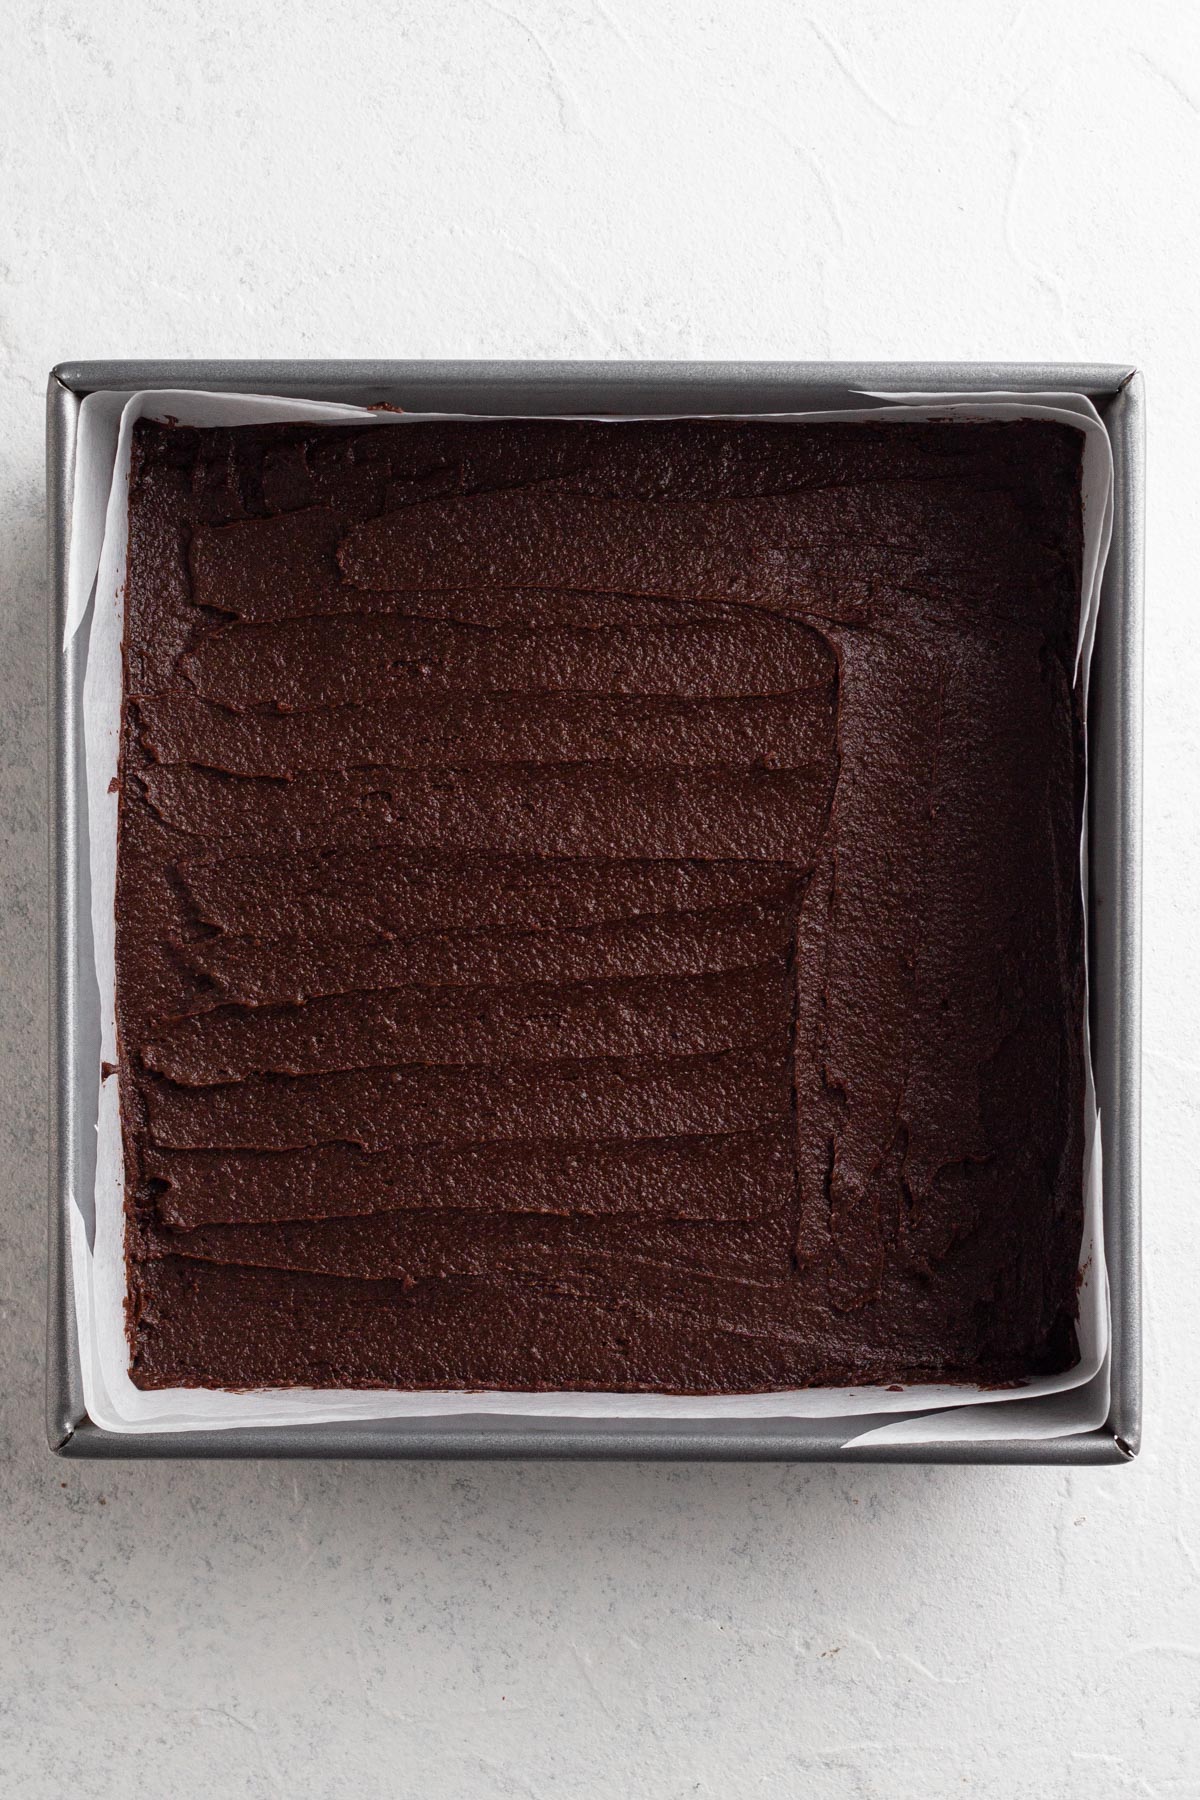
Step 5: Spread the batter into an 8x8 metal pan lined with parchment paper.
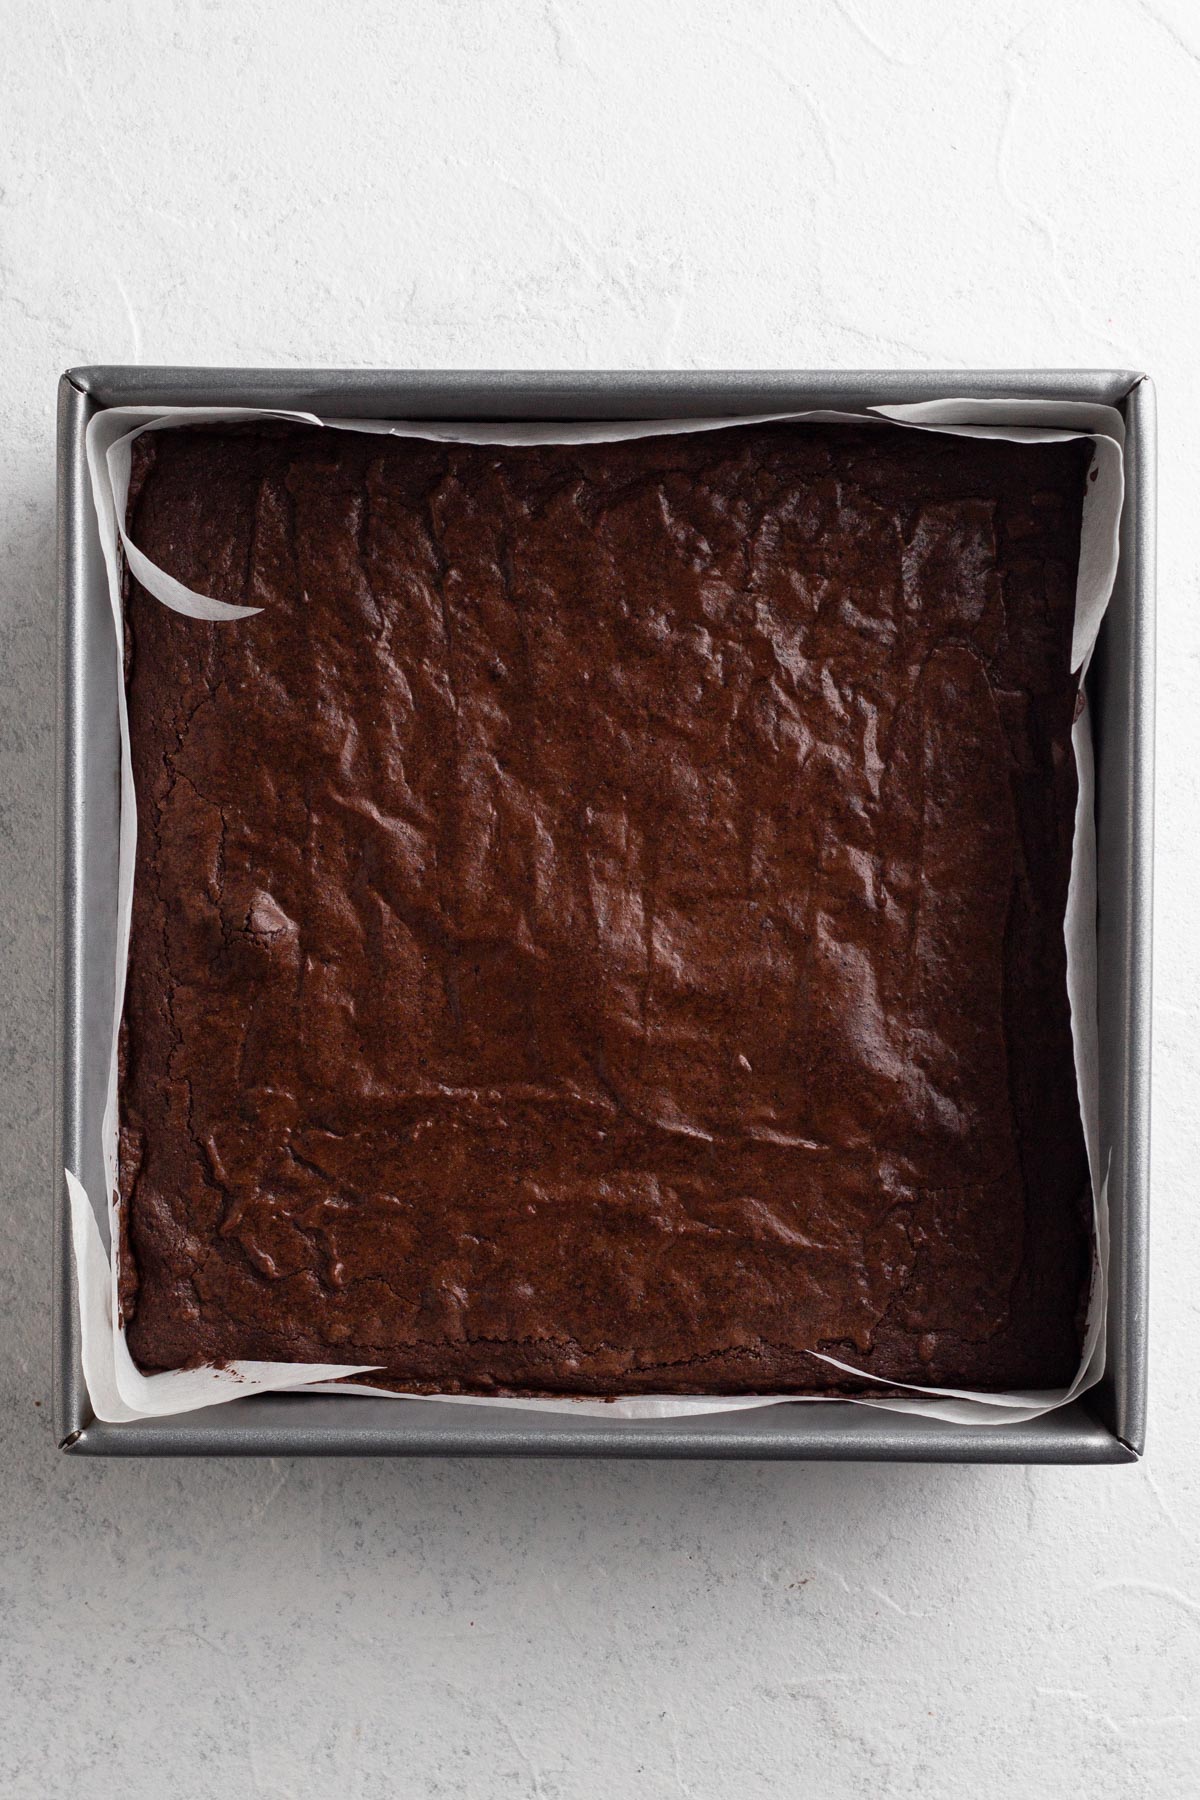
Step 6: Bake at 350°F for 25-30 minutes.
Let the brownies cool completely in the pan before slicing and serving.
See recipe card at the bottom of this post for detailed recipe instructions.
Allison's Top Tips
Don't forget to line your pan with parchment paper! This will keep the brownies from sticking to the pan when baking, and you'll also be able to lift the brownies out of the pan by pulling up the edges of the parchment paper. Check out my simple tutorial for lining pans with parchment paper to learn the best method for neatly and effectively lining your pans.
Be careful not to over mix the batter when adding the dry ingredients. Instead, carefully fold in the ingredients so that they are completely mixed without over working the batter.
Recipe Variations
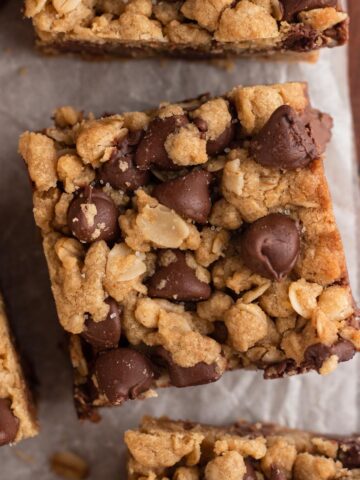
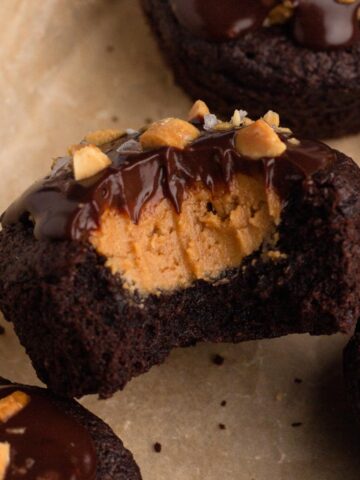
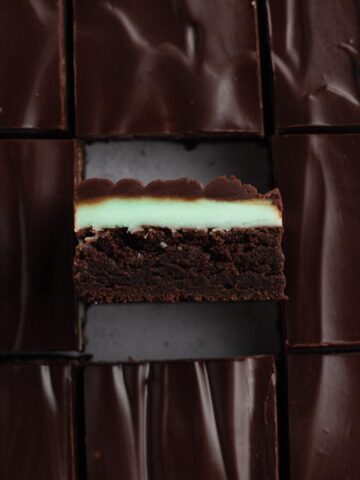
This classic brownie can be used as the base for a multitude of dressed-up brownie variations. I used this recipe to create these minty creme de menthe brownies, bite-sized brownie bites (with whipped ganache!), and everyone's favorite chocolate chip cookie and brownie mashup, brookie bars.
Try one of the recipes above, or get creative! Here are some additional ideas:
- Add a swirl of peanut butter or Nutella to the batter after spreading it into the pan.
- Adding chocolate chips would be delicious! I would use mini chocolate chips, but use what you like. Fold then into the batter as the last ingredients before spreading the batter into the pan.
- If you are in fact a nuts in brownies person, go ahead and add some (again folding them in as the last ingredient).
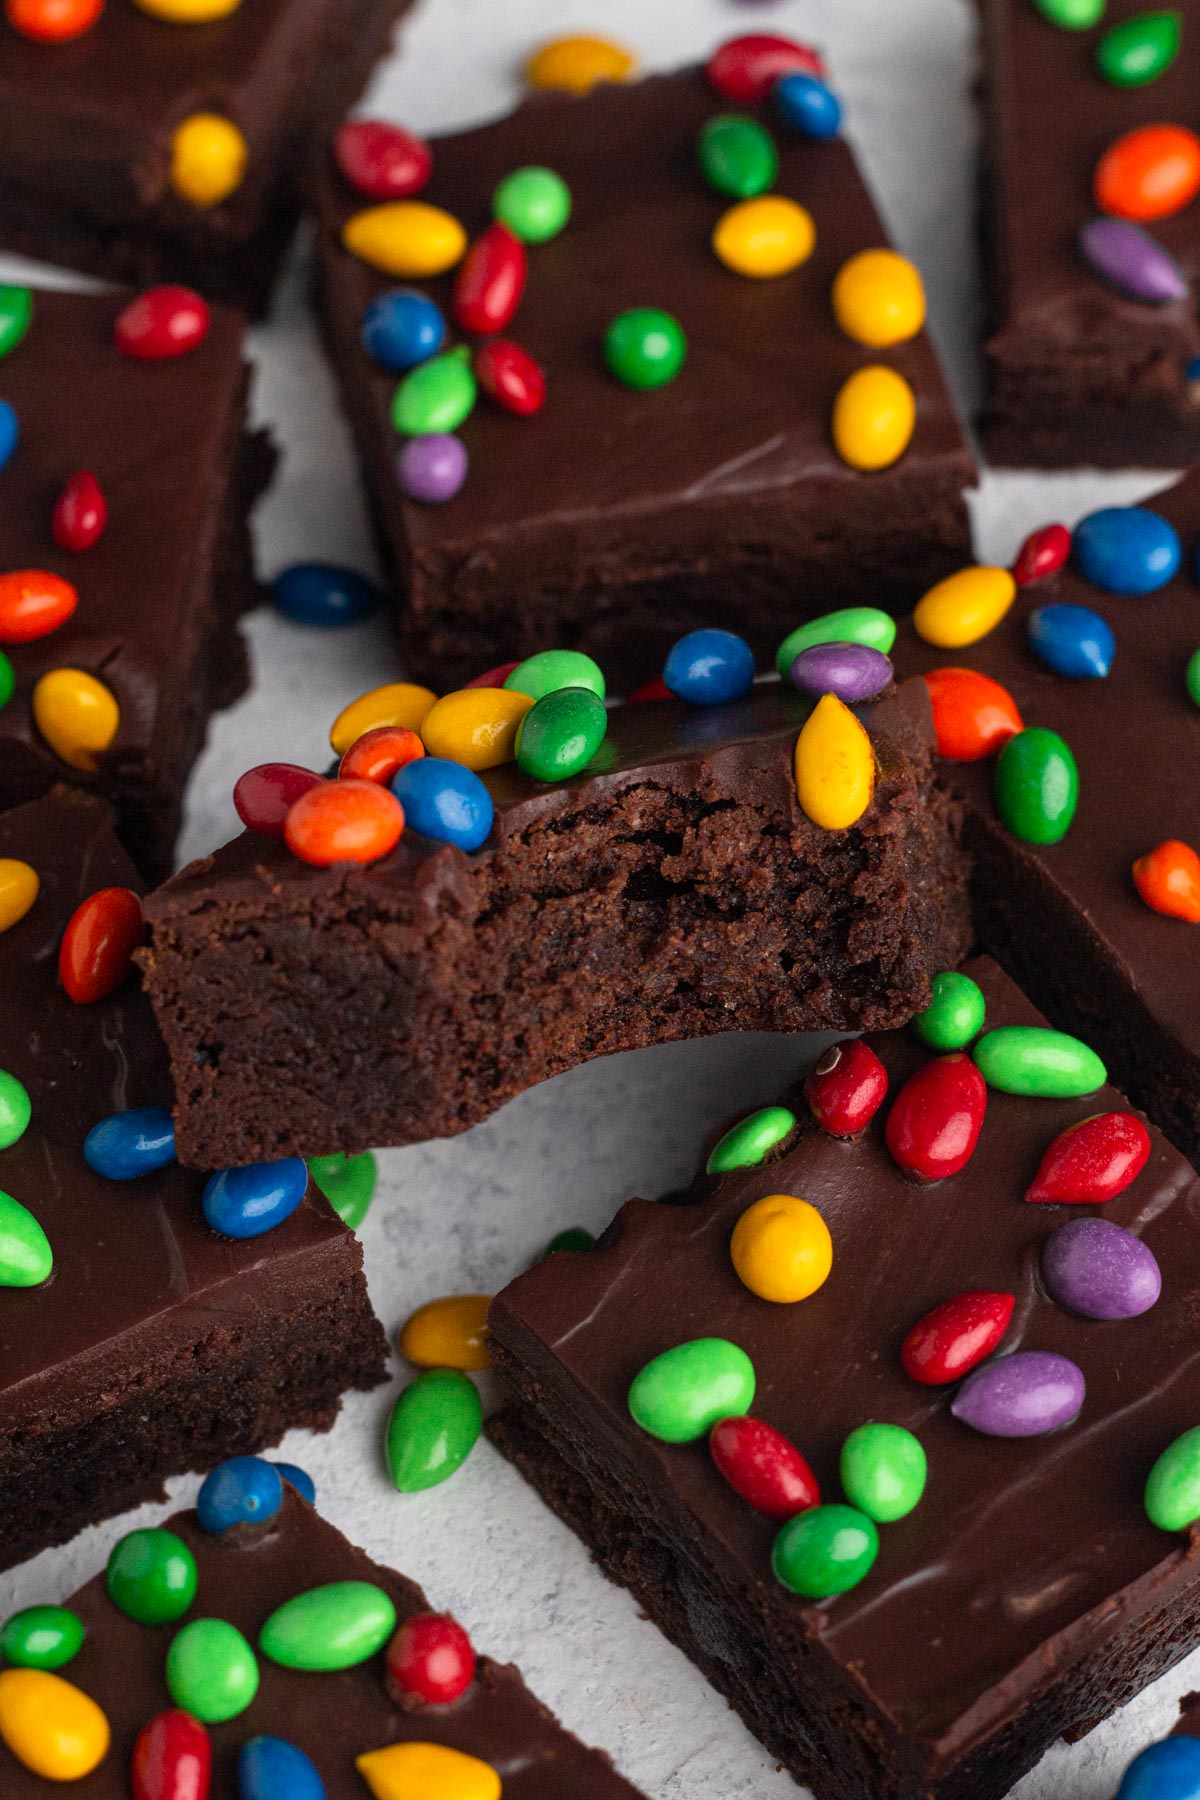
Homemade Cosmic Brownies
One really fun variation I tried was homemade cosmic brownies. You know, the pre-packaged brownies of our youth that have a thin chocolate coating and tiny, colorful candies on top? I added a thin layer of chocolate ganache on top of the cooled brownies and sprinkled them with chocolate-covered sunflower seeds. It was just like the childhood treat, except the chocolate flavor was infinitely better!
Recipe FAQs
Neither! Brownies should be baked on a rack in the middle of the oven, allowing hot air to circulate evenly around the brownies. Brownies baked on the bottom rack will likely burn on the bottom, while brownies baked on the top rack will bake on top before the batter in the bottom of the pan has a chance to bake fully.
No! If your brownies are gooey, they're under baked and need more time in the oven. Perfectly baked brownies will have fully set, shiny tops, and a toothpick inserted into the brownies should come out with moist crumbs but no raw batter.
First and foremost, ensure that the brownies are completely cooled before cutting them. Use a large, sharp knife (like a chef's knife) to slice the brownies. Make your cuts by pressing down on the knife and avoid any sawing motions. Be sure to wipe the knife clean after each cut so you don't deposit any crumbs from the last cut back onto the brownies.
Storage Instructions
Room Temperature: Store leftover brownies in an airtight container at room temperature for up to 4 days. If possible, avoid cutting the brownies before storing, as the cut edges will dry out more quickly. And for even fudgier brownies, try storing them in the fridge!
Freezing: Brownies that are baked and completely cooled can be sealed in an airtight container and frozen for up to a month. Thaw the frozen brownies at room temperature before slicing and serving.
For even more information about how to keep brownies fresh, check out this post with everything you need to know about how to store brownies.
More Chocolatey Bar Recipes
Love this recipe? Please leave a star rating and review on the recipe below! And don't forget to subscribe to Always Eat Dessert for even more easy dessert recipes and helpful baking tips.
Recipe

Fudgy One-Bowl Brownies
Ingredients
- ½ cup (114 grams) unsalted butter
- 1 ½ ounces (43 grams) semi-sweet chocolate baking bar, coarsely chopped
- 1 cup (198 grams) granulated sugar
- ⅓ cup (71 grams) light brown sugar
- 1 ½ teaspoons (7 grams) vanilla extract
- 2 large eggs, room temperature
- ⅔ cup (80 grams) all-purpose flour
- ⅔ cup (56 grams) unsweetened natural cocoa powder
- ¾ teaspoon (4.5 grams) salt
Instructions
- Preheat the oven to 350°F. Line an 8"x8" metal baking pan with parchment paper. Set the pan aside.
- In a large, microwave-safe bowl, melt butter and chocolate in the microwave in 30 second increments. Whisk until smooth.
- Add both sugars and whisk until combined.
- Add vanilla and eggs and whisk until combined.
- Add flour, cocoa powder, and salt and fold into the sugar mixture.
- Spread the batter into the prepared pan.
- Bake for 25-30 minutes. The tops should appear shiny and a toothpick inserted into the center should come out with a few moist crumbs but no raw batter. Let the brownies cool completely in the pan before removing them by lifting up on the edges of the parchment paper. Slice into 16 squares to serve.
Jordan says
These were so easy and so delicious!
Allison Ferraro says
So glad you love these brownies, Jordan! This recipe is definitely my go-to when I need fudgy brownies ASAP!
- Allison
Gladys says
This sounds delicious. Am going to bake tomorrow.
Vidharshinee says
Yummy.