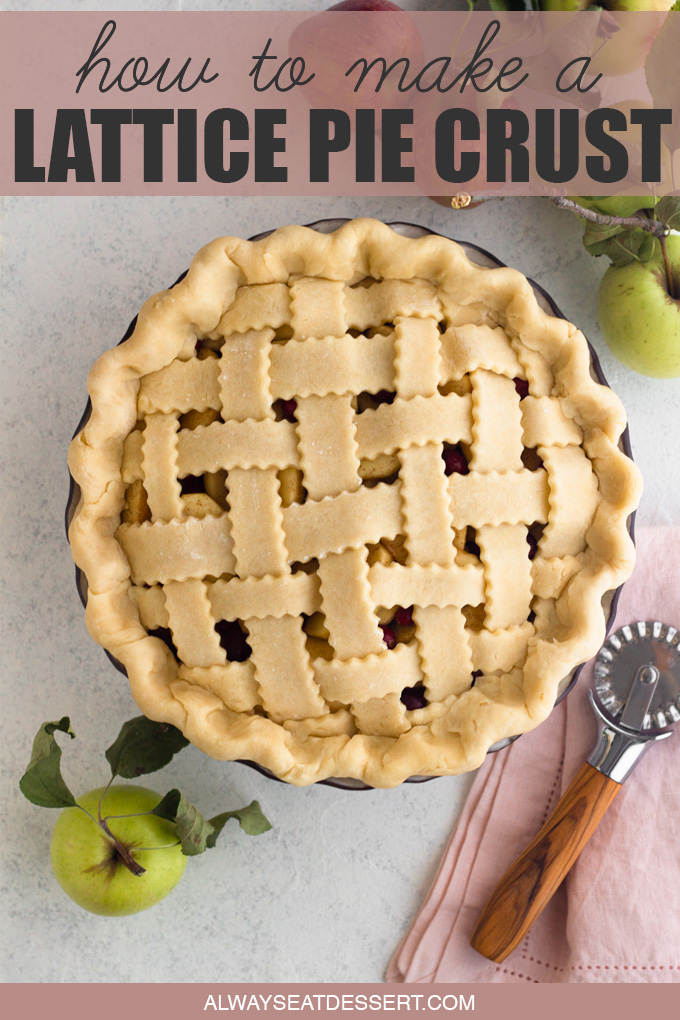
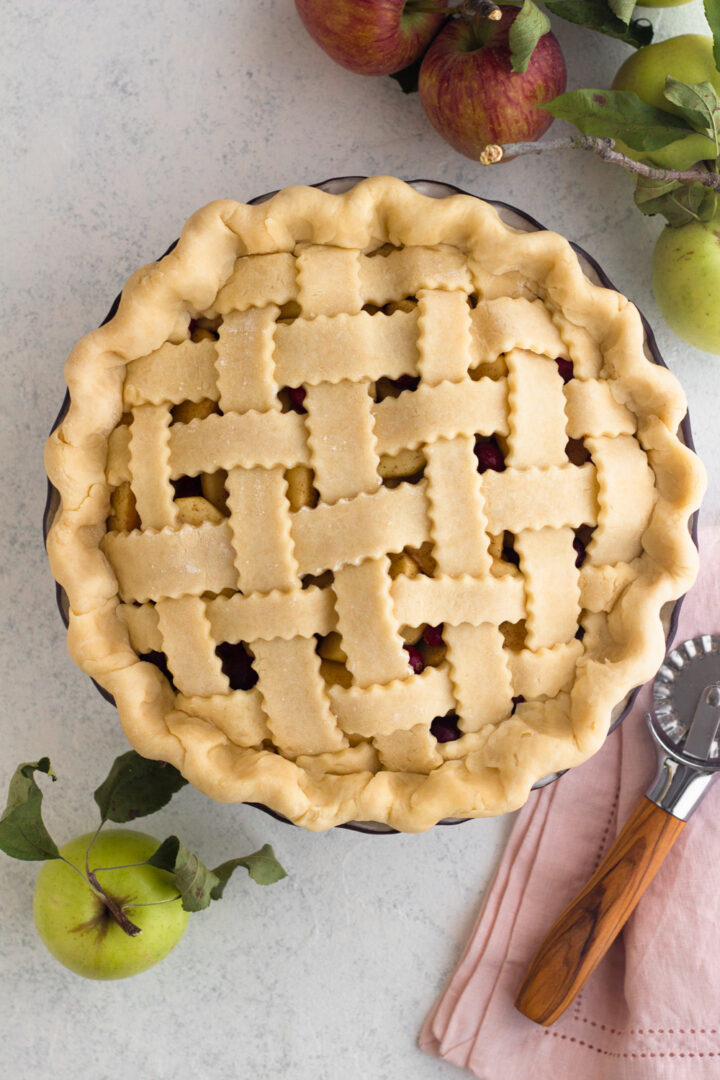
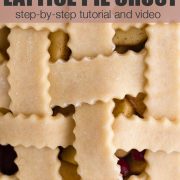
Impress your family and friends with a lattice top pie! This decorative pie crust design is classic and beautiful - and surprisingly easy to do. This step-by-step tutorial (with video) will show you exactly how to make a lattice pie crust from scratch.
Lattice pie crust is a simple and impressive pie crust design, made from strips of pie crust dough woven together. Though it may look difficult, don't be fooled... lattice pie crust is actually quite simple to do.
Jump to:
Lattice Pie Crust: Beautiful & Functional
Lattice pie crust is beautiful to look at, but it's more than just an impressive pie crust design. As pies bake, steam from the filling needs to escape or you'll end up with a soggy pie. The spaces between the strips of pie crust in a lattice design offer ventilation for the filling as the pie bakes.
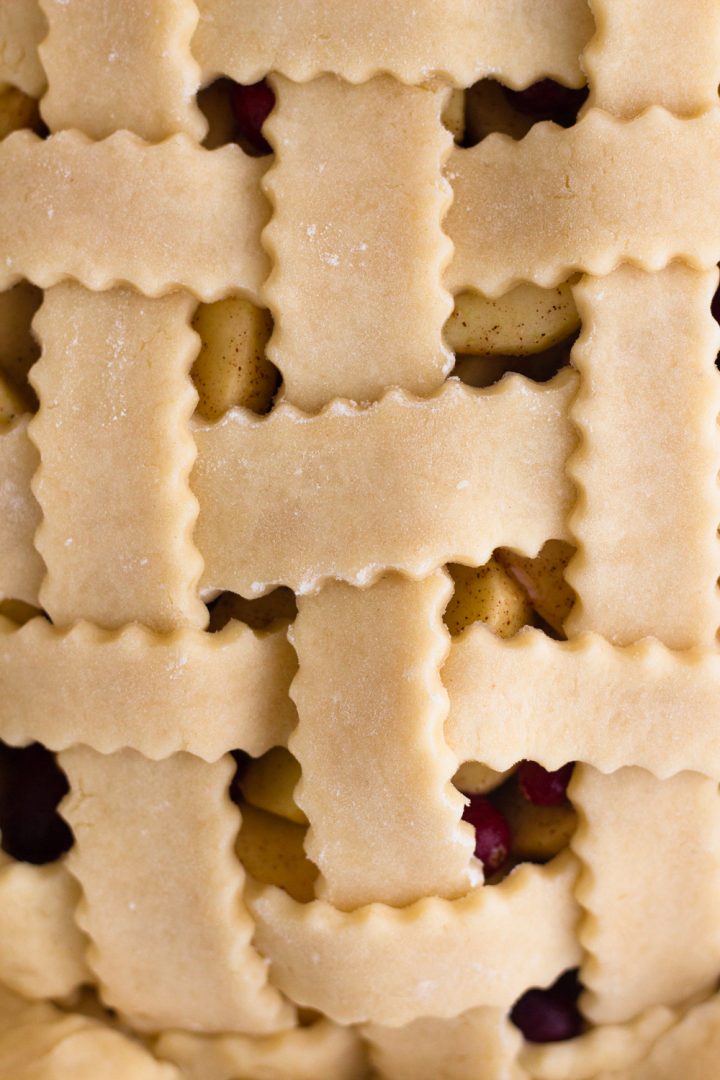
Here's What You'll Need to Make Lattice Pie Crust
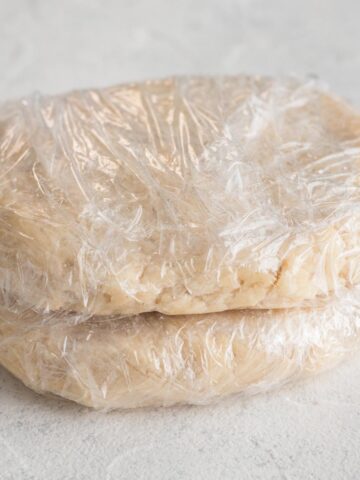
- 1 double-crust pie with both a bottom and top crust. Do yourself a favor and use pie crust dough that is easy to work with. This pie crust recipe is my go-to!
- All-purpose flour (for flouring your work surface before rolling out your dough.
- Cooling rack (for letting your pie crust dough rest at room temperature before rolling it out)
- Pastry cloth or clean work surface
- Rolling ping
- Pastry cutter or pizza cutter
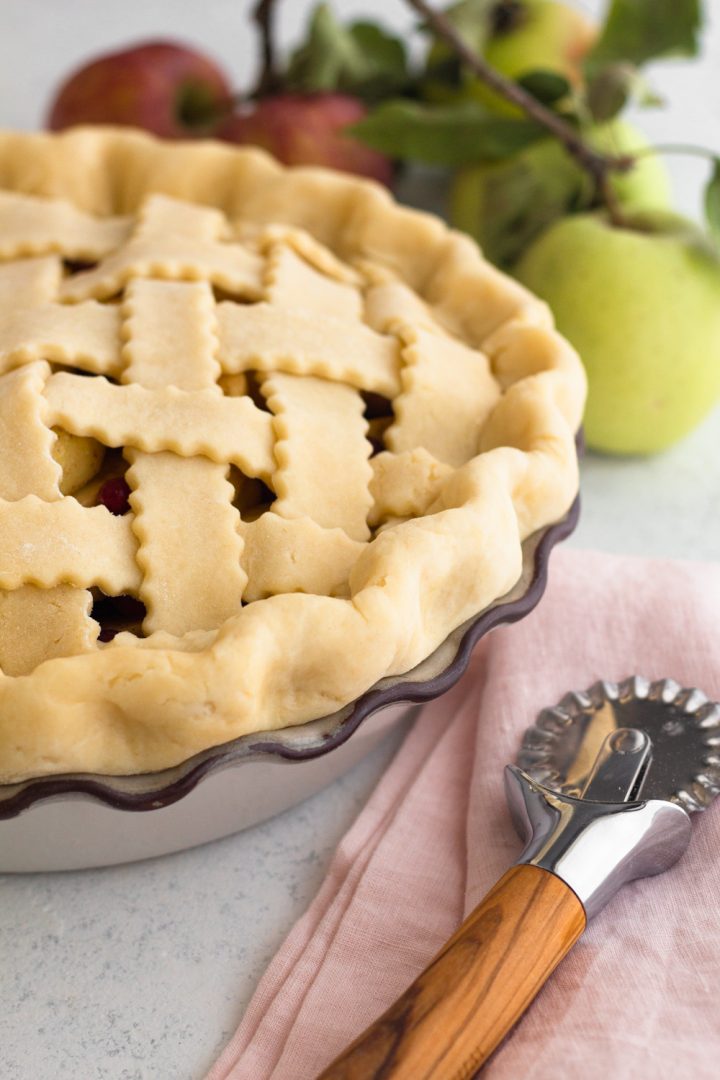
How to Make Lattice Pie Crust (Step-by-Step Tutorial)
- Prepare the pie crust dough and filling in advance according to the recipes. Just before making the lattice top, place the bottom crust into the pie plate, leaving at least 1 inch of overhang around the edge of the plate. Fill the bottom crust with the pie filling. Set aside.
- Remove the disk of pie crust dough for the top crust from the fridge and place on a cooling rack. Allow the dough to sit for 10 to 15 minutes so that the dough comes to a cool room temperature. (The dough should still be slightly firm, but not so cold and firm that it cracks significantly when rolled. If the dough feels soft or mushy when held or pressed with your thumb, it has become too warm and will need to be re-chilled before it can be rolled out.)
- Generously sprinkle flour on a pastry cloth or clean counter and onto your rolling pin so that the dough won't stick when rolled. Place the disk of dough onto the floured surface and roll the dough into a circle that's ¼ inch thick. (While rolling, be sure to alternate directions and roll your rolling pin beyond the edges of the dough to ensure an even thickness throughout. The circle should be a few inches larger than the diameter of your pie plate.)
- Use a pastry or pizza cutter to slice 12 vertical slits into the dough, creating 13 strips.
- Place 7 strips, evenly spaced, vertically across the top of the pie.
- Lift 3 alternating strips, pulling each back halfway to expose the pie filling underneath. Lay 1 strip horizontally across the top of the pie, next to the folded edges of the vertical dough strips. Replace the dough strips that had been pulled back so they lay flat across the pie. The horizontal strip of dough will now be woven into an under-over pattern with the vertical strips of dough.
- Repeat step 6, lifting the other 4 vertical strips and placing another strip of dough horizontally across the top of the pie before replacing the folded back strips of dough. Continue to repeat this pattern until you’ve reached the edge of the pie, then repeat on the other side so the pie is covered.
- Roll the edges of the bottom crust tightly inward over the edges of the lattice top to create an edge. Use your fingers to crimp the edge of the pie, or use the tines of a fork to press and seal the edge.
- Bake the pie according to the recipe’s instructions.
Video: How to Make a Lattice Pie Crust
More Baking Tutorials
Love this baking tutorial? Please leave a star rating and check out these other great baking tips linked above! And don't forget to subscribe to Always Eat Dessert for even more baking tips and simple dessert recipes.
Recipe
How to Make a Lattice Pie Crust (Step-by-Step Tutorial)
Special Equipment
- Cooling rack
- Pastry cloth or a clean work surface
- Rolling Pin
- Pastry or pizza cutter
Ingredients
- 1 double-crust pie with both a bottom and top crust (this pie crust recipe is my go-to!)
- All-purpose flour, for rolling out pie crust dough
Instructions
- Prepare the pie crust dough and filling in advance according to the recipes. Just before making the lattice top, place the bottom crust into the pie plate, leaving at least 1 inch of overhang around the edge of the plate. Fill the bottom crust with the pie filling. Set aside.
- Remove the disk of pie crust dough for the top crust from the fridge and place on a cooling rack. Allow the dough to sit for 10 to 15 minutes so that the dough comes to a cool room temperature. (The dough should still be slightly firm, but not so cold and firm that it cracks significantly when rolled. If the dough feels soft or mushy when held or pressed with your thumb, it has become too warm and will need to be re-chilled before it can be rolled out.)
- Generously sprinkle flour on a pastry cloth or clean counter and onto your rolling pin so that the dough won't stick when rolled. Place the disk of dough onto the floured surface and roll the dough into a circle that's ¼ inch thick. (While rolling, be sure to alternate directions and roll your rolling pin beyond the edges of the dough to ensure an even thickness throughout. The circle should be a few inches larger than the diameter of your pie plate.)
- Use a pastry or pizza cutter to slice 12 vertical slits into the dough, creating 13 strips.
- Place 7 strips, evenly spaced, vertically across the top of the pie.
- Lift 3 alternating strips, pulling each back halfway to expose the pie filling underneath. Lay 1 strip horizontally across the top of the pie, next to the folded edges of the vertical dough strips. Replace the dough strips that had been pulled back so they lay flat across the pie. The horizontal strip of dough will now be woven into an under-over pattern with the vertical strips of dough.
- Repeat step 6, lifting the other 4 vertical strips and placing another strip of dough horizontally across the top of the pie before replacing the folded back strips of dough. Continue to repeat this pattern until you’ve reached the edge of the pie, then repeat on the other side so the pie is covered.
- Roll the edges of the bottom crust tightly inward over the edges of the lattice top to create an edge. Use your fingers to crimp the edge of the pie, or use the tines of a fork to press and seal the edge.
- Bake the pie according to the recipe’s instructions.
Nutrition










Comments
No Comments