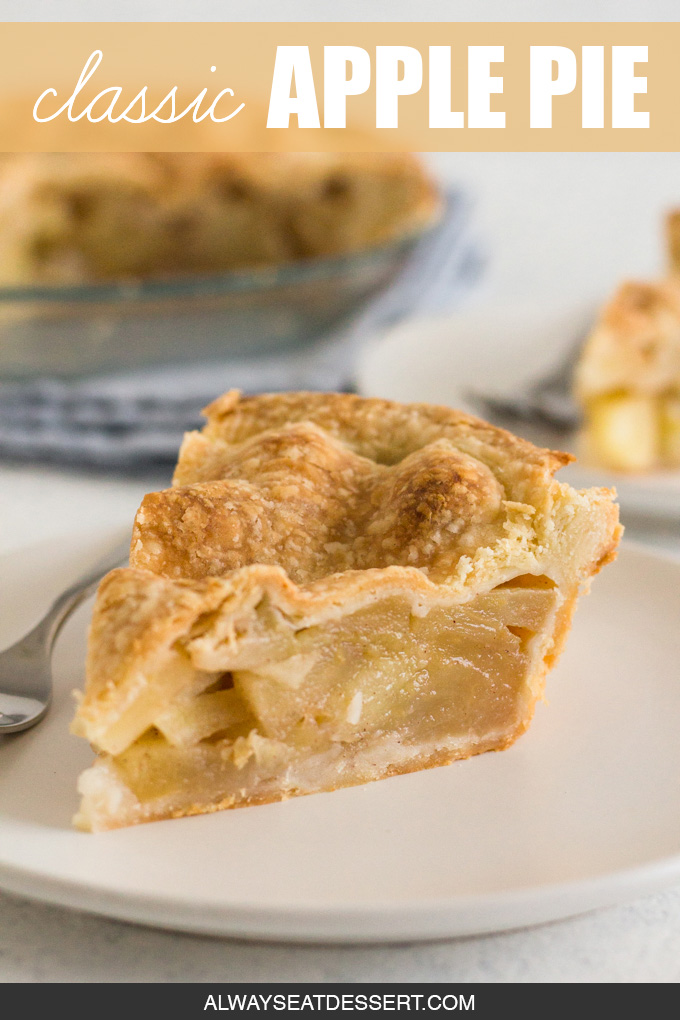
Delicious and stress-free homemade apple pie - complete with a tender and flaky crust and cinnamon apple filling - is totally achievable with this easy recipe for classic apple pie from scratch!
I'm not really sure where the expression "easy as pie" came from.
Because - let's just be honest here - pie isn't the easiest dessert to make. Many people are intimidated by homemade pie, and I used to be one of them. Pie crust can be temperamental (unless you're using my perfect pie crust recipe), and learning to roll out the dough can take a little bit of practice. But since I've never met a store-bought pie that came anywhere close to rivaling the deliciousness of a homemade apple pie, let's move past any fears we have and master this classic American dessert!
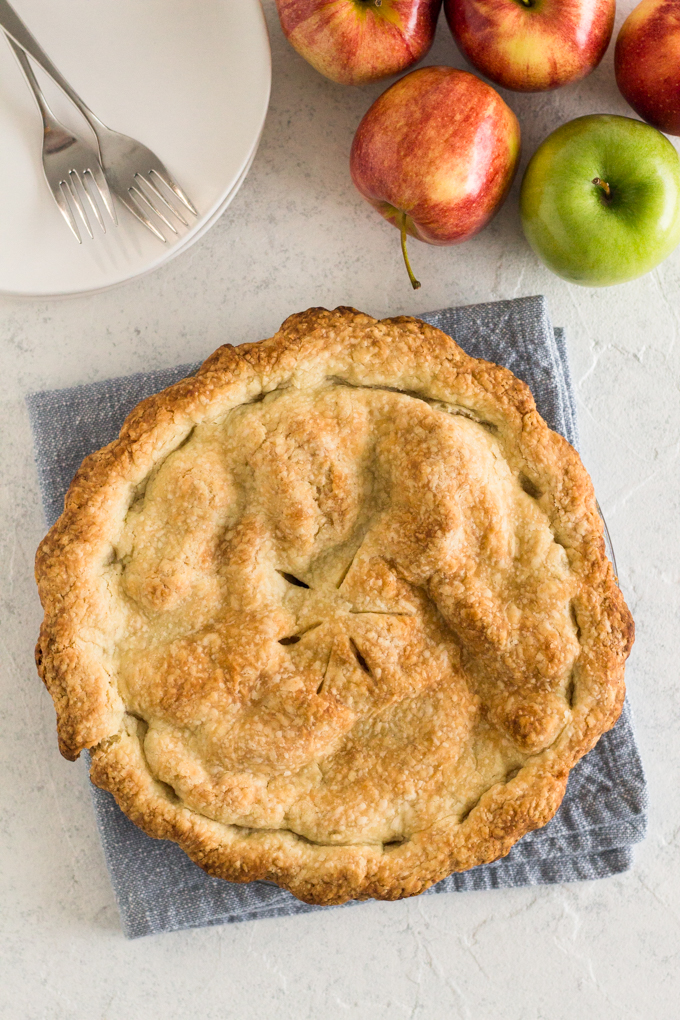
Today, just in time for Thanksgiving, we're tackling homemade apple pie from scratch. And I promise you: this recipe makes it pretty easy. This recipe for classic apple pie - made with foolproof pie crust dough and 5-ingredient filling - is a sure-fire way to have delicious, kitchen-temper-tantrum-free homemade apple pie this Thanksgiving.
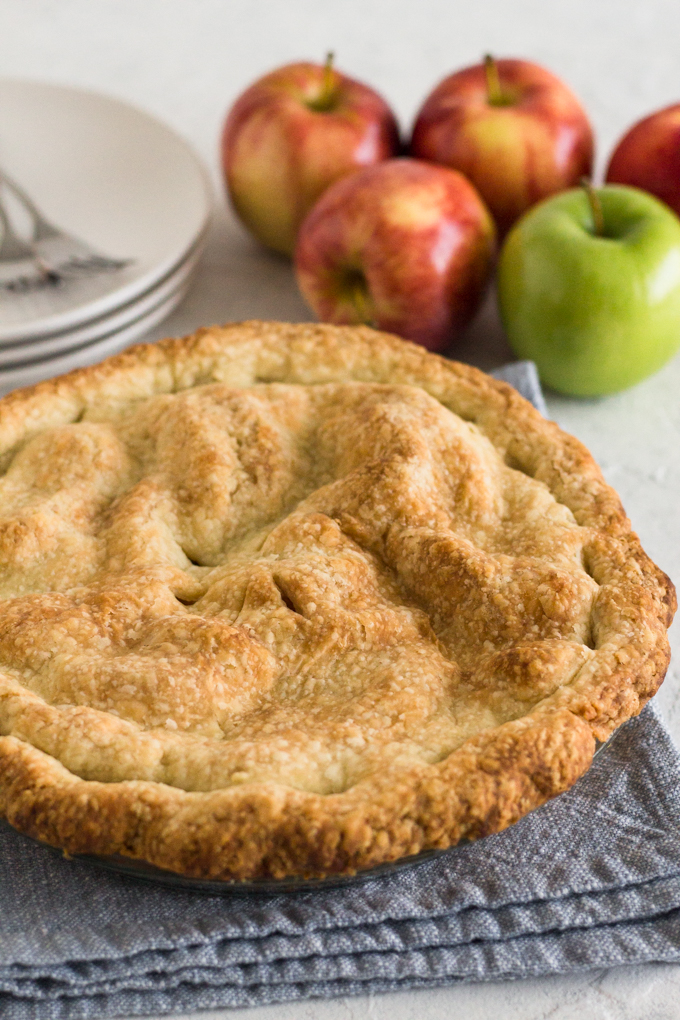
Before we get into the recipe, let's talk about how to make a perfect apple pie. I've had so many pie fails in the past, and so I've learned a thing or two (or ten!) about how to avoid sub-par apple pie. Keep reading for my top tips for mastering homemade apple pie from scratch.
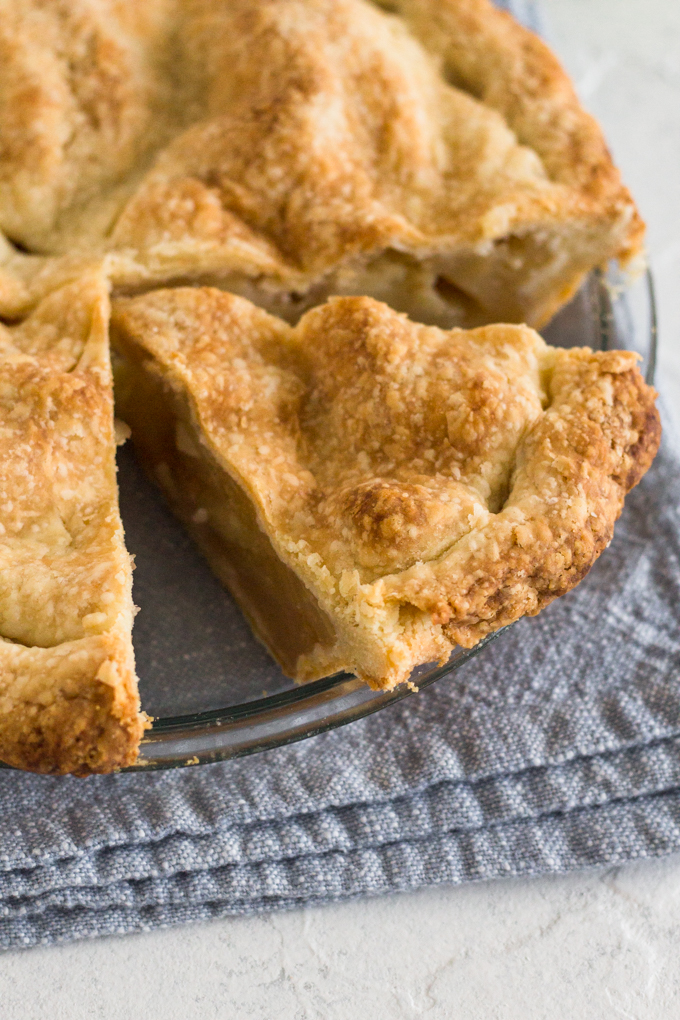
How to Make Classic Apple Pie from Scratch
- Start with a great pie crust recipe. You'll want a recipe that yields a buttery, tender, and flaky pie crust that tastes delicious and is easy to work with. I swear by this pie crust recipe!
- Use a variety of apples. For the tastiest pie, I recommend a mixture of apples. You'll want to use mostly sweet baking apples with one or two tart apples and mostly firm apples with one or two softer apples. For this pie I used a mixture of 3 Honeycrisp apples (sweet flavor, firm texture), 2 Granny Smith apples (tart flavor, firm texture), and 1 Macintosh apple (sweet flavor, soft texture).
- Don't add the liquid with the apples. When making the pie, you'll mix together the apples and the rest of the filling ingredients and let them sit while you roll out the crust. The sugar in the filling will draw some juice out of the apples, so when you go to add the apples to the crust you'll notice that there's juice in the bottom of the bowl with the apples. Spoon the apples into the crust (rather than dumping the entire contents of the bowl) so that this liquid is not added to the pie. Too much liquid in the filling will lead to a soggy bottom crust, and no one wants that!
- Bake the pie in the bottom third of the oven. Speaking of properly baked crust, before preheating your oven place the oven rack in the bottom third of the oven (I use the second lowest of 5 rungs in my oven). This will put the bottom crust closer to the heat source to help ensure a well cooked (and not soggy) bottom crust.
- Use a pie crust shield. The pie crust edges will become golden long before the pie is finished baking, so a pie crust shield will help to ensure that the edges of the crust don't over-bake while the rest of the crust and the filling continue to bake. About 20 minutes after the pie goes into the oven, quickly but carefully open the oven and reach in to place a silicone pie crust shield or a bit of aluminum foil around the edges of the pie to keep the crust from burning while the pie filling continues to bake.
- Don't be afraid to bake the pie. I can't even tell you how many times I've under-baked pies. As soon as the edges of the crust became golden, I'd take the pie out of the oven for fear that the crust would burn. The result? Under-baked bottom crusts and filling, which meant gooey, soggy, soupy pie. No thanks! Apples are naturally high in pectin (the starch that gives the fruit its structure and is also commonly used to thicken jam). Fully baking the apple filling will release the pectin, which will allow the filling to properly thicken so that you cleanly slice the pie once cooled. With practice, I've learned that baking the pie in the bottom third of the oven and using a pie crust shield will ensure that the crust is neither over- nor under-baked while the filling has a chance to bake fully, so there's no need to take the pie out of the oven the moment the crust edges becomes golden.
- Let the pie cool before you slice it. As the pie cools, the filling will firm up, so you'll have nice, clean slices when you serve the pie rather than a soupy filling and messy slices. Allow the pie to cool completely or even overnight before serving. (I usually bake my pies the day before I'll be serving them.) If you want to serve the pie warm, let it cool completely and then reheat the pie briefly in a pre-heated 325°F.
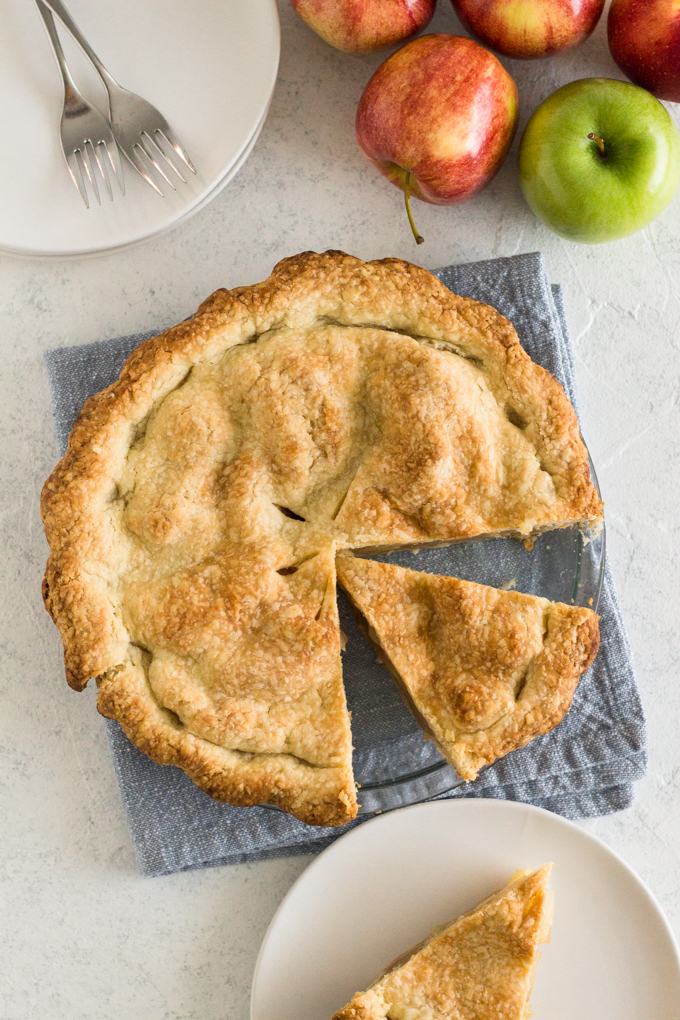
Oh, and one more thing! If you want to freeze apple pie - either before or after baking the pie - be sure to check out all of my tips for how to freeze pie!
Now let's roll up our sleeves and get to work!
Print
Classic Apple Pie from Scratch
- Total Time: 1 hour 25 minutes (does not include cooling time or time to prep the pie crust)
- Yield: 8 servings (one 9 inch double-crust pie) 1x
Description
Delicious and stress-free homemade apple pie - complete with a tender and flaky crust and cinnamon apple filling - is totally achievable with this easy recipe for classic apple pie from scratch!
Ingredients
- 1 pie crust, refrigerated
- 6 apples*
- 1 cup granulated sugar
- ½ tsp. salt
- ½ tsp. ground cinnamon
- 1 Tbsp. lemon juice
Instructions
- Prepare the pie crust dough in advance. The dough will need to be refrigerated for at least 2 hours. You can make the dough up to 3 days ahead and keep it refrigerated (wrapped tightly with plastic wrap) until you're ready to bake your pie.
- Remove one disk of pie crust dough from the fridge and place on a cooling rack. Allow the dough to sit for 10 to 15 minutes while you prepare the apple filling so that the dough comes to a cool room temperature. (The dough should still be slightly firm, but not so cold and firm that it cracks significantly when rolled. If the dough feels soft or mushy when held or pressed with your thumb, it has become too warm and will need to be re-chilled before it can be rolled out.)
- Core the apples, peel them using a vegetable peeler or a small, sharp knife, and slice each apple into 16 wedges. Place the apples in a large bowl and add sugar, salt, cinnamon, and lemon juice. Stir until the apples are well coated. Set aside.
- Remove the second disk of pie crust dough from the fridge and place it on the cooling rack so that it can come to a cool room temperature while you roll out the first disk of dough.
- Generously sprinkle flour on a pastry cloth or clean counter and onto your rolling pin so that the dough won't stick when rolled. Place the first disk of dough onto the floured surface and roll the dough into a circle that's ¼ inch thick. (While rolling, be sure to alternate directions and roll your rolling pin beyond the edges of the dough to ensure an even thickness throughout. The circle should be a few inches larger than the diameter of your pie plate.) Carefully lift the rolled out crust by sliding your arms underneath it and gently place the crust into a 9 inch glass pie plate.
- Place your oven rack in the bottom third of the oven and preheat the oven to 425°F.
- Arrange the apple slices around the crust until the bottom of the plate is covered, and then pile the rest of the apples on top. There will be juice from the apples in the bottom of the bowl; do not add this juice to the pie or the filling will be too wet and the bottom crust will become soggy.
- Sprinkle more flour onto your pastry cloth or counter and roll the second disk of pie crust dough. Again, the rolled out dough should be ¼ inch thick and a few inches larger than the diameter of your pie plate. Carefully lift the dough and gently place it over the apples.
- Fold the edges of the top crust under the edges of the bottom crust. Seal the edges of the crust by either pressing down all around the edges using the tines of a fork or by crimping the edges. Use a knife to make several small slices in the top crust so that air can escape while the pie bakes.
- Bake the pie for 10 minutes at 425°F, then turn the oven down to 375°F and continue baking for 40 minutes until the top and sides of the crust (visible through the glass pie plate) are golden brown. (NOTE: A pie crust shield will come in handy to ensure the edges of the crust don't burn. About 20 minutes after the pie goes into the oven, quickly but carefully open the oven and reach in to place a silicone pie crust shield or a bit of aluminum foil around the edges of the pie to keep the crust from burning while the pie filling continues to bake.)
- Allow the pie to cool completely (ideally overnight) before serving to ensure that the filling has a chance to firm up. Serve the pie at room temperature (or reheat the pie briefly in a pre-heated 325°F oven if you'd prefer to serve it warm).
Notes
Store leftover pie covered with foil or in an airtight container at room temperature for up to 3 days.
*For the tastiest pie, I recommend a mixture of apples. You'll want to use mostly sweet baking apples with one or two tart apples and mostly firm apples with one or two softer apples. For this pie I used a mixture of 3 Honeycrisp apples (sweet flavor, firm texture), 2 Granny Smith apples (tart flavor, firm texture), and 1 Macintosh apple (sweet flavor, soft texture).
- Prep Time: 35 minutes
- Cook Time: 50 minutes
- Category: Dessert
- Method: Baking
- Cuisine: American
Keywords: apple pie, from scratch, homemade
This post was updated in November 2019 to provide an improved user experience.



Comments
No Comments