• Skip to primary navigation
  • Skip to main content
  • Skip to primary sidebar
Always Eat Dessert
  • Recipes
  • Baking Tips
  • About
  • Subscribe
menu icon
go to homepage
  • Recipes
  • Baking Tips
  • About
  • Subscribe
  • Contact
subscribe
search icon
Homepage link
  • Recipes
  • Baking Tips
  • About
  • Subscribe
  • Contact
×
Home » Brownie & Bar Recipes

Brown Butter Bourbon Rice Krispie Treats

Published: Jan 15, 2017 by Allison Ferraro · Modified: Oct 17, 2024 · This post may contain affiliate links · Leave a Comment

Jump to Recipe Pin Recipe

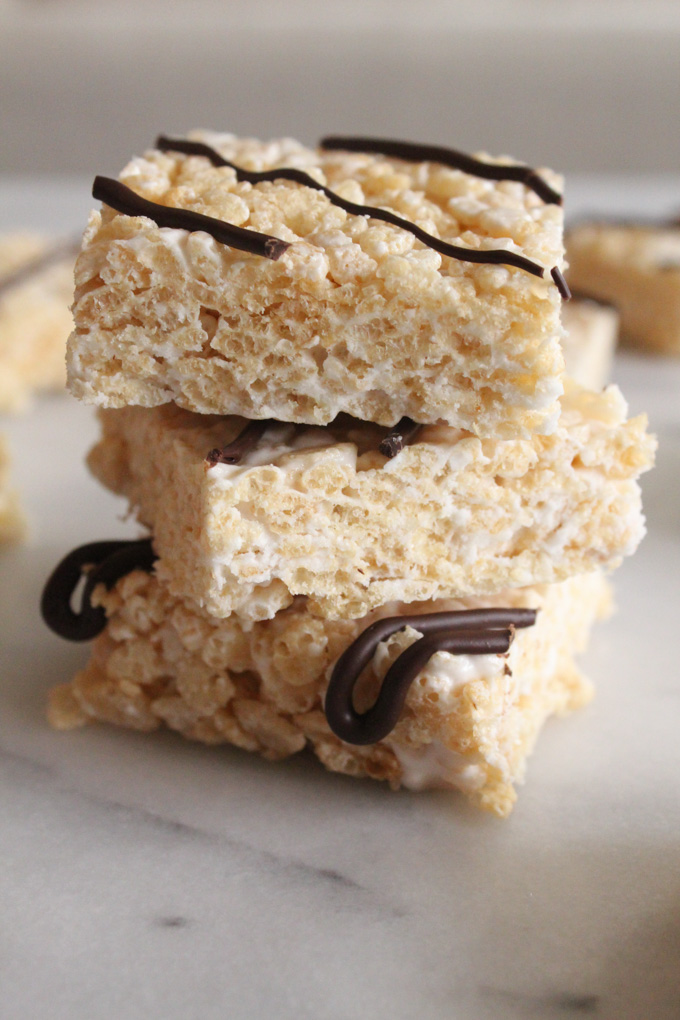
I promise you've never had Rice Krispie treats quite like these! Thick and chewy and flavored with browned butter plus hints of bourbon, vanilla, and sea salt, these brown butter Rice Krispie treats take this classic childhood dessert to the next level!

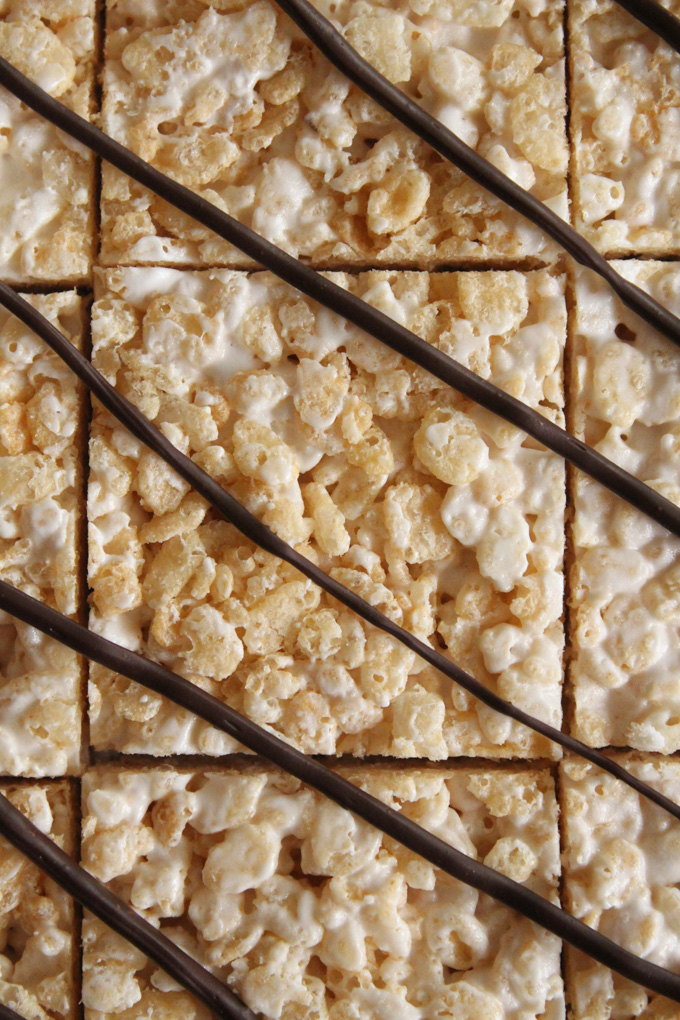
Overhead view of sliced Rice Krispie treats with brown butter speckles and extra marshmallows. this Recipe

Do you remember the way you used to crave Rice Krispie treats as a kid?

If you think you've outgrown the taste of these nostalgic treats then think again!

This grown-up take on one of our favorite childhood desserts adds sophisticated flavor and mouth-watering richness to the classic Rice Krispie treats. You won't be able to eat just one!

Jump to:
  • Why You'll Love This Recipe
  • Ingredient Notes & Substitutions
  • Special Equipment
  • Step-By-Step Recipe Instructions
  • Recipe Tips
  • Storage Instructions
  • More Elevated Classic Treats
  • Recipe
  • Comments

Why You'll Love This Recipe

If you love an elevated take on a classic, then you're going to fall head-over-heels for these Rice Krispie treats with brown butter, sea salt, and a hint of bourbon!

The original recipe for Rice Krispie treats uses just 3 Tablespoons of butter, 10 ounces of marshmallows, and 6 cups of cereal. The result is a thin, not-chewy-enough treat.

This recipe uses 50% more cereal, 100% more marshmallows, and more than 4 times the amount of butter for Rice Krispie treats that are thick, buttery, ultra-marshmallow-y, and perfectly chewy!

But what really takes these treats over the top is the flavor! First instead of merely melting the butter, we'll brown it to add a delightfully toasty, nutty flavor to the bars. We'll add a bit of bourbon and vanilla for a beautifully nuanced flavor, and a bit of sea salt to enhance it all.

This recipe uses a few extra ingredients and a tiny bit more effort than the original, but it all still comes together in just one pot in 30 minutes. And the results are 100% worth it!

Ingredient Notes & Substitutions

See recipe card at the bottom of this post for full ingredient list and measurements.

Recipe ingredients with labels on a blue surface.

Mini Marshmallows - Marshmallows add flavor and chewiness to these treats. I recommend using mini marshmallows because they'll melt more easily and are the perfect size if you're adding some unmelted marshmallows to the mix for added texture.

Unsalted Butter - Butter adds flavor and richness to the treats, and it works with the melted marshmallows to hold the bars together. Unlike classic Rice Krispie treats that simply melt the butter, we'll brown the butter, cooking it until the water evaporates and the milk solids in the butter become toasted. Browning the butter is optional but adds a big dose of toasty flavor to these treats.

Bourbon - Bourbon adds a subtle and sophisticated flavor that's similar to vanilla. If you don't have any on hand or want to keep the treats kid-friendly, you can substitute an equal measure of vanilla extract.

Vanilla Bean Paste - Vanilla bean paste adds a punch of vanilla flavor along with beautiful vanilla bean specks to the treats. If you prefer, you can substitute an equal measure of vanilla extract.

Fine Sea Salt - A bit of sea salt helps to amplify the flavors and balance the sweetness in these treats.

Rice Krispies cereal - This airy, lightly crunchy cereal is the key ingredient in these treats.

Special Equipment

In addition to essential baking equipment (like a spatula), I recommend some special tools for making this recipe.

  • A Dutch oven or other large pot, for cooking the butter and marshmallows and for mixing the treats.
  • A 9x13 pan, for forming the treats. For perfectly square bars, use a metal pan with a rectangular bottom (rather than a glass pan with a rounded bottom edge).

Step-By-Step Recipe Instructions

See recipe card at the bottom of this post for detailed recipe instructions.

Browned butter in a white Dutch oven with a blue rubber spatula.

Step 1: Brown the butter by cooking the butter past the point of melting, until the water evaporates and the milk solids become a toasty brown color.

Melted marshmallow and butter in a white Dutch oven with a blue rubber spatula.

Step 2: Remove the pot from the heat and add the marshmallows, stirring until they are completely melted and smooth. Add bourbon, vanilla, and salt and stir until blended.

Marshmallow and cereal mixture in a white Dutch oven with a blue rubber spatula.

Step 3: Add the cereal to the pot and stir until it's completely coated in the marshmallow mixture. Add more marshmallows to the pot and fold them into the cereal mixture.

Marshmallow and cereal mixture in a 9x13 pan.

Step 4: Scoop the mixture into a 9x13 pan that's lined with parchment paper and lightly sprayed with cooking spray.

Hand gently flattening the cereal mixture in the pan using a butter wrapper.

Step 5: Gently without pressing down on the mixture, spread the cereal mixture to fill the pan and flatten the top. A butter wrapper is the perfect tool for this step!

Rice Krispie treats in a metal baking pan.

Step 6: Let the treats cool and set for at least 30 minutes before slicing into squares and enjoying.

Recipe Tips

When adding the mixture to the pan, add scoops of mixture all around the pan instead of dumping all of it in one spot. This will make it easier to spread the mixture evenly around the pan without squishing it.

Save the wrapper from the stick of butter! The buttery piece of parchment is the perfect tool for gently pressing the treats into the pan, since it's already non-stick!

This is the most important tip of all if you want to make Rice Krispie treats that are chewy instead of dense: DO NOT pack the mixture into the pan! Flatten the mixture gently but do not push down on the mixture to keep it light and chewy. Packing the mixture into the pan will create firm, dense treats.

Setting aside marshmallows to fold into the mixture is optional. You can instead melt all of the marshmallows into the butter. But folding in some unmelted marshmallows makes for extra pretty treats!

Rice Krispie treats with pulls of marshmallow on brown parchment paper.

Storage Instructions

Store treats in an airtight container at room temperature for up to 5 days. To keep the treats fresh for longer, store them uncut, only cutting them into squares when you're ready to eat them.

More Elevated Classic Treats

  • Overhead view of cookies on a white background.
    No Chill Chocolate Chip Cookies
  • Scattered brownies with a close-up side view of one brownie on a piece of parchment paper.
    Fudgy One-Bowl Brownies
  • Close-up view of layered and stacked crinkled cookies.
    Chewy Chai Snickerdoodles
  • Classic Lemon Bars

Love this recipe? Please leave a star rating and review on the recipe below! And don't forget to subscribe to Always Eat Dessert for even more simple recipes, baking tips, and inspiration.

Recipe

Overhead view of sliced Rice Krispie treats.

Brown Butter Bourbon Rice Krispie Treats

Thick and chewy and flavored with browned butter plus hints of bourbon, vanilla, and sea salt, these brown butter Rice Krispie treats take this classic childhood dessert to the next level!
No ratings yet
Print Pin Rate
Course: Dessert
Cuisine: American
Prep Time: 30 minutes minutes
Cool Time: 30 minutes minutes
Total Time: 30 minutes minutes
Servings: 20
Yield: 20 treats
Calories: 211kcal
Author: Allison Ferraro
Prevent your screen from going dark

Special Equipment

  • Large pot (like a Dutch oven)
  • 9x13 pan

Ingredients

  • 20 ounces (567 grams) mini marshmallows, divided
  • 14 Tablespoons (196 grams) unsalted butter
  • 2 teaspoons (10 grams) bourbon (or vanilla extract)
  • 1 teaspoon (5 grams) vanilla bean paste (or extract)
  • ½ teaspoon (3 grams) fine sea salt
  • 9 cups (216 grams) Rice Krispies cereal

Instructions

  • Line a 9x13 pan with parchment paper and lightly spray the parchment with cooking spray. Set aside.
  • Set aside two cups of the marshmallows to save for folding into the treats.
  • In a Dutch oven or large pot, brown the butter by cooking the butter over medium-low heat past the point of melting, until the water evaporates and the milk solids become a toasty brown color.
  • Immediately remove the pot from the heat and add the marshmallows. Stir until the marshmallows are completely melted and smooth. You may need to return the pot to medium-low heat to fully melt the marshmallows.
  • With the pot off the heat, add bourbon, vanilla, and salt and stir until blended.
  • Add the cereal to the pot and stir until it's completely coated in the marshmallow mixture.
  • Add the reserved marshmallows to the pot and fold them into the cereal mixture.
  • Scoop the mixture into the prepared pan. Gently without pressing down on the mixture, spread the cereal mixture to fill the pan and flatten the top.
  • Let the treats cool and set for at least 30 minutes before slicing into squares and enjoying.

Notes

Storage: Store treats in an airtight container at room temperature for up to 5 days. If possible, store the treats uncut, only cutting them into squares when you're ready to eat them.
When adding the mixture to the pan, add scoops of mixture all around the pan instead of dumping all of it in one spot. This will make it easier to spread the mixture evenly around the pan without squishing it.
Save the wrapper from the stick of butter! The buttery piece of parchment is the perfect tool for gently pressing the treats into the pan, since it's already non-stick!
This is the most important tip of all if you want to make Rice Krispie treats that are chewy instead of dense: DO NOT pack the mixture into the pan! Flatten the mixture gently but do not push down on the mixture to keep it light and chewy. Packing the mixture into the pan will create firm, dense treats.
Setting aside marshmallows to fold into the mixture is optional. You can instead melt all of the marshmallows into the butter. But folding in some unmelted marshmallows makes for extra pretty treats!

Nutrition

Calories: 211kcal | Carbohydrates: 34g | Protein: 1g | Fat: 8g | Saturated Fat: 5g | Polyunsaturated Fat: 0.4g | Monounsaturated Fat: 2g | Trans Fat: 0.3g | Cholesterol: 21mg | Sodium: 148mg | Potassium: 20mg | Fiber: 0.1g | Sugar: 18g | Vitamin A: 1083IU | Vitamin C: 8mg | Calcium: 4mg | Iron: 4mg

More Brownie & Bar Recipes

  • Close up view of a bitten brownie cup filled with peanut butter and topped with ganache, chopped peanuts, and flaky sea salt.
    Peanut Butter Cup Brownies
  • Decorated bronuts on a blue surface.
    Homemade Bronuts (Brownie Donuts)
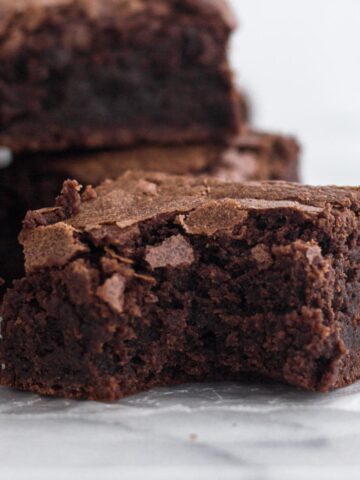
  • Side view of a bitten brownie stacked on a white marble surface.
    Chewy Fudgy Homemade Brownies
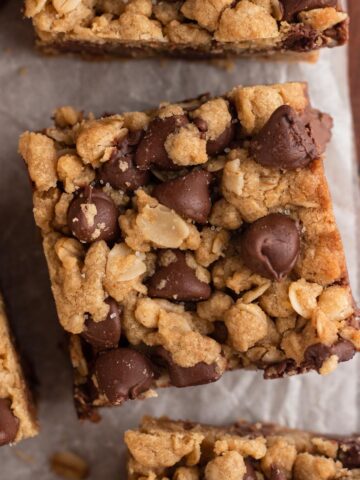
  • Close up overhead view of cookie bars on a wooden cutting board.
    Oatmeal Chocolate Peanut Butter Bars (Small Batch)

Reader Interactions

Comments

No Comments

Leave a Comment Cancel reply

Your email address will not be published. Required fields are marked *

Recipe Rating


Primary Sidebar

Allison leaning over the kitchen counter piping frosting onto a cake.

Hi there!

I'm Allison, the cookie-obsessed baker, recipe creator, and food photographer behind Always Eat Dessert.

Here you’ll find made-from-scratch recipes designed for busy people who love to bake. From cookies to quick breads, you'll discover detailed, easy-to-follow recipes for everyday life along with practical baking tips to help you whip up indulgent treats from scratch with confidence.

Get to know Allison →

Mother's Day Brunch Recipes

  • Overhead view of hands splitting a muffin open above a tin of muffins.
    Mixed Berry Muffins with Cinnamon Streusel Topping
  • Close-up view of a cinnamon roll with purple icing split open on a white plate with a dish of blueberries and small white flowers.
    Blueberry Cinnamon Rolls
  • Angled view of plate of glazed petit fours topped with pansy flowers.
    Easy Homemade Petit Fours
  • Blueberry scones surrounded by fresh blueberries and topped with streusel and powdered sugar.
    Blueberry Muffin Scones

Reader Favorites

  • Close up view of a square of moist chocolate cake topped with chocolate frosting on a crumbled piece of parchment paper.
    Moist & Fudgy Chocolate Cake
  • Close up view of a partially-eaten slice of two-layer vanilla cake with vanilla frosting on a white plate with a fork.
    Moist & Fluffy Vanilla Cake
  • A slice of blueberry pie with a lattice crust on a white plate.
    Classic Blueberry Pie with Frozen Blueberries
  • Fork with a bite of cake along with a slice of cake on a white plate.
    Strawberry Vanilla Cake
logos of media outlets featuring Always Eat Dessert recipes

Top Baking Tips

  • Box grater and peeled carrot on a wooden cutting board.
    How to Grate Carrots for Carrot Cake
  • Melted white chocolate in a double boiler.
    How to Melt White Chocolate in the Microwave or on the Stove
  • Close-up overhead view of an unbaked cinnamon roll on a white surface.
    How to Store & Reheat Cinnamon Rolls
  • Sliced brownies scattered on a crinkled piece of parchment paper.
    How to Store Brownies & Keep Them Fresh

Footer

↑ back to top

About

  • About
  • Portfolio
  • Work with Me

Policies

  • Privacy Policy
  • Terms of Use
  • Website Disclaimer
  • Accessibility Policy

Contact

  • Contact
  • Subscribe

As an Amazon Associate I earn from qualifying purchases.

COPYRIGHT © 2025 ALWAYS EAT DESSERT, LLC | ALL RIGHTS RESERVED

Overhead view of sliced Rice Krispie treats with a text overlay.

Rate This Recipe

Your vote:


A rating is required
A name is required
An email is required